

 Service Center
Set Approval Field
eSignGlobal provides users with the ability to flexibly configure approval roles and custom approval controls in the envelope signing node. The initiated approval flow can be seamlessly integrated into the signing process - supporting the flow of approval opinions only, and also enabling the composite flow requirement that approval is only allowed after the designated signer completes the signing, meeting the diverse business flow needs of internal corporate seal approval, etc.
Step 1: Set up approval controls in the template or initiation page
-
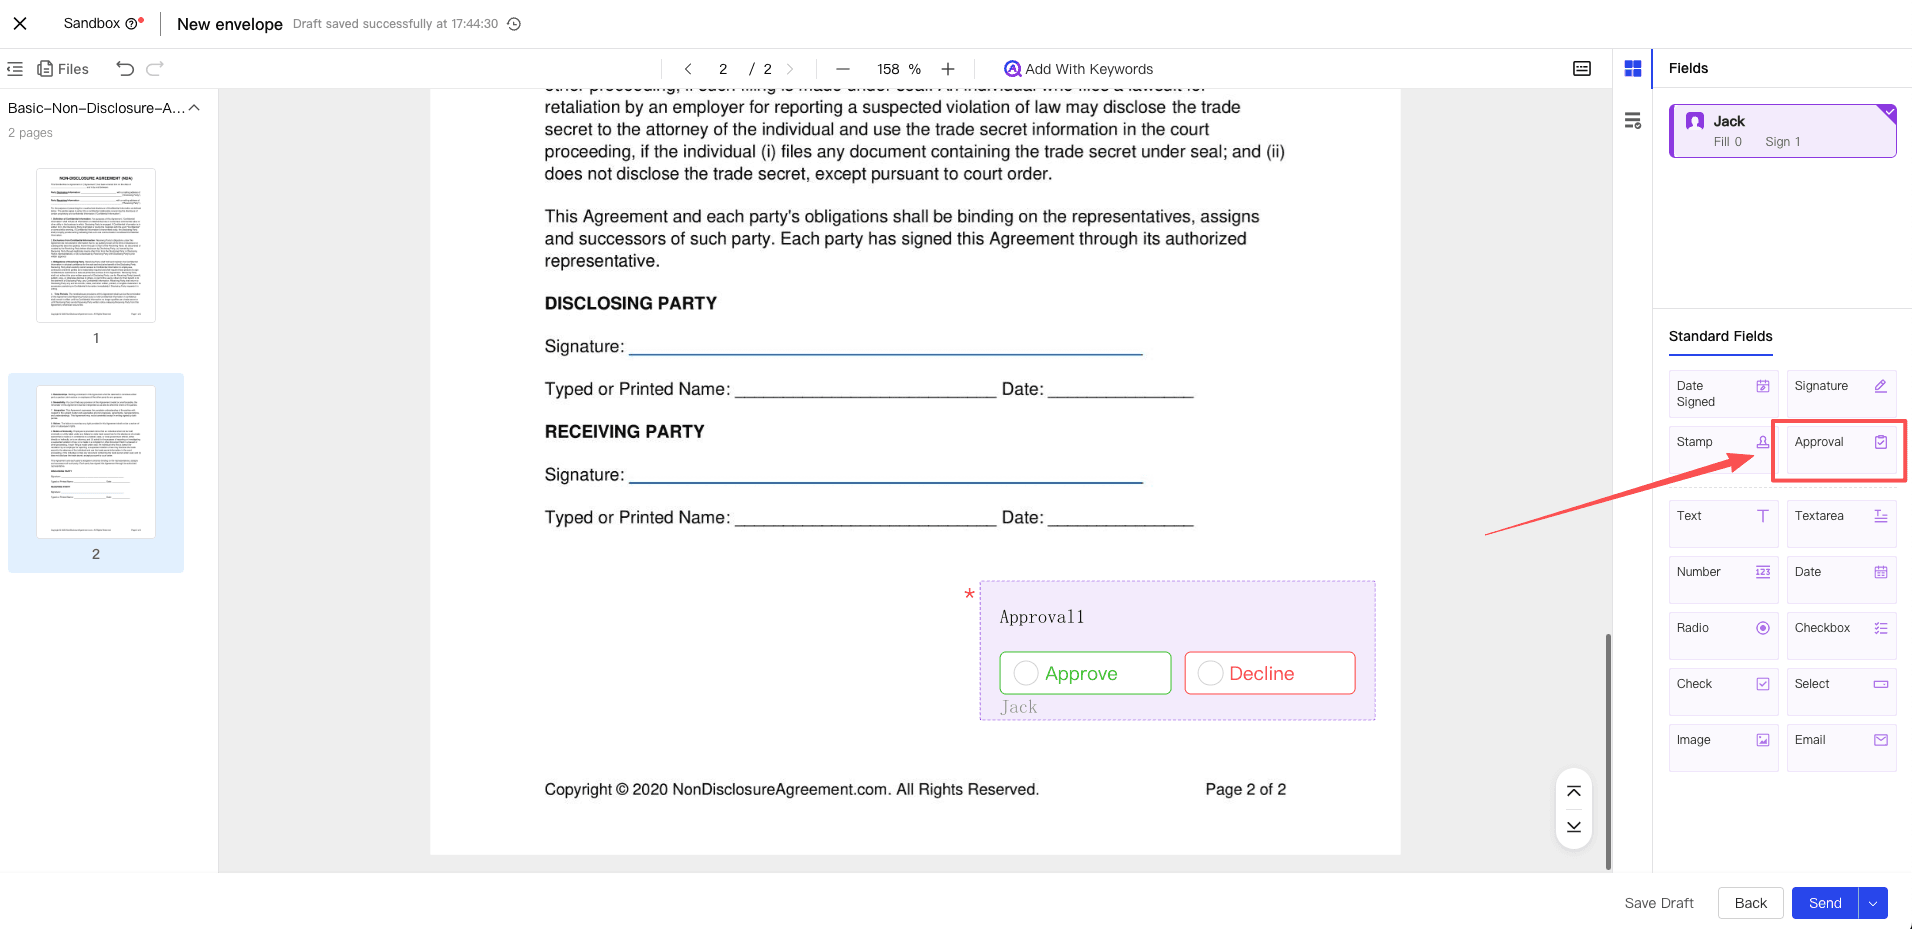
During the envelope initiation or template editing stage, find the Approval control under the signing control category in the left control list, and drag it to the appropriate position in the document.
-
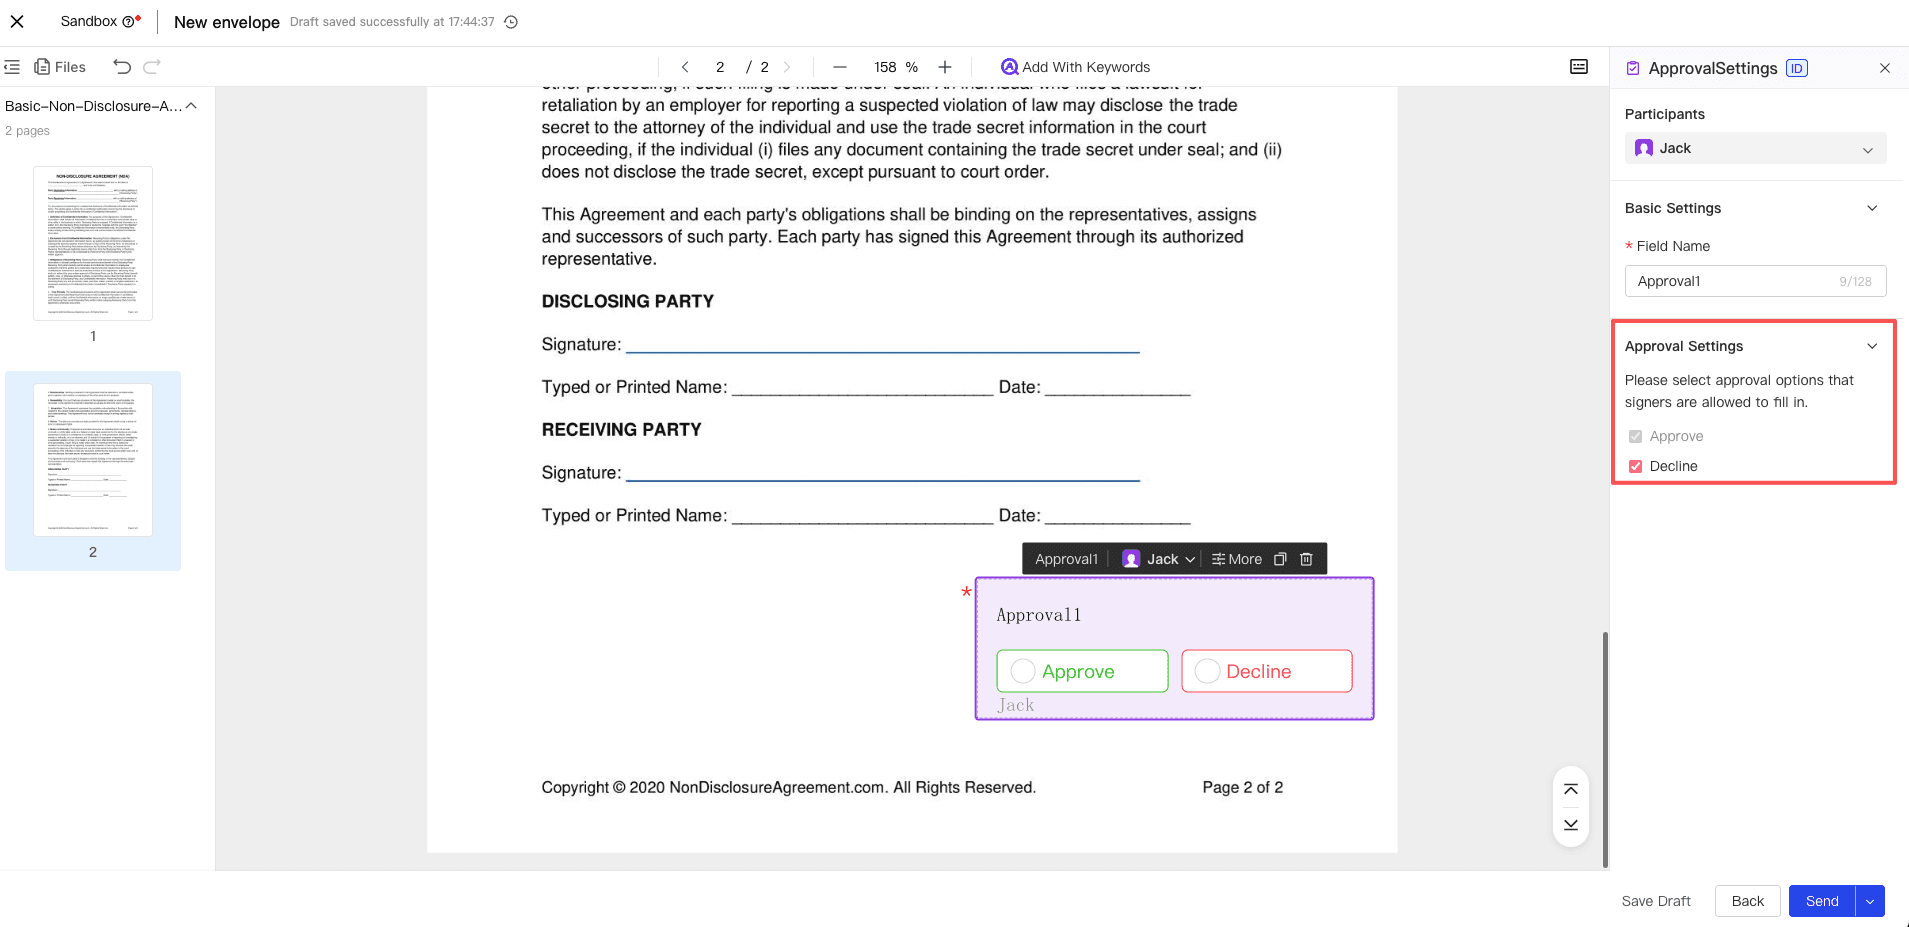
In the right property panel, you can assign the control to the designated signer. You can also configure the approval opinion options that the signer is allowed to select (e.g., Agree, Reject) as needed.
Note:
- Only 1 approval control can be set for each signer.
- The approval control cannot be specified for the initiator, only for the signer or a specific signer in the envelope.
- When only the approval control is set, the signer can choose whether to add a signature on the signing page.
Step 2: Signer fills in approval opinions
-
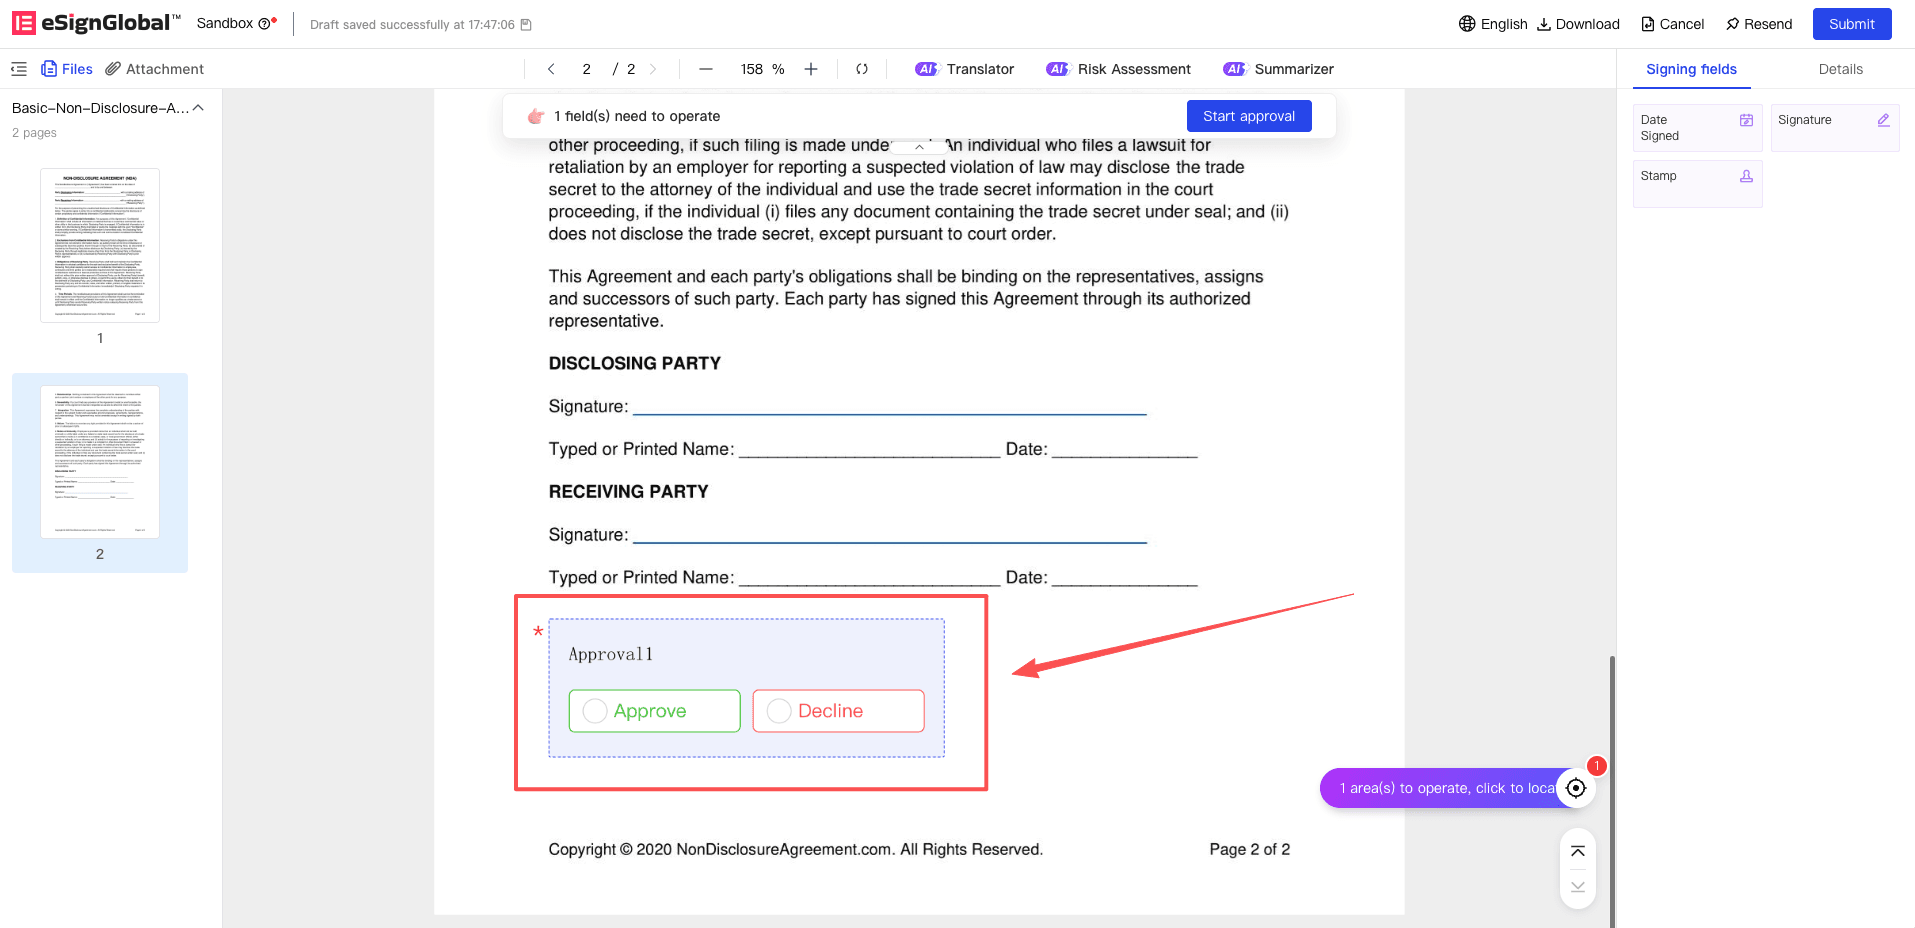
When the envelope flows to the signer containing the approval control, the signer will see the approval control box to be filled in on the page.
-
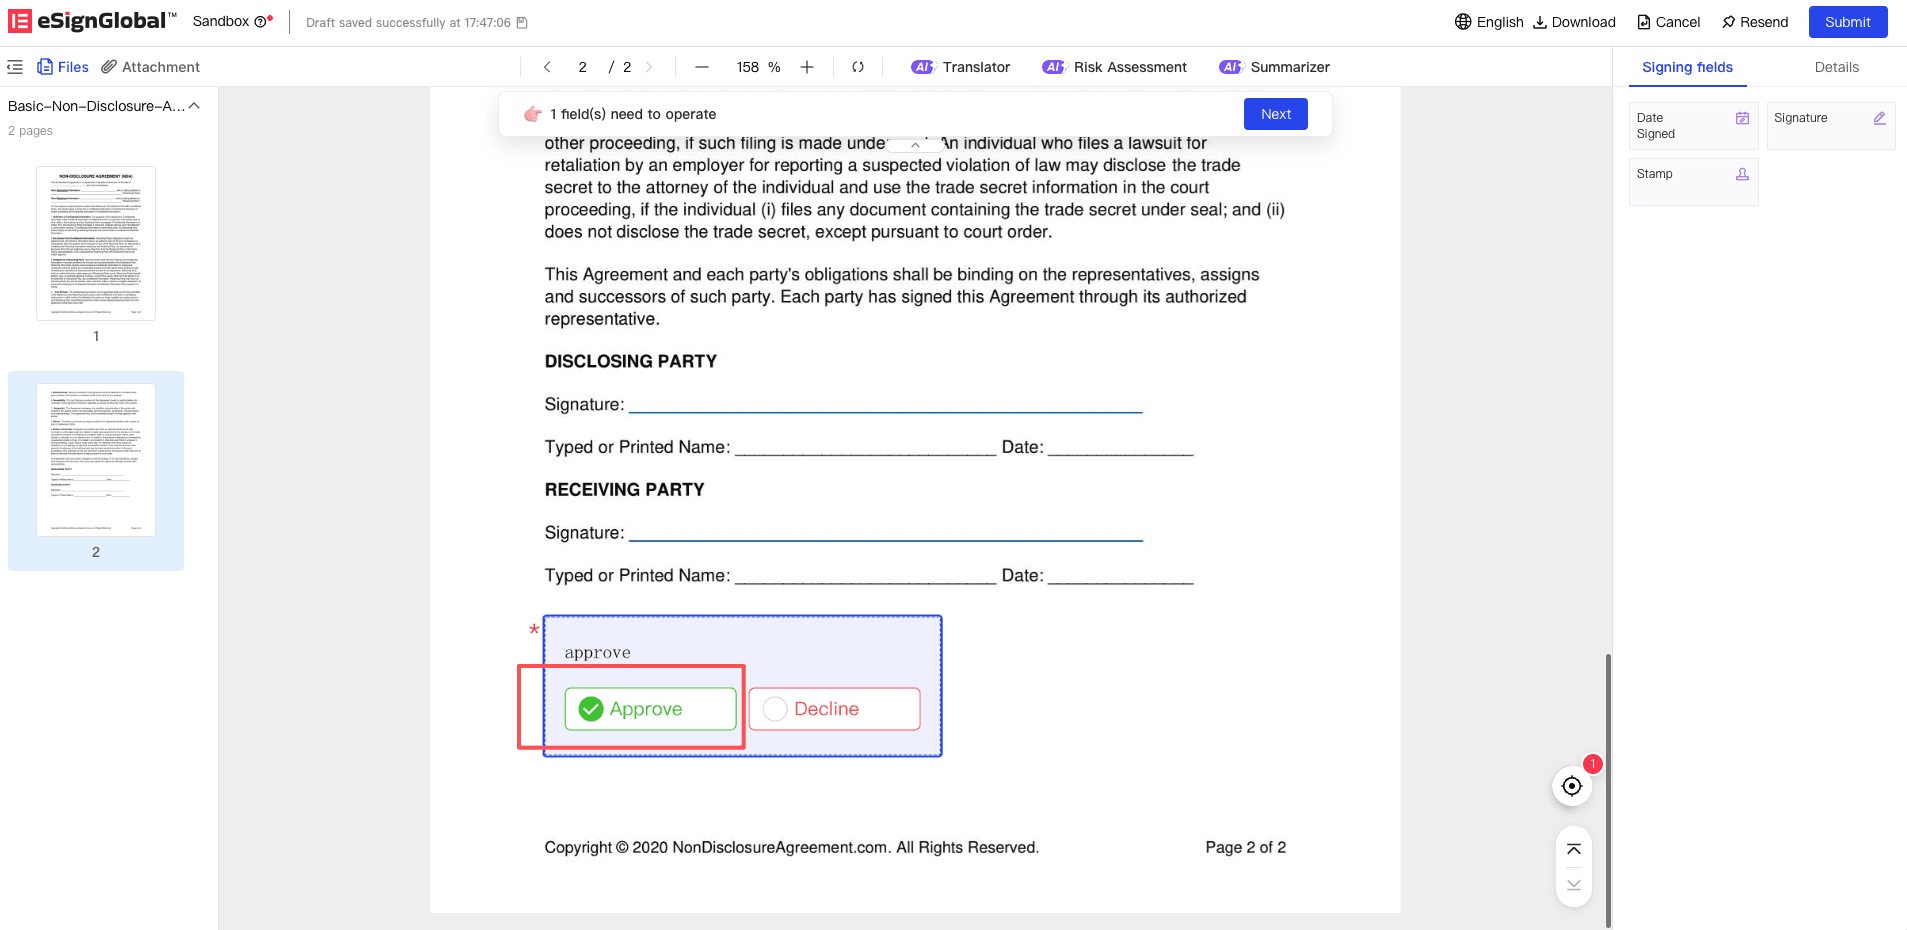
Click the approval control, and the system will display Agree or Reject according to the options preset by the initiator. After the signer selects the approval opinion, the option will be echoed in the control text box.
Note:
- If both “Fill/Sign Control” and “Approval Control” are set for the signer, the system will strictly verify that the decision to approve the submission is only allowed after the signer completes all mandatory signing and filling actions to ensure business compliance.
- The approval control will not be displayed in the final signed document.
Step 3: Approval and Envelope Flow
Note:
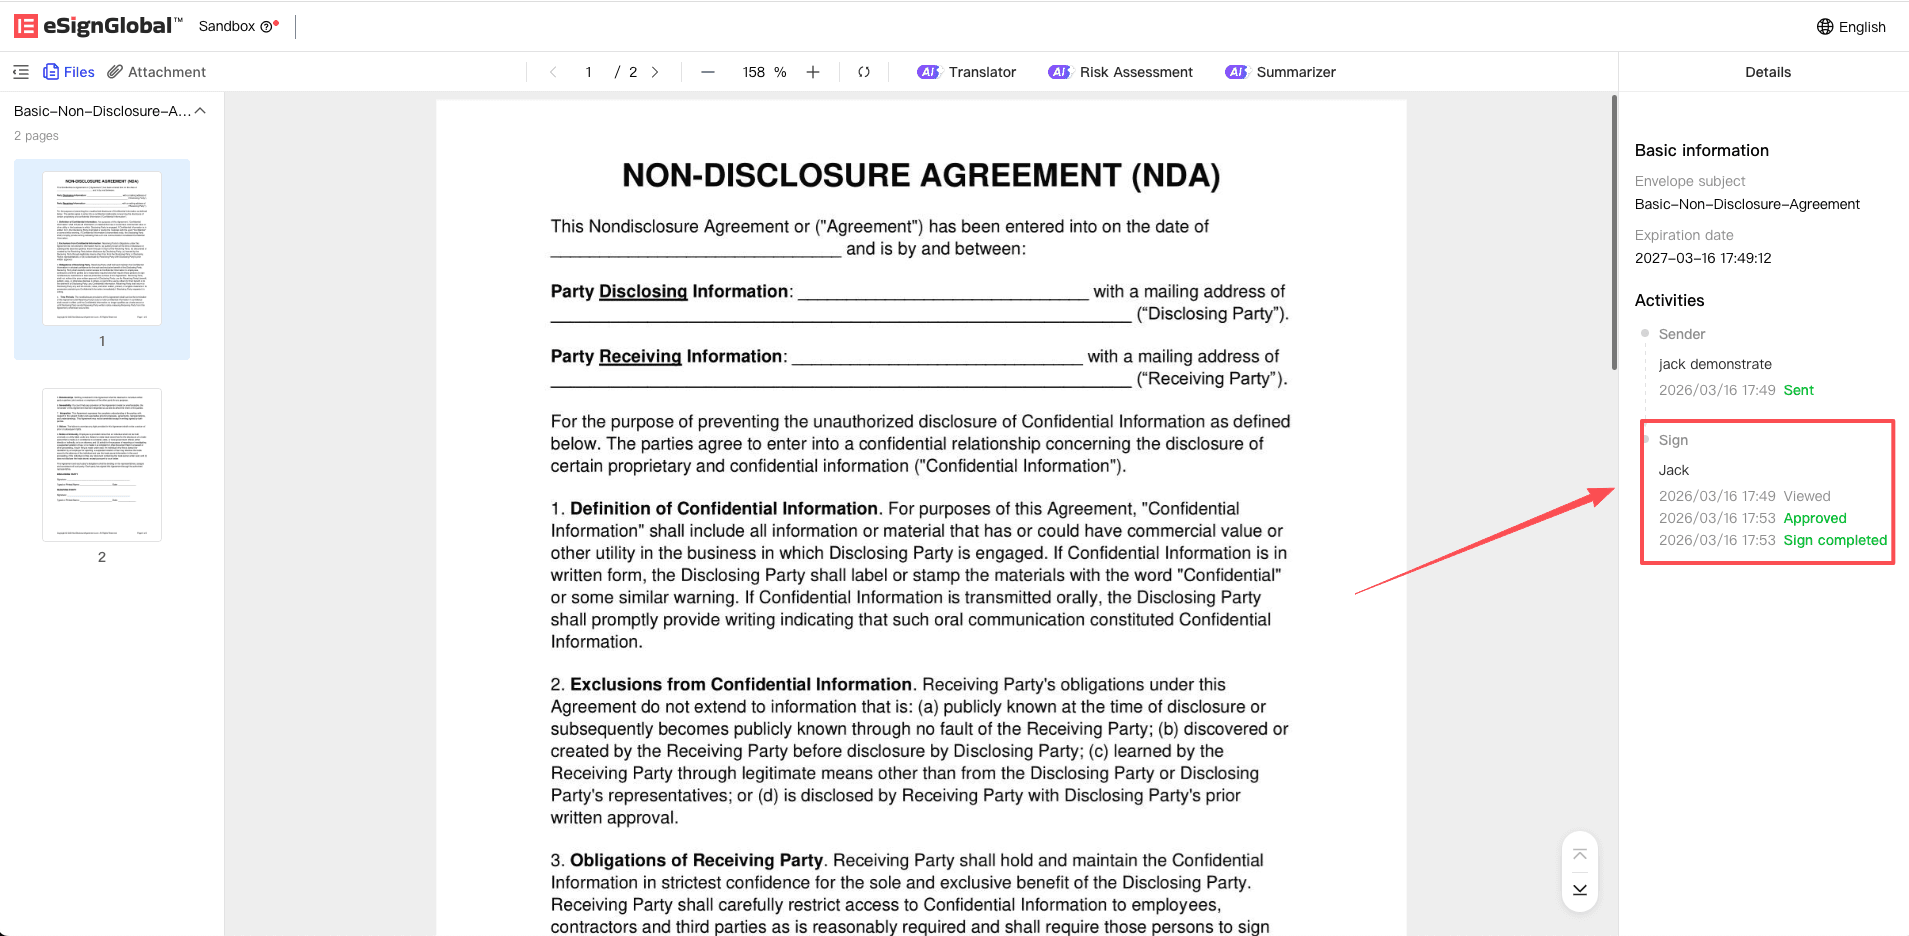
- After approval is granted, the activity of the approval node will be recorded in the timeline, and the envelope will continue to flow to the next node signer or be successfully completed.
-
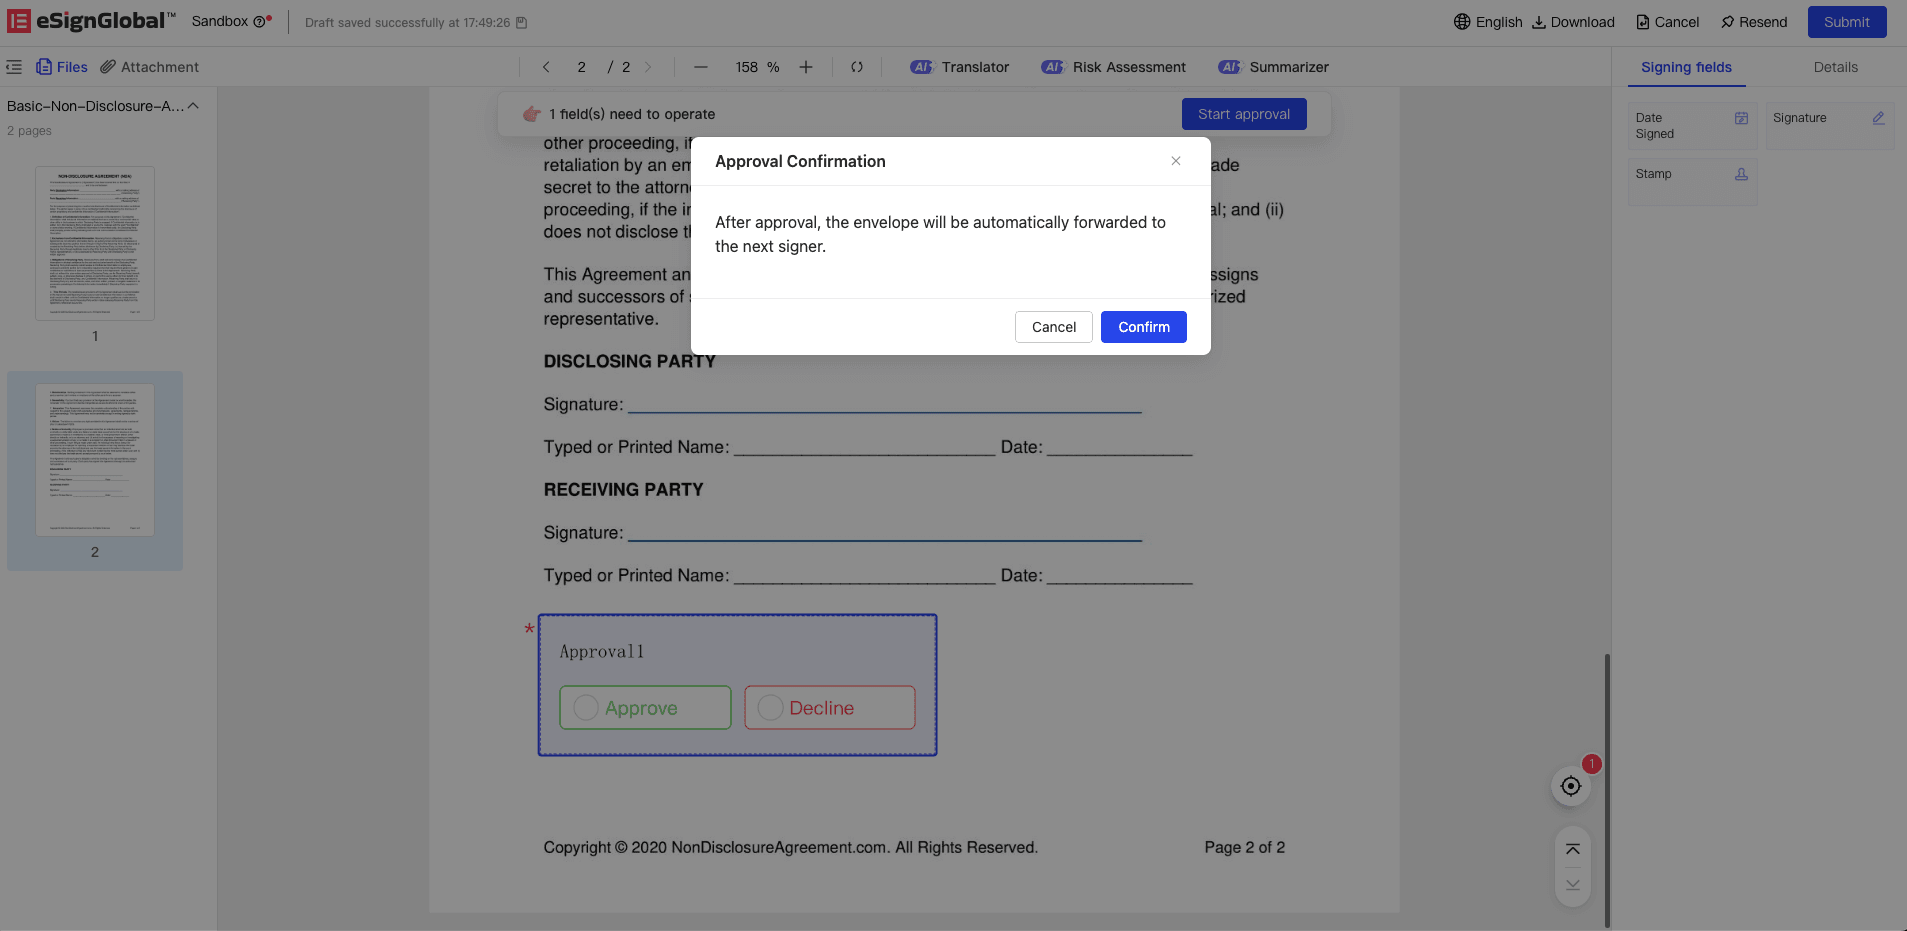
If the signer decides and clicks the Agree option, the system will pull up a secondary pop-up window asking the user to confirm the agreement operation.
-
If the user confirms the agreement in the pop-up window, and there are no other required signing items to be completed on the page, the approval will be directly approved and the signer’s flow task will be completed. The timeline and activity records will be added with agreement log records.
Step 4: Approval Rejection and Envelope Flow
Note:
- When a rejection occurs, the entire envelope flow will be terminated directly, and the envelope status will be changed to “Rejected”.
-
If the approval opinion selects Reject, the system will directly pop up a window to guide the user to double-confirm and fill in the reason for rejection. The Reason for rejection is a required field. After confirmation, the envelope process will be terminated immediately, and rejection log records will be added to both the timeline and activity log.

-
After the process is terminated, the system will automatically send rejection notifications (email/SMS, etc.) to all completed and to-be-completed envelope participants, including the name of the rejector and the reason for rejection.


