Service Center
Stamp Management
Before using the functions in this user manual, you need to understand the image material library restrictions corresponding to different versions:
- Trial version: does not support image material library function
- Basic version: does not support image material library function
- Professional version: supports image material library function
eSignGlobal provides users with stamp addition, editing, and deletion services, which can be used when signing documents.
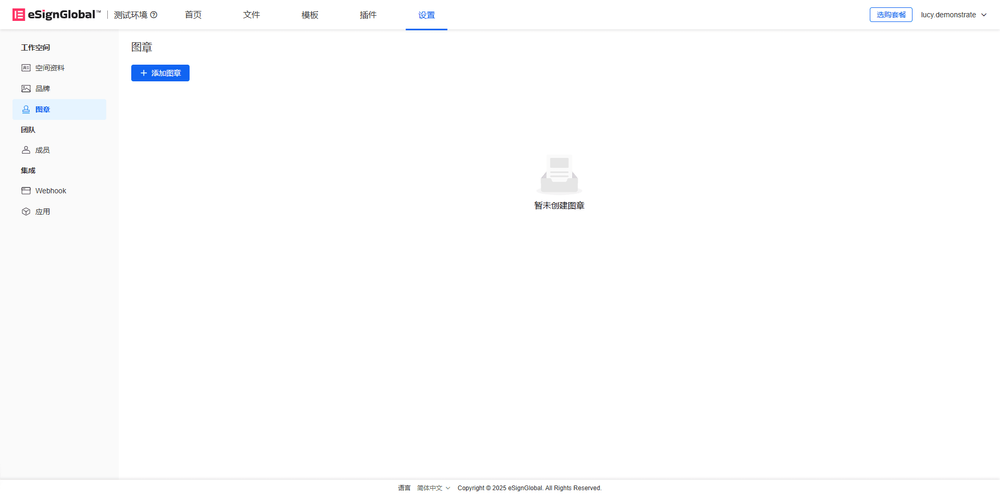
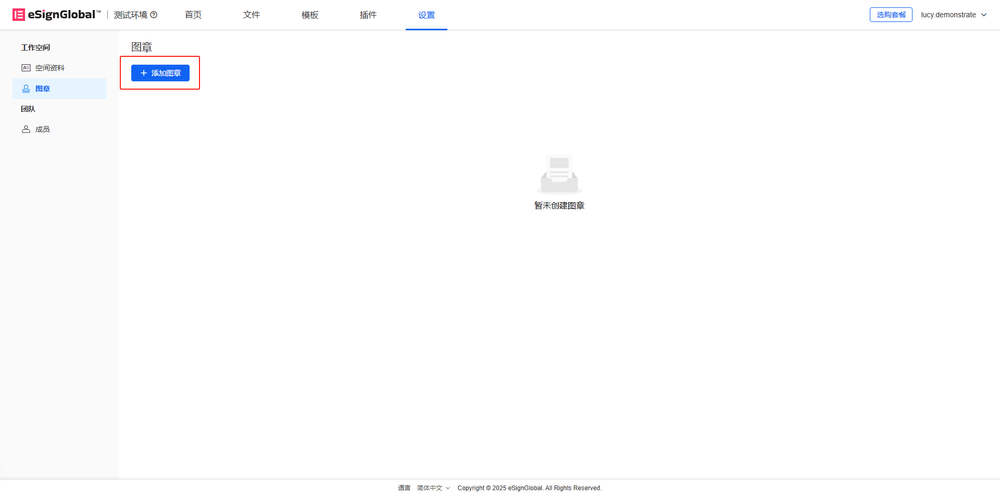
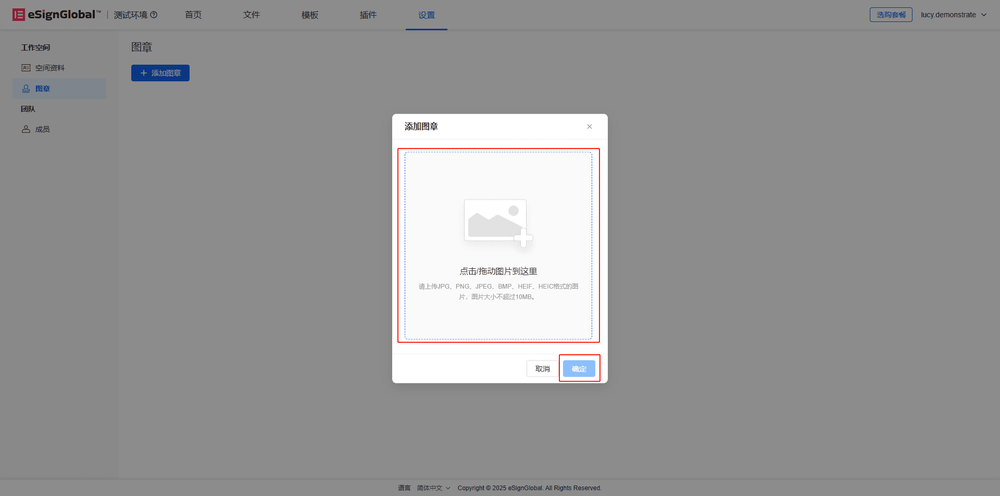
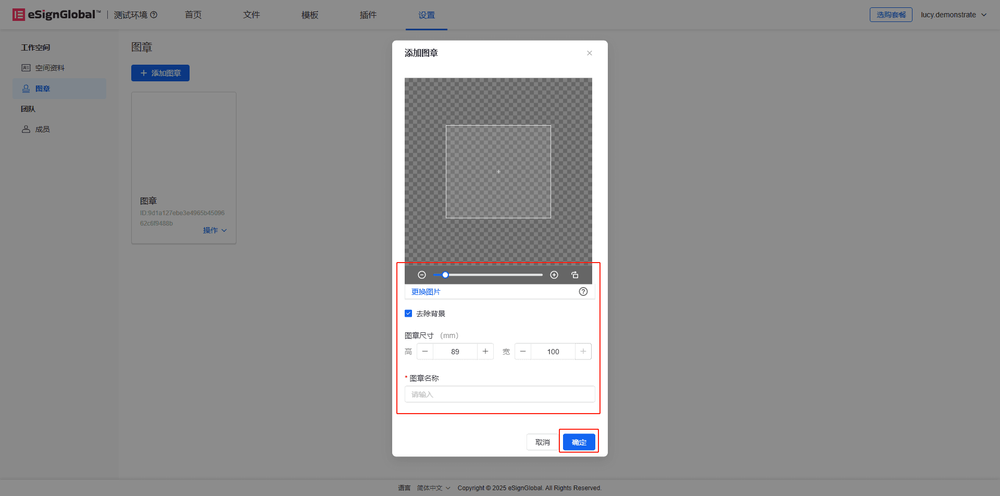
Creating Stamps
Note:
- The maximum number of stamps is 30.
- After exceeding the quantity limit, stamps cannot be added in the workspace.
-
Enter the workspace, select [Stamps], and click [Add Stamp].
-
Upload the stamp image and click [OK].
-
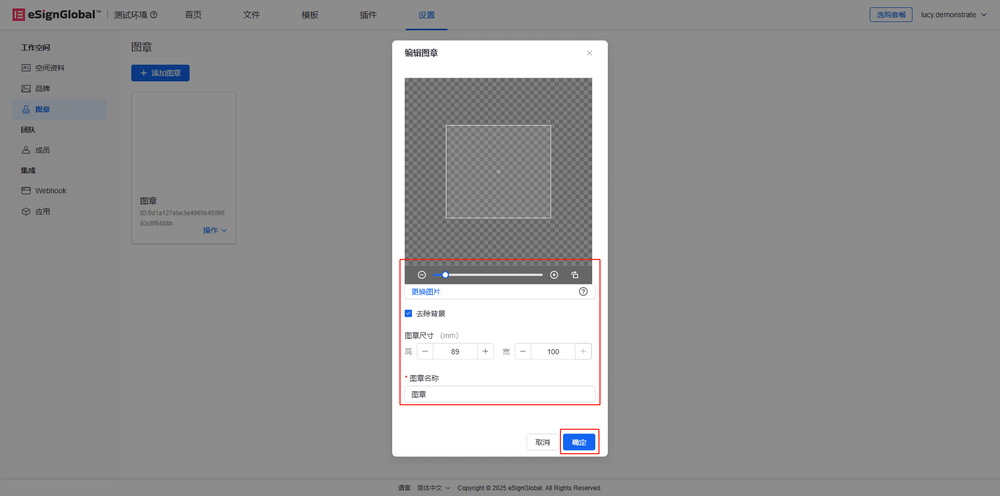
Fill in and set the stamp information.
a. Click [+] [-] to zoom in or out the stamp
b. Click [Remove Background] to automatically remove the background of the stamp image
c. The stamp size can be adjusted
-
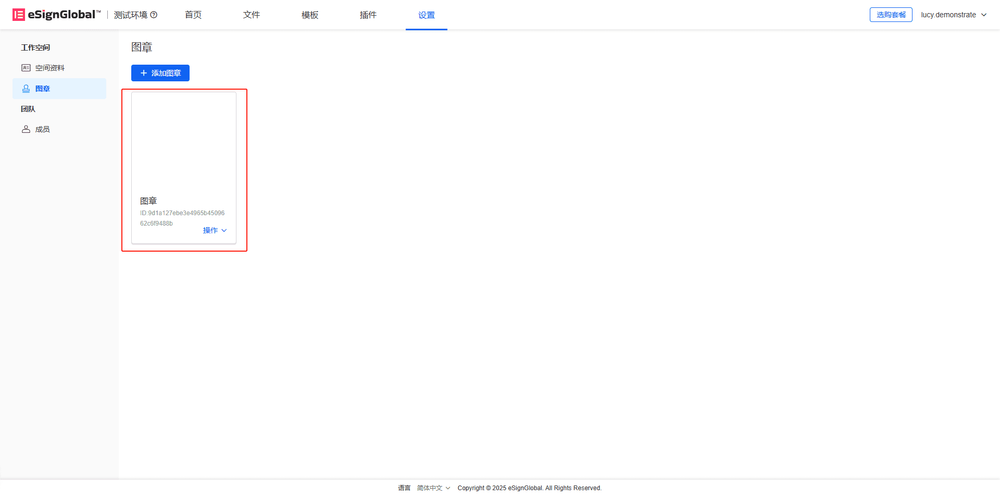
After the stamp is created, it can be viewed in the workspace.
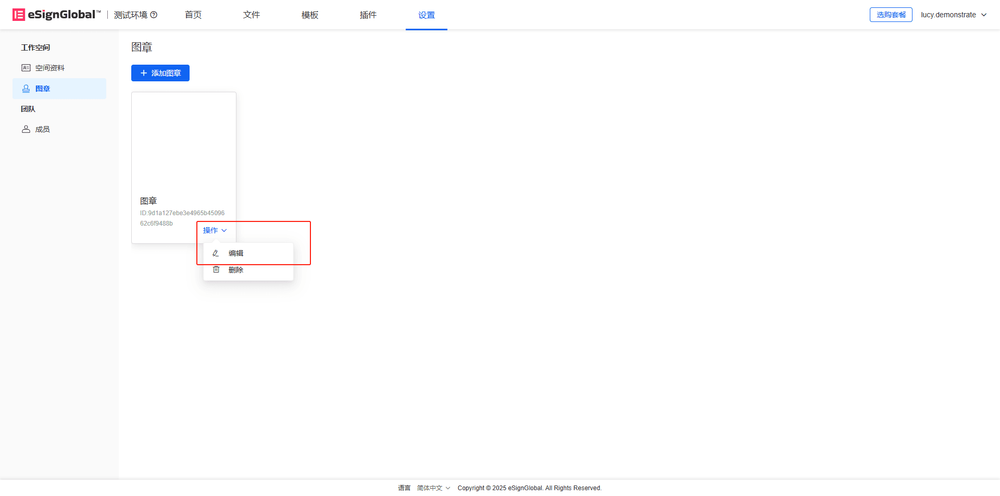
Editing Stamps
- Users click the drop-down arrow to the right of the [Operation] button and select [Edit].
- You can replace the image, adjust the stamp size, modify the stamp name, and choose whether to remove the background. After modification, click [OK].
- After editing, the edited stamp can be seen in the stamp library.

Deleting Stamps
- Users click the drop-down arrow to the right of the [Operation] button and select [Delete].
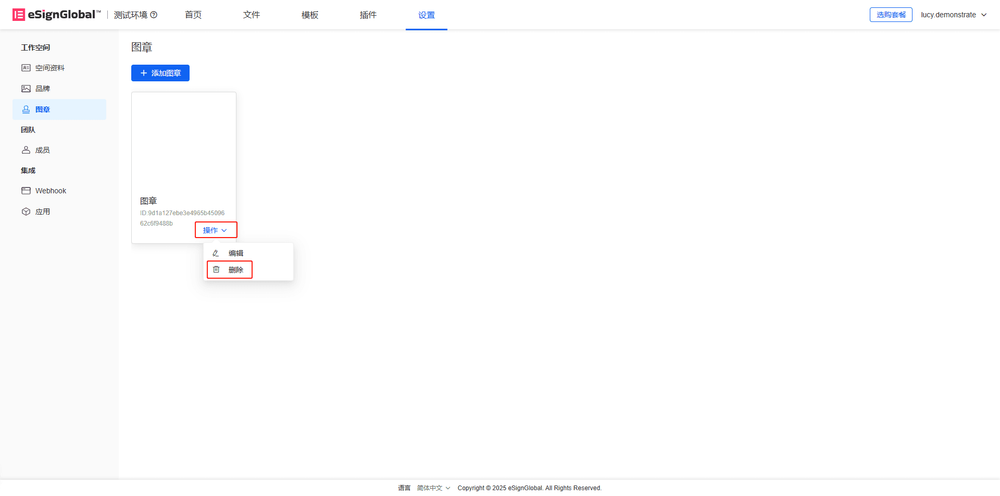
- Click [Delete].
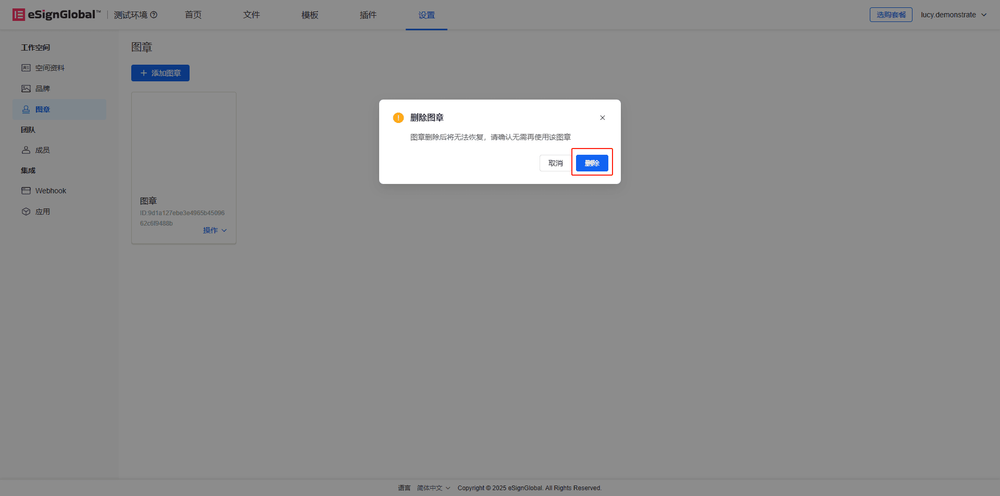
- After deletion, the deleted stamp is removed from the stamp library.