

 Service Center
Manage Smart Forms
Before using the features in this user manual, you need to understand the smart form restrictions corresponding to different versions:
- Experience Version: Does not support smart form function
- Basic Version: Does not support smart form function
- Professional Version: Supports smart form function
In eSignGlobal, you can efficiently manage the entire lifecycle of smart forms, flexibly enable new forms, disable expired forms, edit and adjust content, ensuring that forms always match business needs and optimize process efficiency.
Enable Smart Forms
-
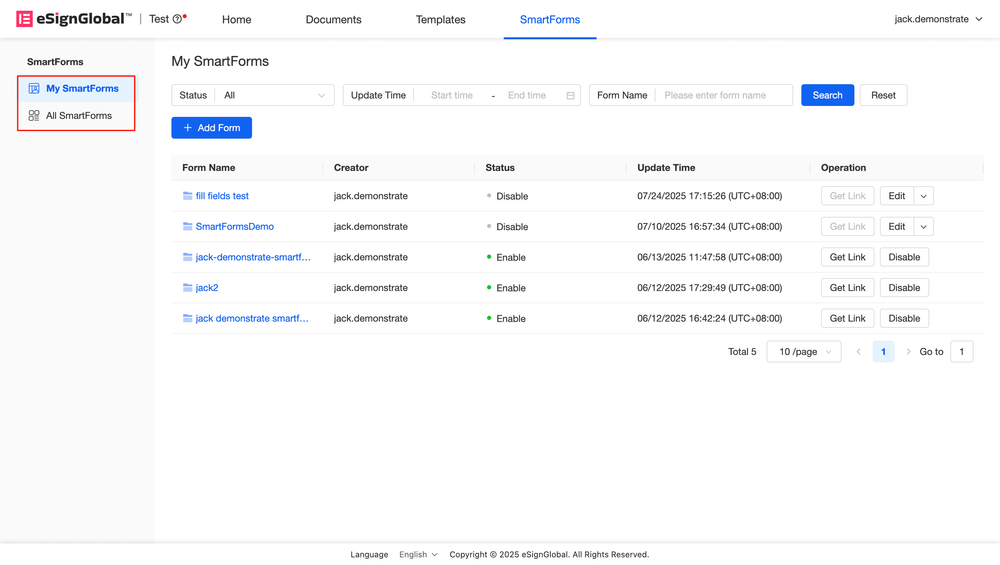
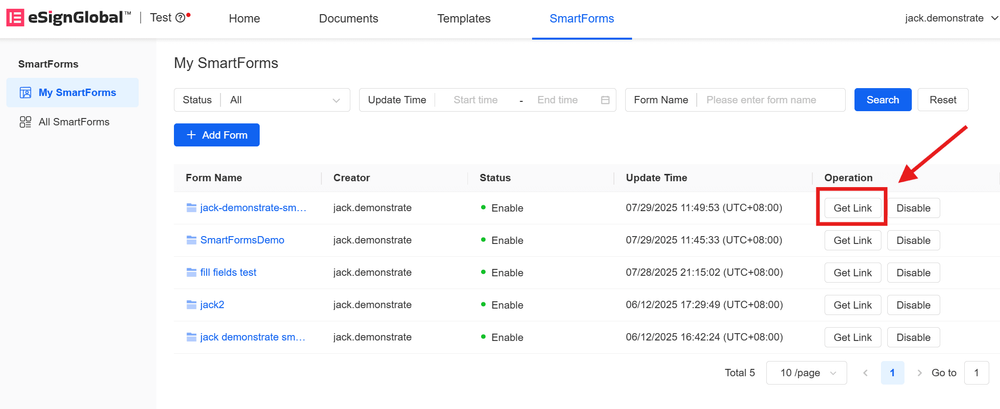
After logging in, click on 【Smart Forms】 in the top menu bar to enter 【My Smart Forms】.
-
To enable a form, click the 【Enable】 button on the right side of the corresponding form.
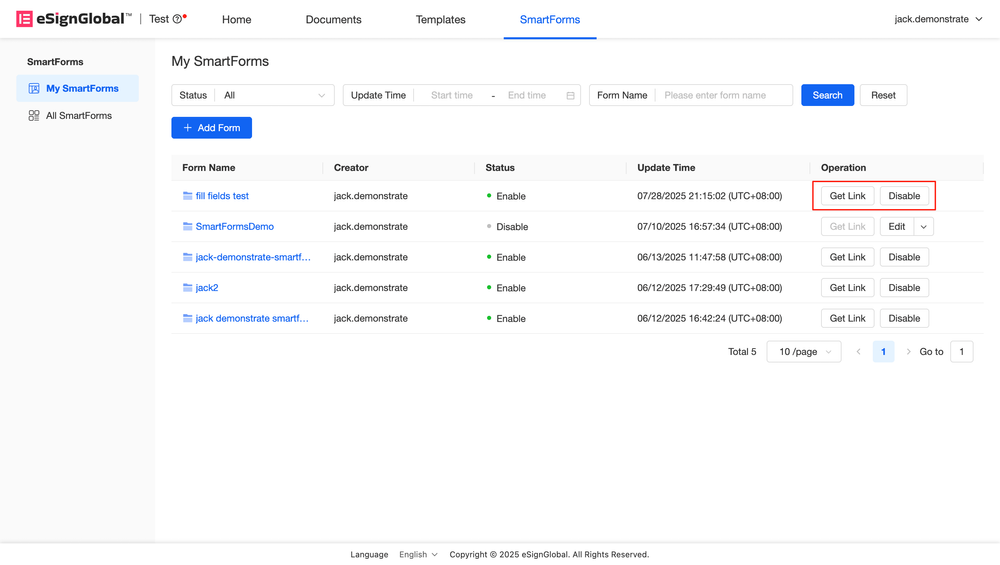
- After the form is enabled, you can obtain and share the QR code and link.
Note:
- After the form is enabled, the form creator can share the QR code and link with the form filler. After the form is filled, an envelope can be initiated.
Disable Smart Forms
-
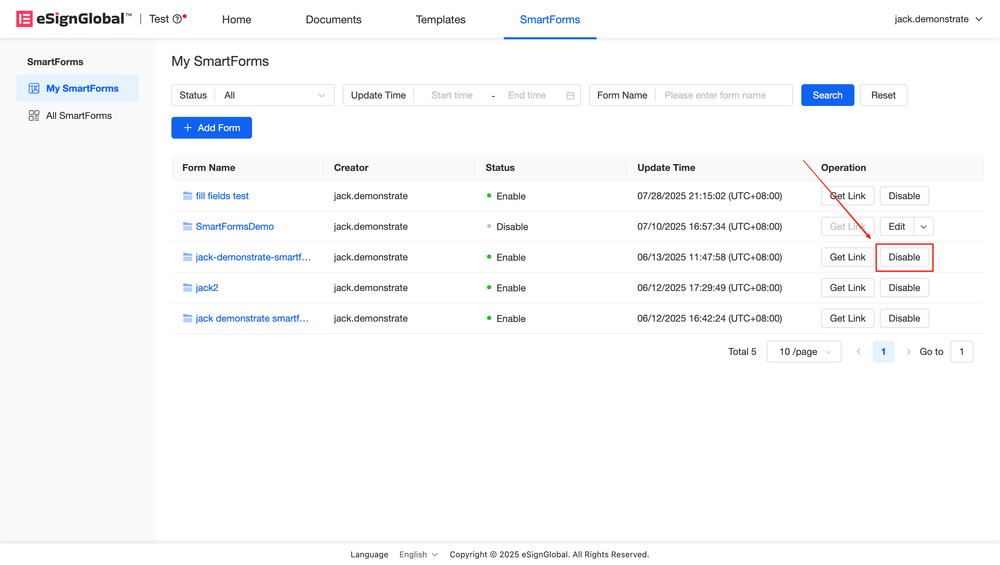
To temporarily disable a form, click the 【Disable】 button in the enabled form.
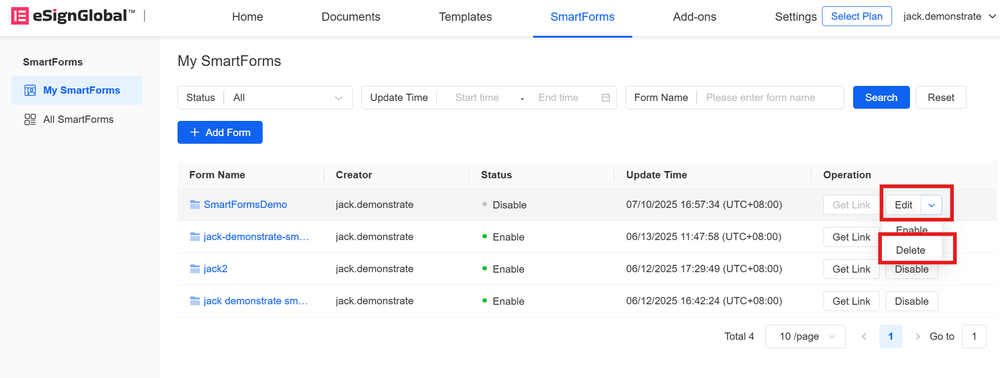
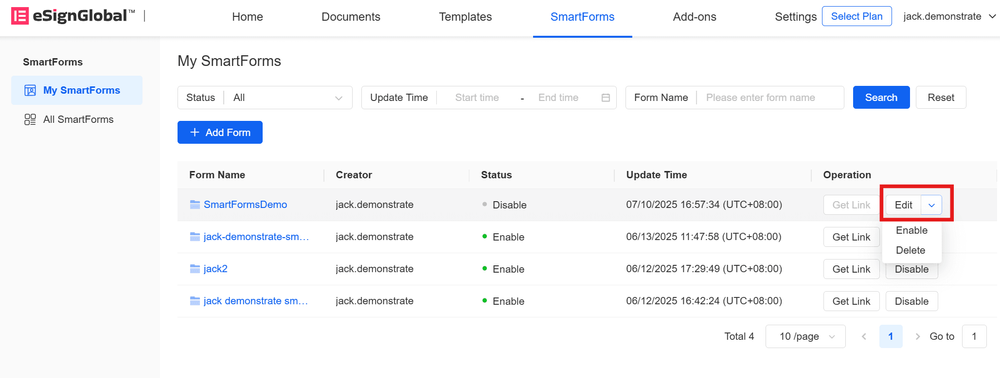
Delete Smart Forms
-
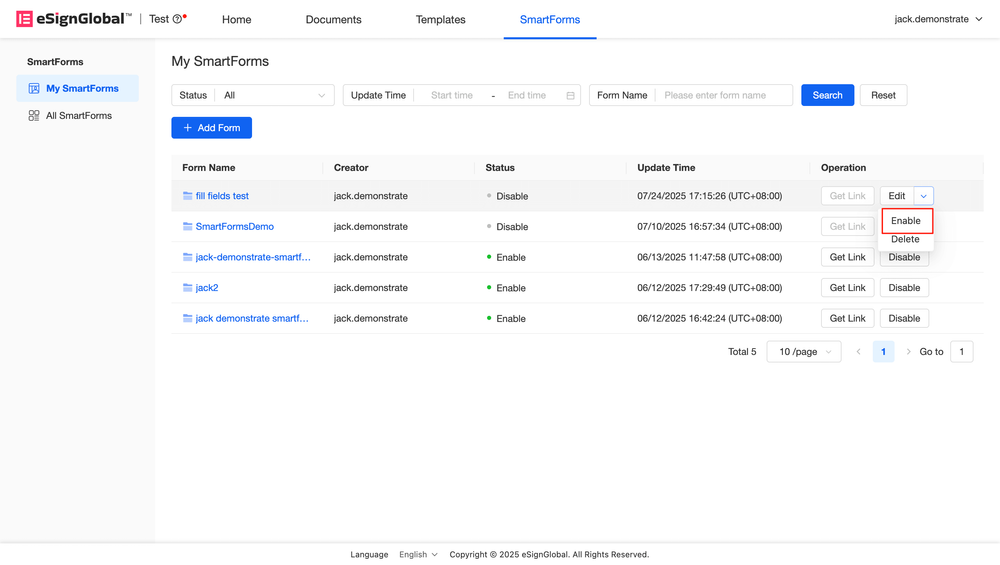
To delete a smart form, first change the form status to 【Disabled】, click the arrow to the right of 【Edit】 on the far right, and then click 【Delete】.
-
Click 【Delete】 again in the pop-up window.
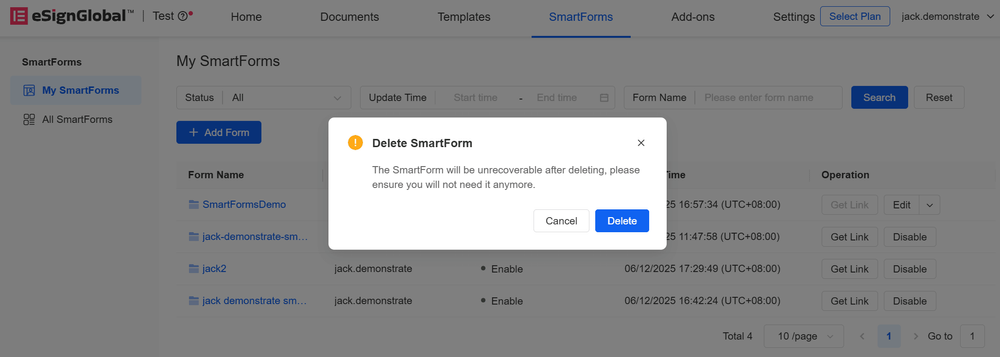
Note:
- Deleted forms cannot be recovered.
Edit Smart Forms
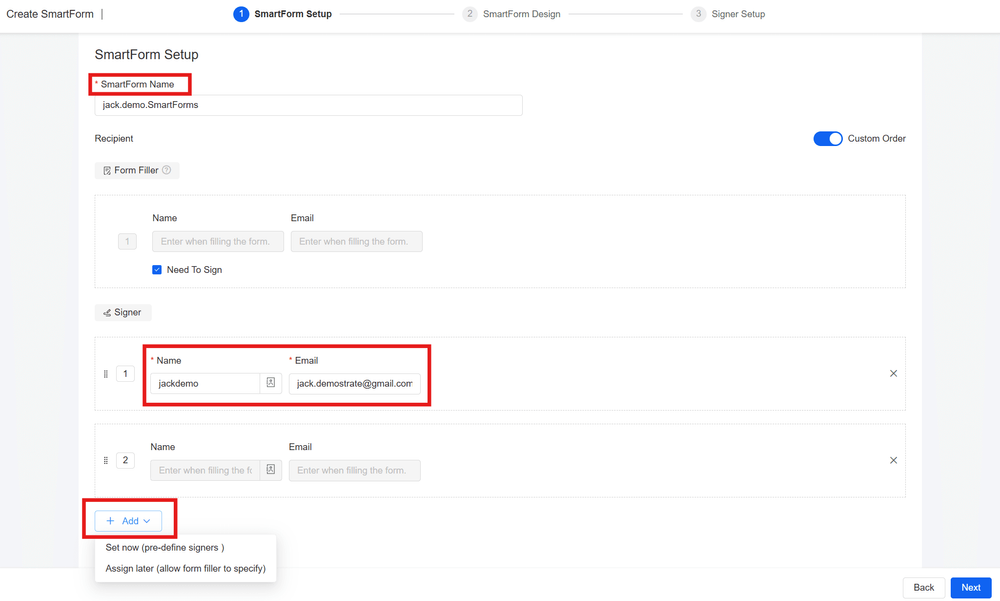
- To edit a smart form, first change the form status to 【Disabled】, click 【Edit】 on the far right.
-
Enter the 【Form Configuration】 page, where you can modify the form name, edit and add signer information. After editing, click 【Next】.
Note:
- You cannot change the template when editing a smart form. If you need to change the template, please exit and create a new smart form.
- On the 【Form Design】 page, you can add and delete fields as needed. After editing, click 【Next】.
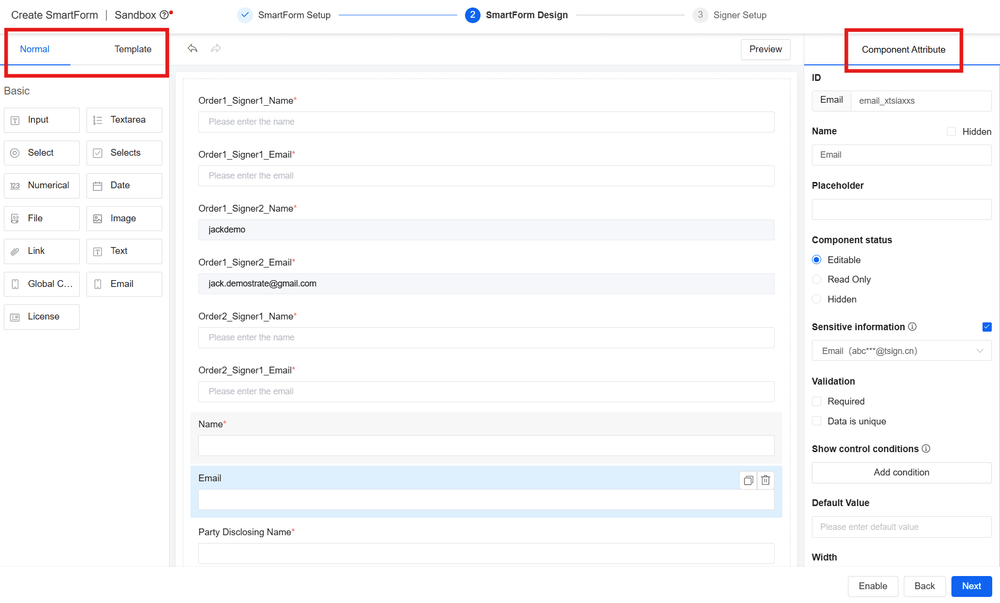
Note:
- Since smart forms are generated based on templates, any adjustments (add, edit, delete) to the initiator controls in your template will be automatically extracted during smart form editing.
- You can edit the basic attributes (component name, prompt, component status, and desensitization display, etc.) of fields in 【Common Components】. However, for fields in 【Template Components】, you cannot modify the component name, but you can add, delete, move, and modify prompts, suffixes, component status, etc.
-
Enter the 【Signer Settings】 page, where you can select the signer below 【Control Library】 on the right side, long press and drag the required basic controls to the corresponding position for editing. After editing, click 【Save】.
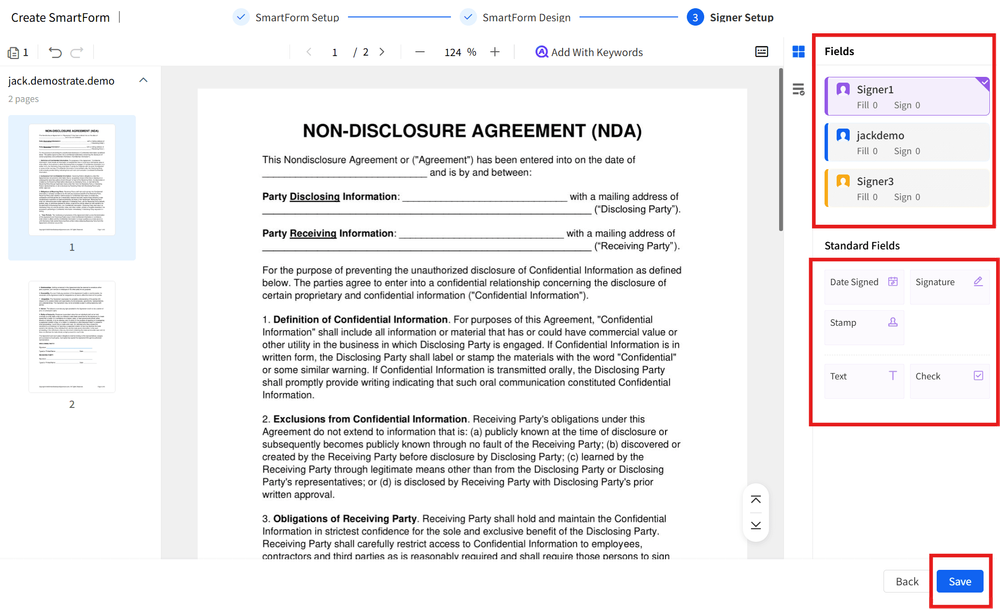
Note:
- If you set signer controls when creating a smart form, you must reset the signer controls when editing the smart form if you need to specify the signer position.
- After jumping to the creation success page, you can click to save the QR code or copy the link to share the form with the form collector. You can also edit the form expiration time and usage limit below the link.
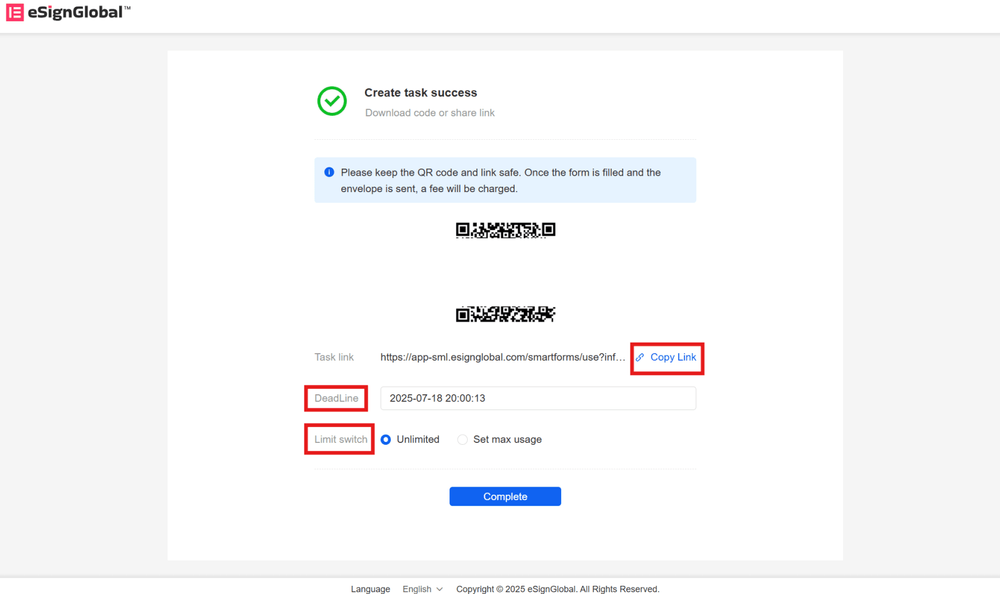
Note:
- Please keep the QR code and link properly. Once the form is filled and the envelope is sent, charges will be incurred.
Obtain Smart Form Link
-
For newly created or edited forms, you can save the QR code or form link after the form is created, and set the form expiration time and usage limit. For already created forms, you can click 【Get Link】 on the right side of the form you want to share on the 【Smart Forms】 > 【My Smart Forms】 page.
-
On the 【Task Details】 page, you can click to download the form QR code or copy the link. You can also modify the form expiration time and usage limit.
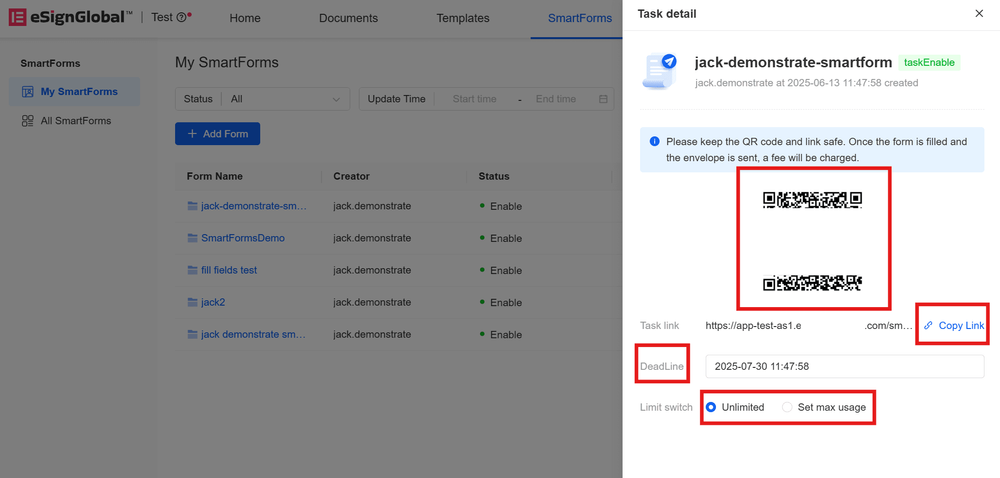
Explanation:
- Modifying the expiration date and usage limit will be automatically saved.
- After reaching the previous usage limit, the subsequent modified usage limit must be greater than the previous limit. For example, if the initial usage limit is set to 50 times, after reaching the limit, if you need to increase the usage limit, the set usage limit must be greater than 50 times.


