Service Center
User Groups
- All versions support the user group function
eSignGlobal supports super administrators to set user groups for users under the same workspace, simplifying authorization management and other tasks.
Create User Group
-
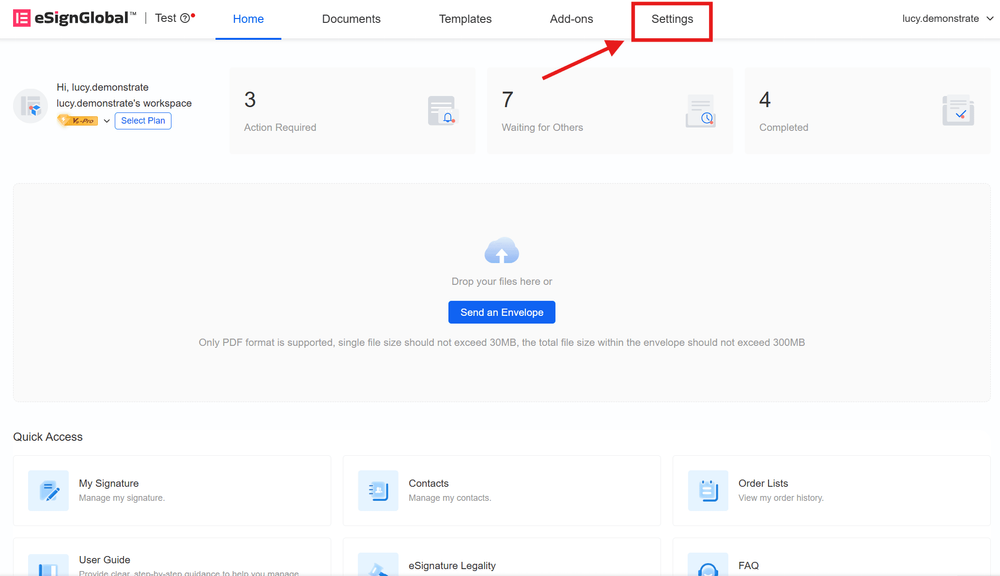
After the super administrator logs in to eSignGlobal, enter the homepage and click [Settings] on the top menu bar on the right.
-
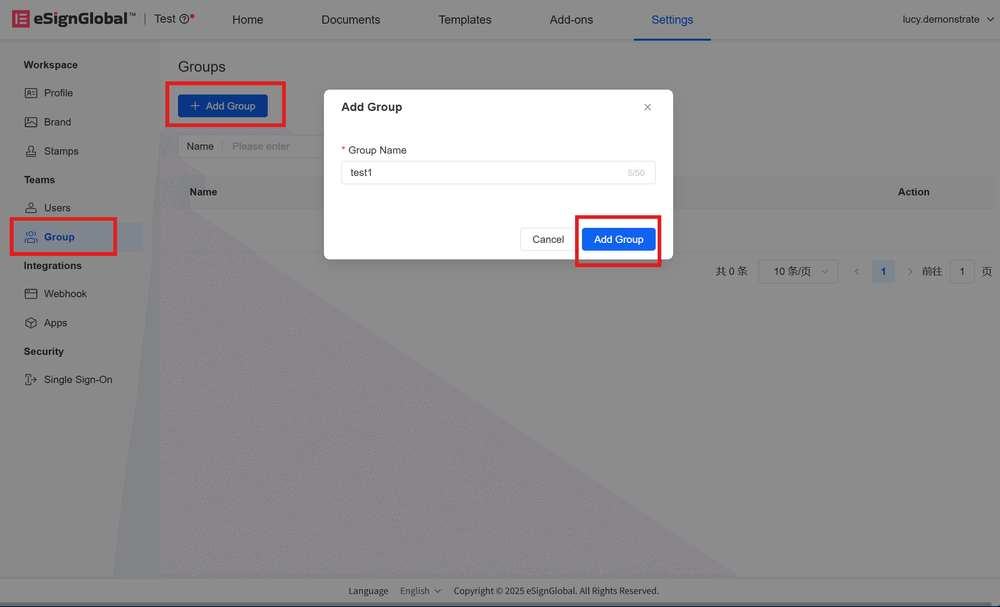
Click [Group] under the [Team] directory on the left, click [Add User Group], enter the user group name and add.
Manage User Group
Add User
-
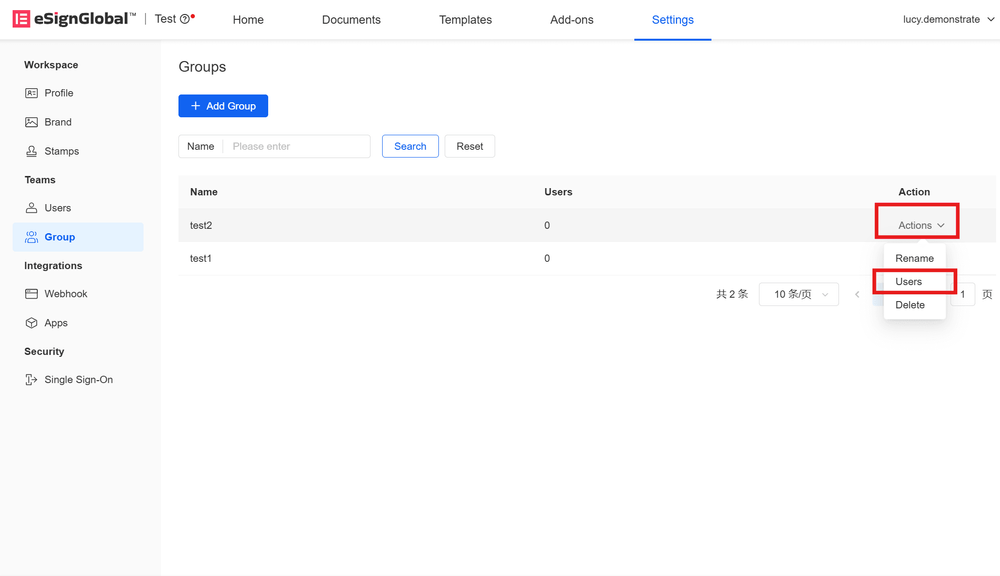
Click [Operation] on the right side of the user group, select [Manage Users].

-
Enter the user group that needs to be operated, click [Add User] in the upper left corner.
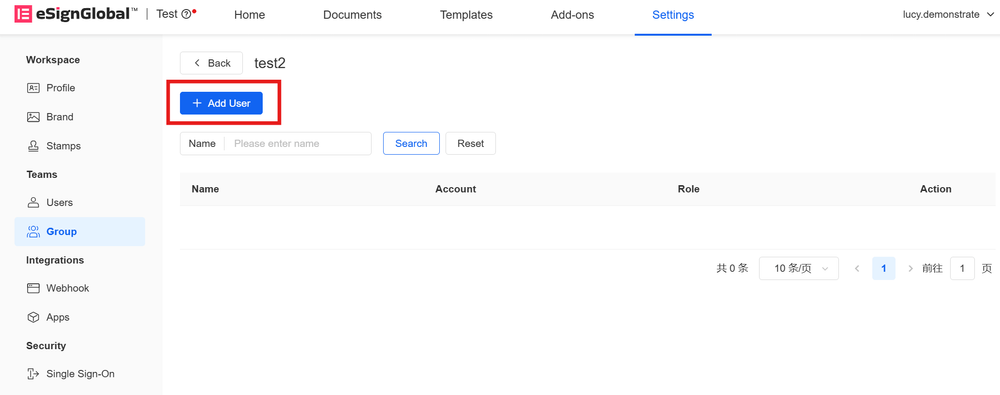
-
Select the user to be added and confirm.
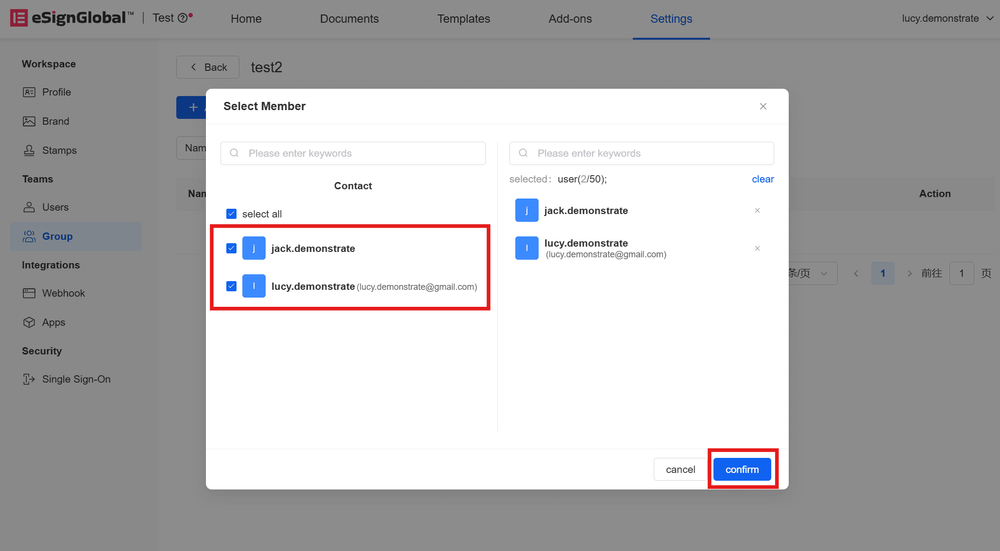
-
You can also group when adding team members. Click [Members] under the [Team] directory on the left, select [Add Member]. Group members under [User Group] at the bottom of the [Invite Members] pop-up window.

Note:
When grouping members through this method, only existing user groups can be selected.
Remove User
-
Click [Operation] on the right side of the user group, select [Manage Users].
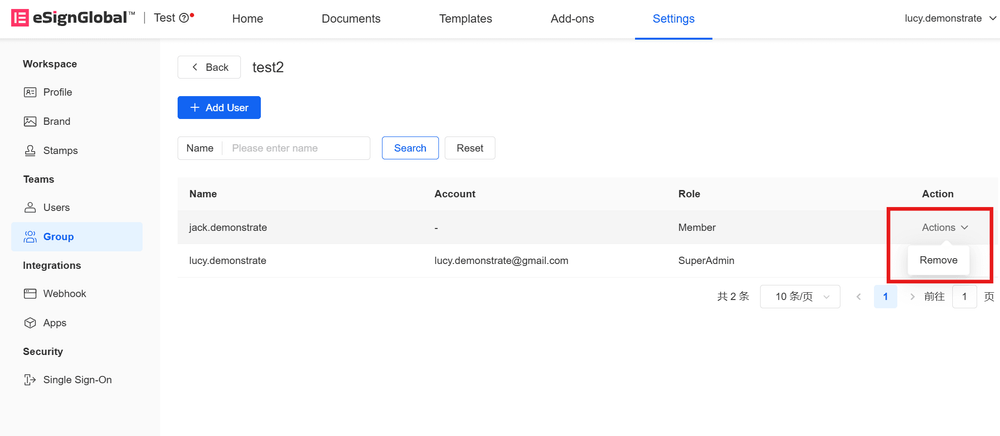
-
Enter the user group, click [Operation] > [Remove] on the right side of the user to remove the user from the group. This operation will not remove the user from the workspace.
Rename User Group
If you need to change the user group name, click [Operation] > [Rename] on the right side of the user group you want to operate on the [User Group] page.
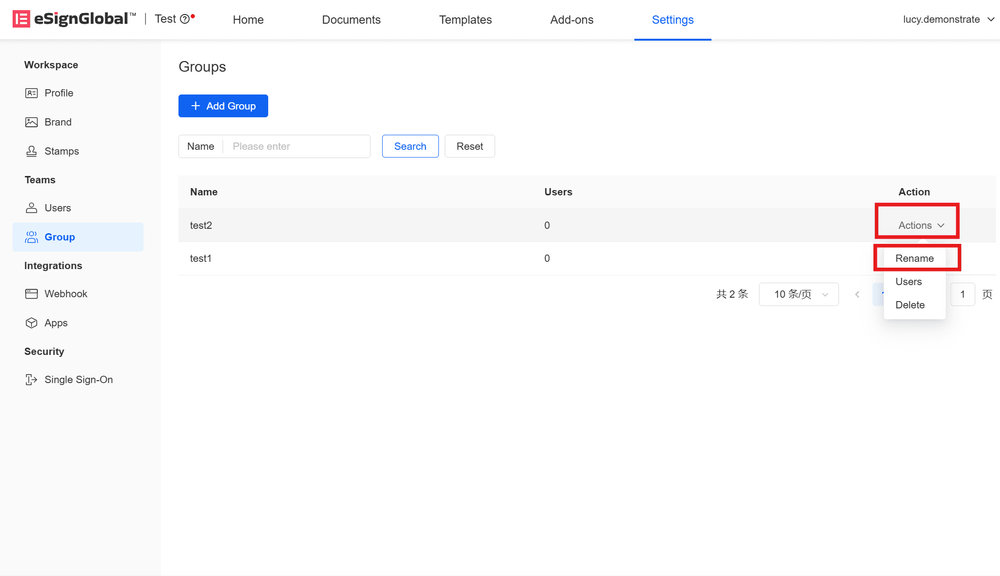
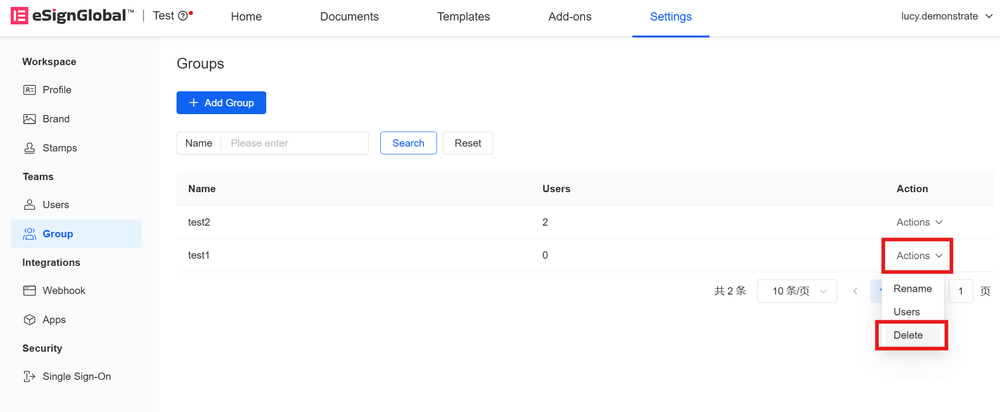
Delete User Group
-
Before deleting the user group, you need to remove all users in the group. The operation to remove users can be found in the user manual User Group - Manage User Group - Remove User.
-
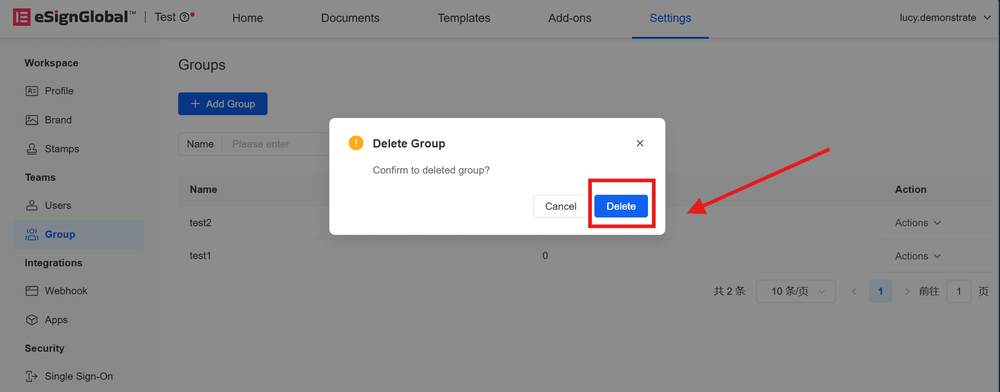
When the [Number of Users in the Group] is 0, click [Operation] on the right side of the user group you want to operate, select [Delete], and confirm.