Service Center
Scheduled Envelope Sending
Before using the features in this user manual, you need to understand the scheduled sending limits corresponding to different versions:
- Trial Version: Does not support scheduled sending function
- Basic Version: Does not support scheduled sending function
- Professional Version: Supports scheduled sending function
eSignGlobal provides the envelope scheduled sending function, allowing users to preset the sending time. Time settings can be completed on both the initiation page and the designated signing location page.
Scheduled Sending Plugin Installation
-
Find the scheduled sending on the plugin page, click [Install].

Setting Sending Time on the Initiation Page
-
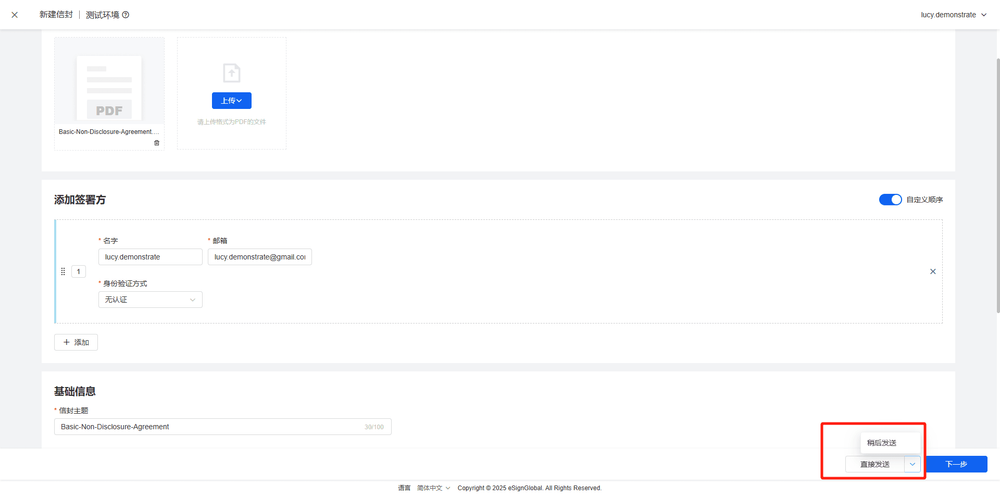
When creating a new envelope, click the dropdown arrow to the right of the [Send Now] button on the initiation page, and select [Send Later].
-
Set the sending date and time, click [Save].

-
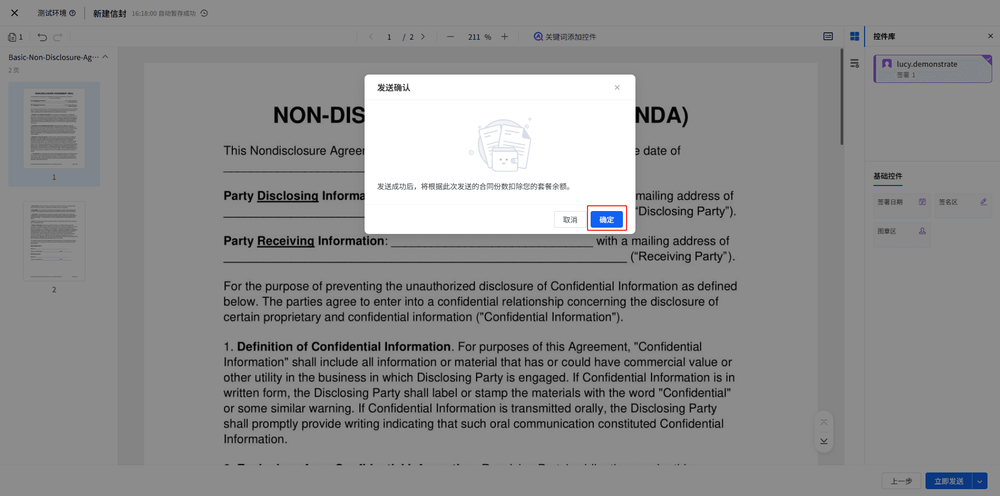
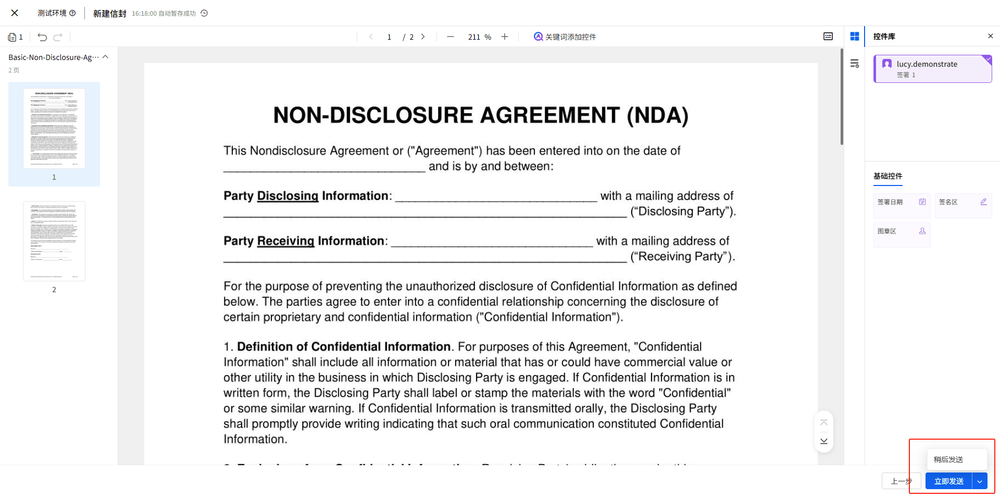
Click [Send Now] to send a free sign, click [Confirm] to complete the envelope initiation; click [Next] to enter the designated signing location page.
Setting Sending Time on the Designated Signing Location Page
-
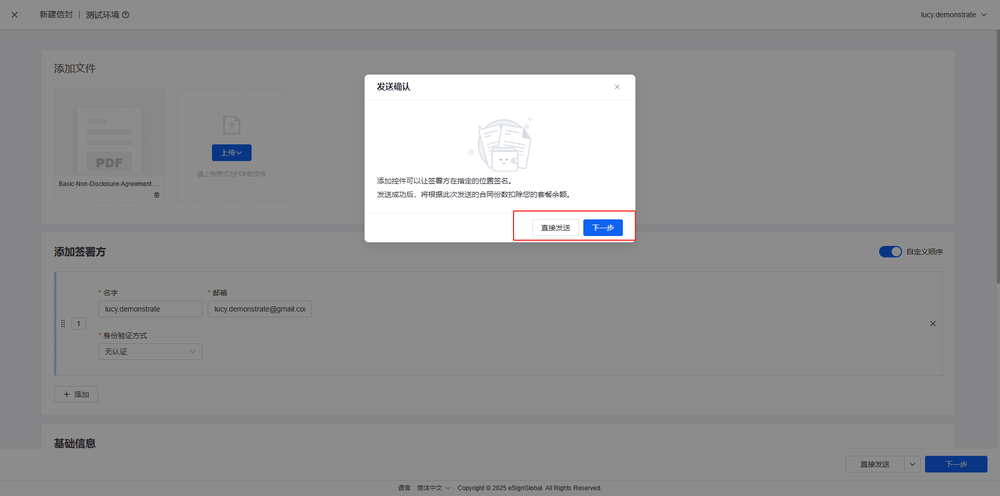
When creating a new envelope, click the dropdown arrow to the right of the [Send Now] button on the designated signing location page, and select [Send Later].
-
Set the sending date and time, click [Save].

-
Click [OK] to complete the envelope sending.