


eSignGlobal supports identity federation based on SAML2.0. You can integrate Microsoft Entra ID with eSignGlobal by SAML2.0 to enable single sign-on eSignGlobal for Microsoft Entra ID accounts. It is not necessary to create a CAM user for every user of the enterprise or organization.
Create a Microsoft Entra ID application
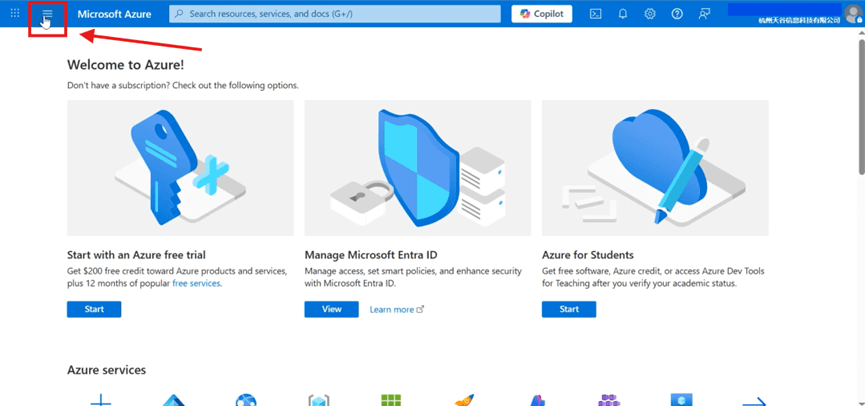
- After logging in to Azure Portal, click [display menu] on the left of the top to enter [Microsoft Entra ID].

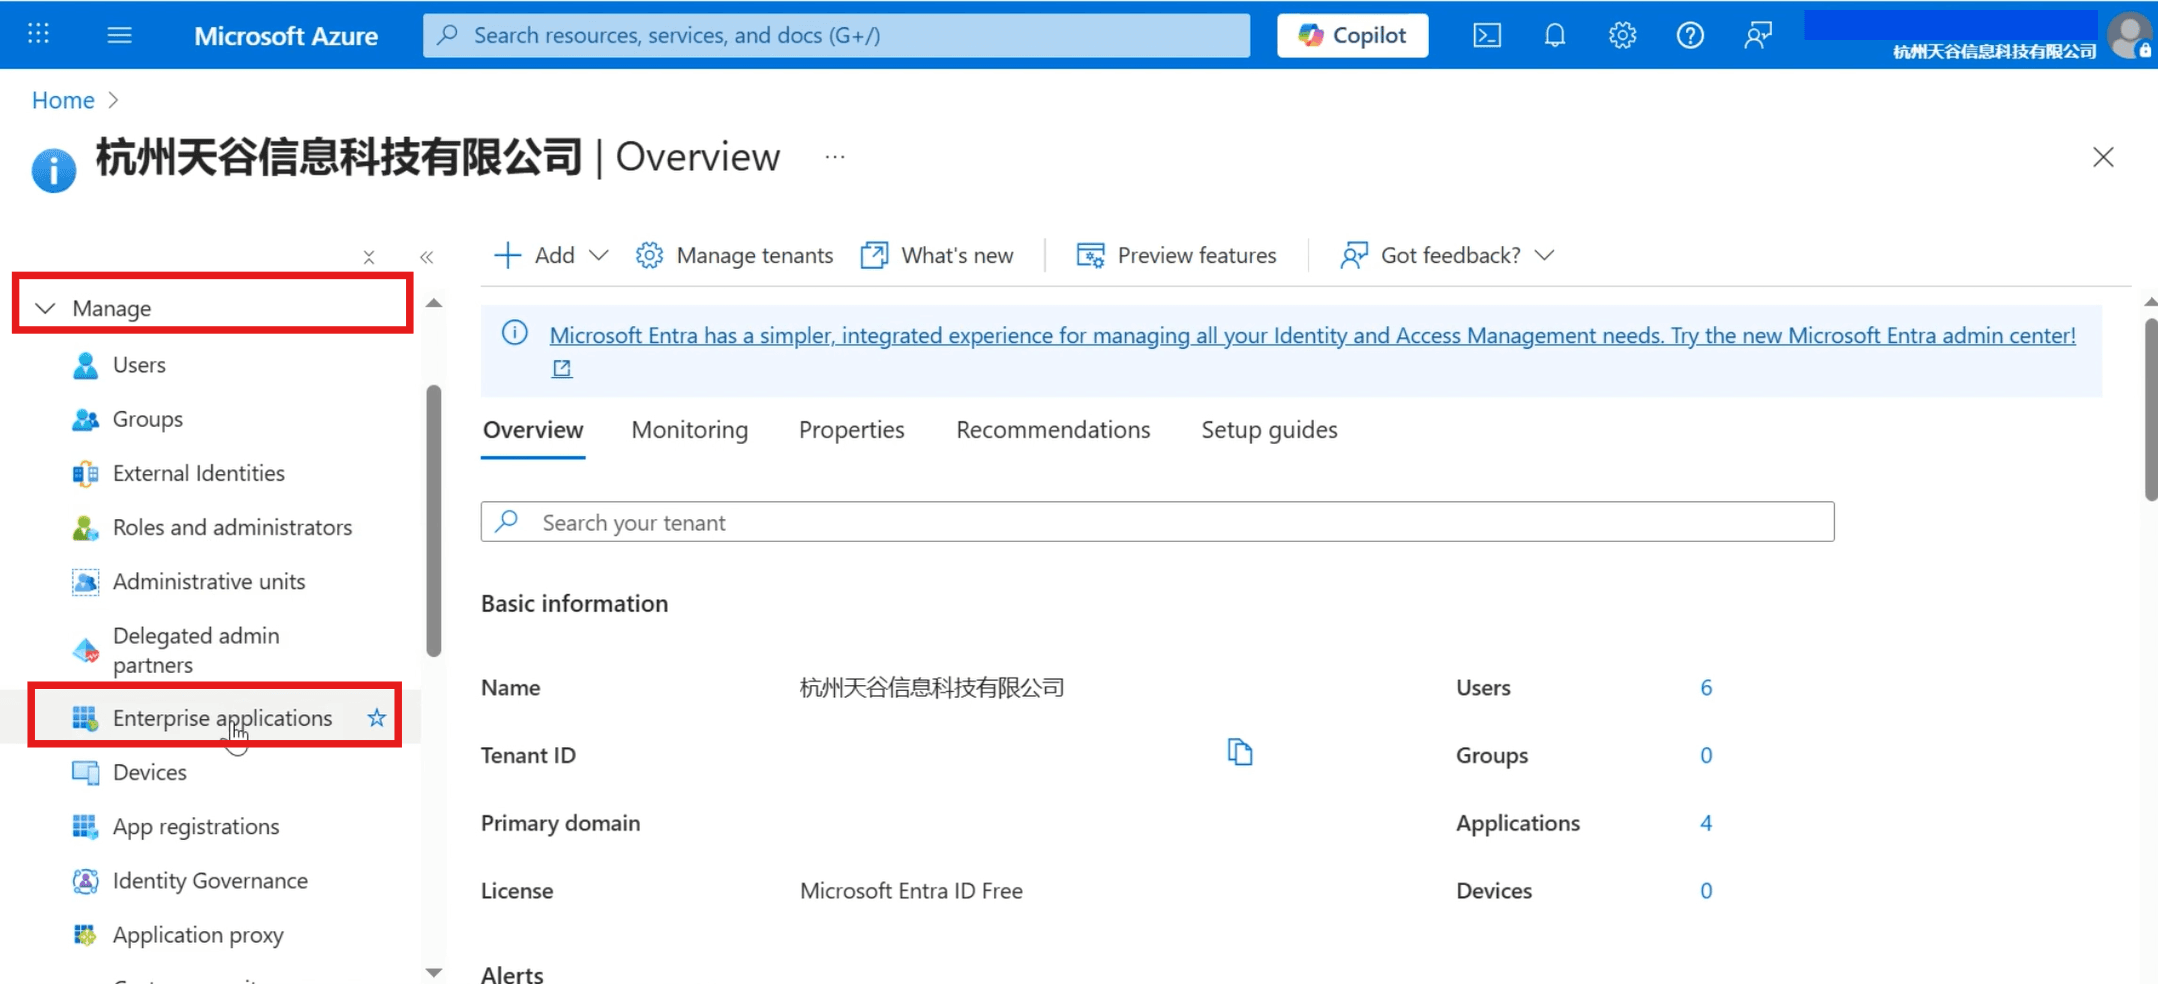
- Click [Enterprise applications] in the [Manage] column on the left.
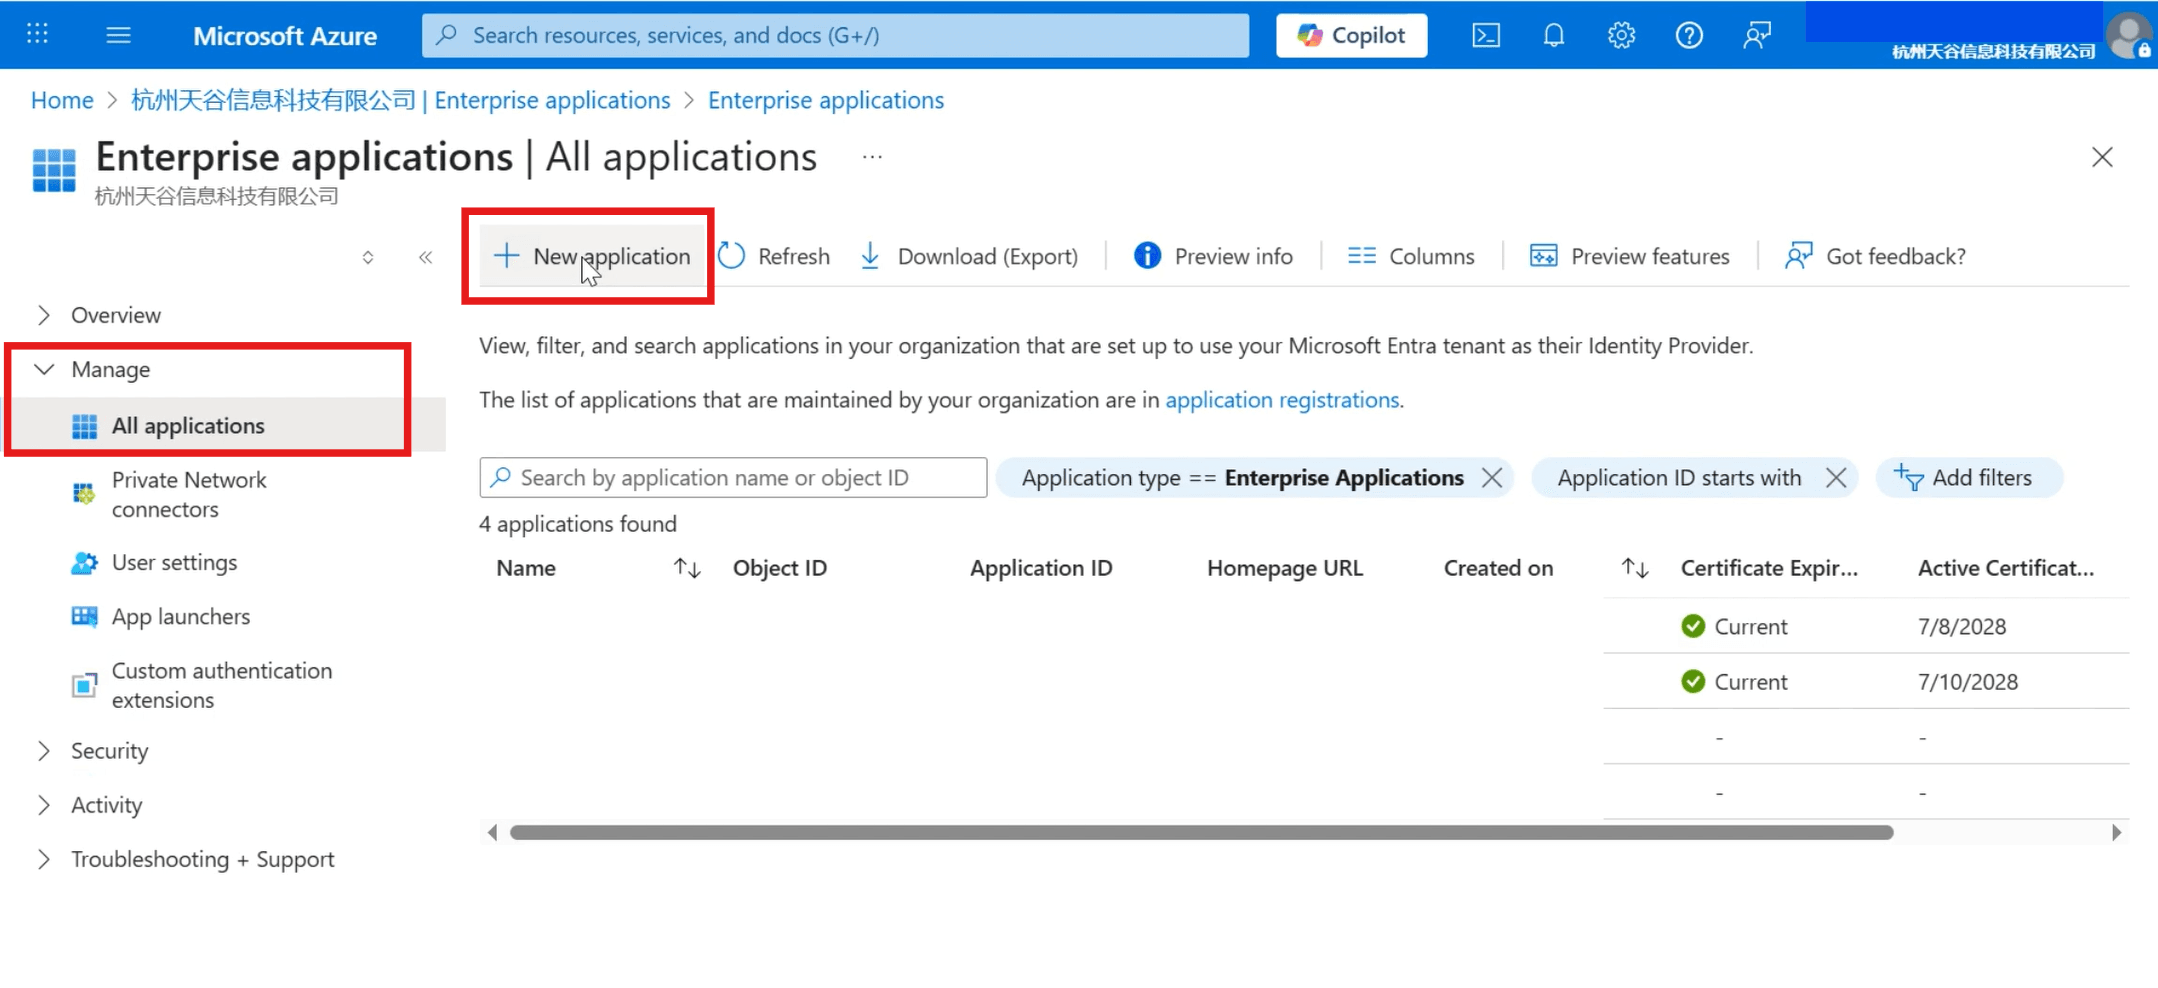
- Click [All applications] in the left menu bar, then click [New application].
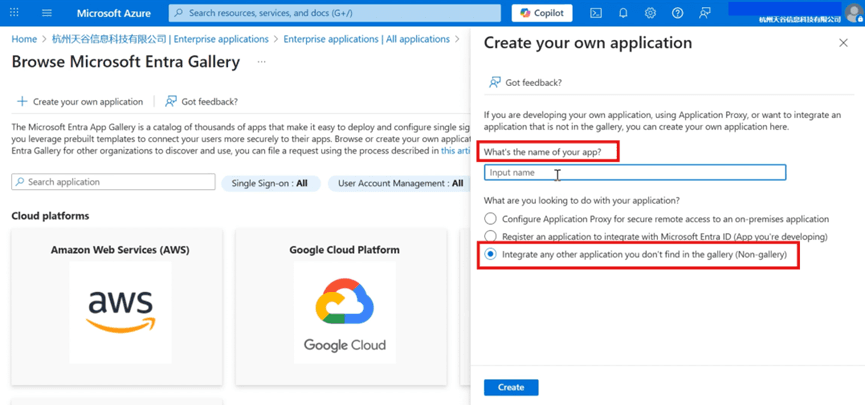
- Click [Create your own application] in the top menu bar.
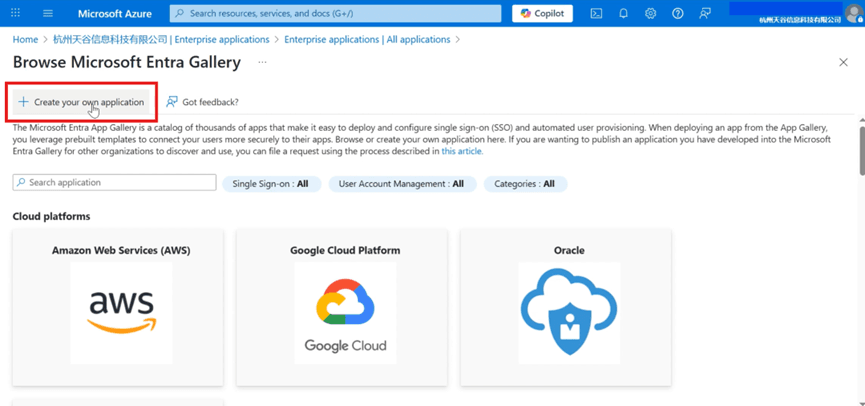
- Input the application name, select [Integrate any other application you don't find in the gallery (Non-gallery)] and create.
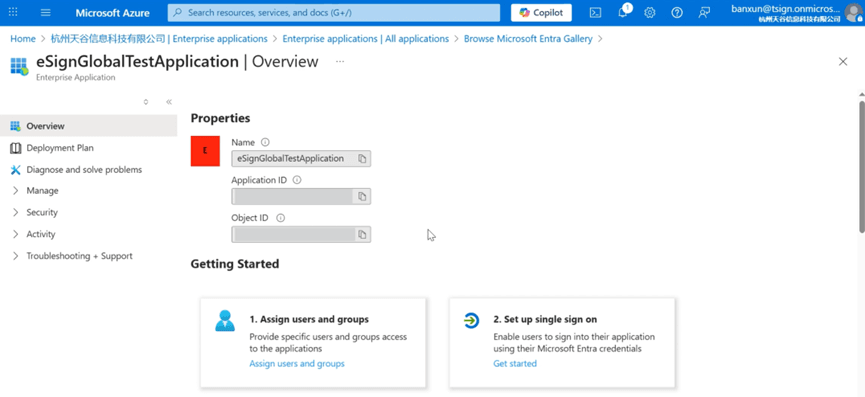
- The following page appears to indicate creating successfully.
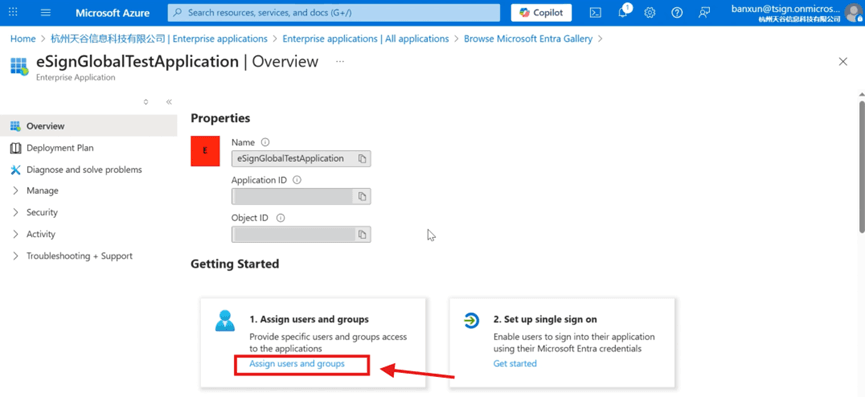
Assign user access
- Click [Assign users and groups].
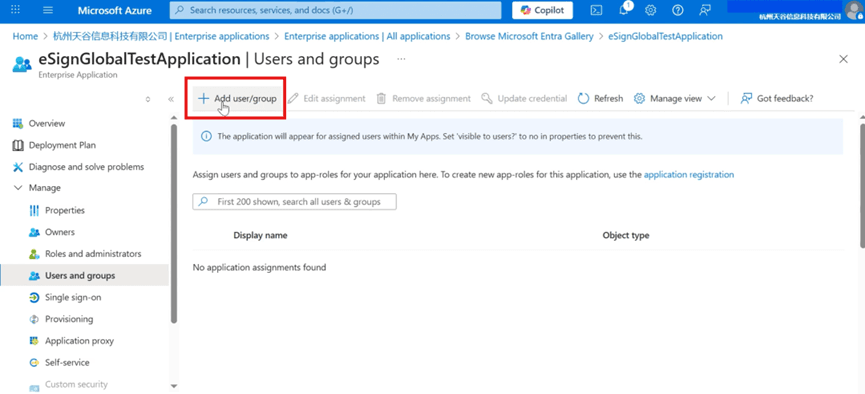
- Click [Add user/group].
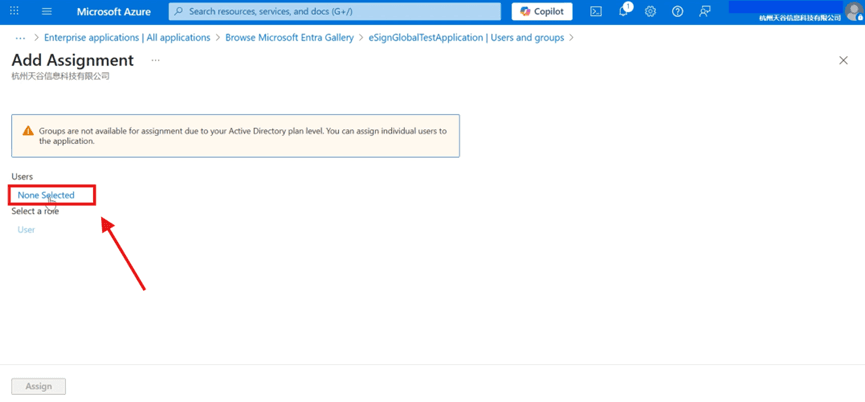
- Click [None Selected] to enter the add user page.
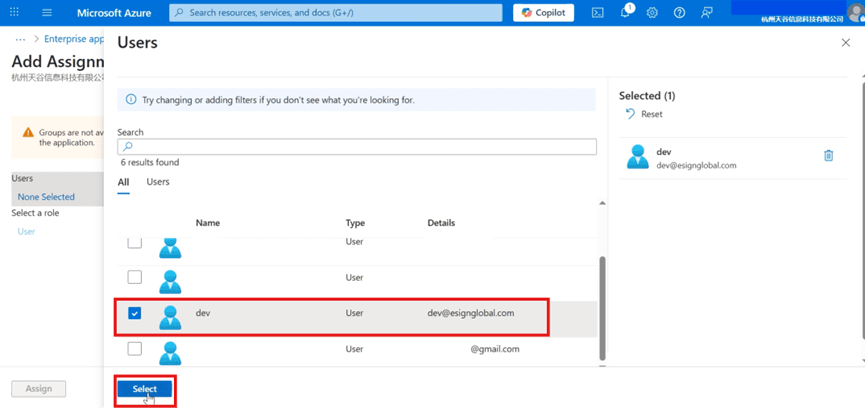
Select the required user and confirm the selection.
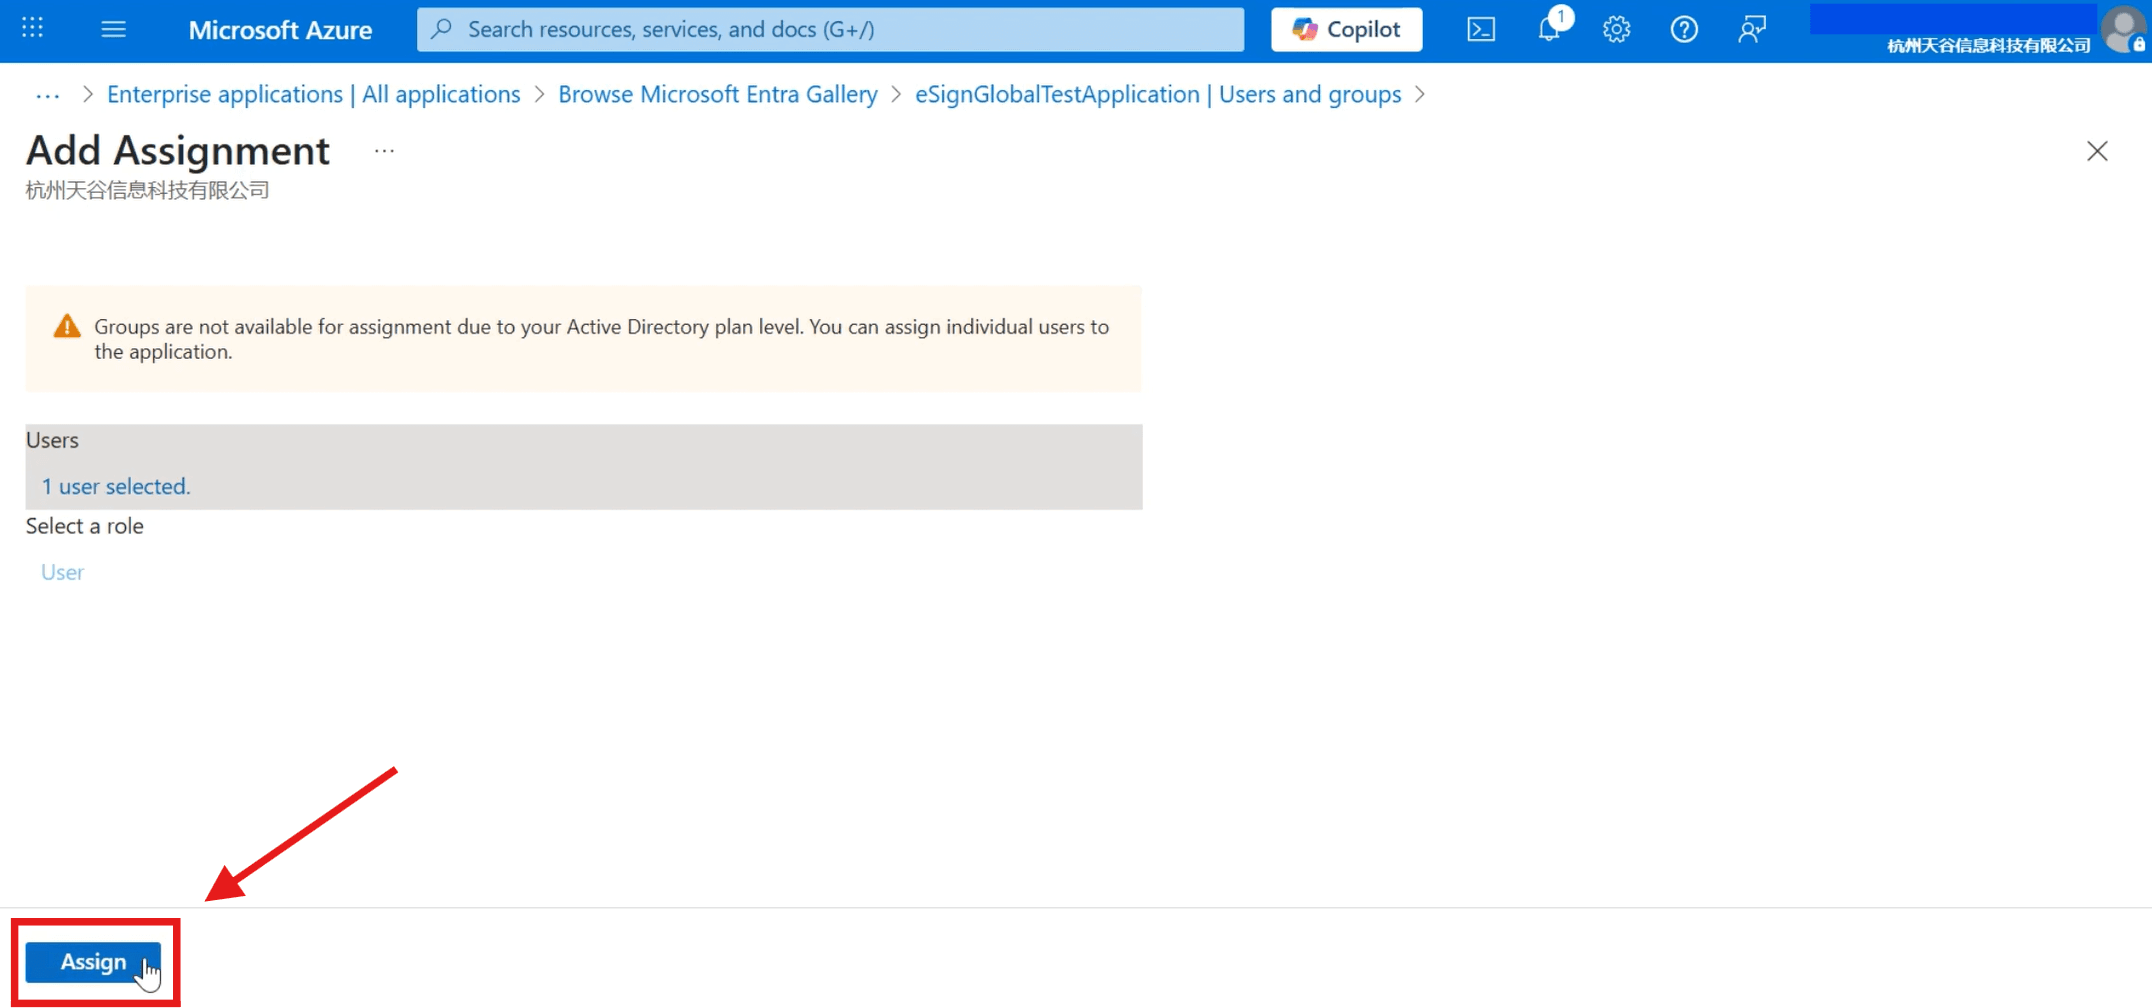
- Click [Assign] to complete the assignment.
- You can view the added users in the [Users and groups].

Set up single sign-on
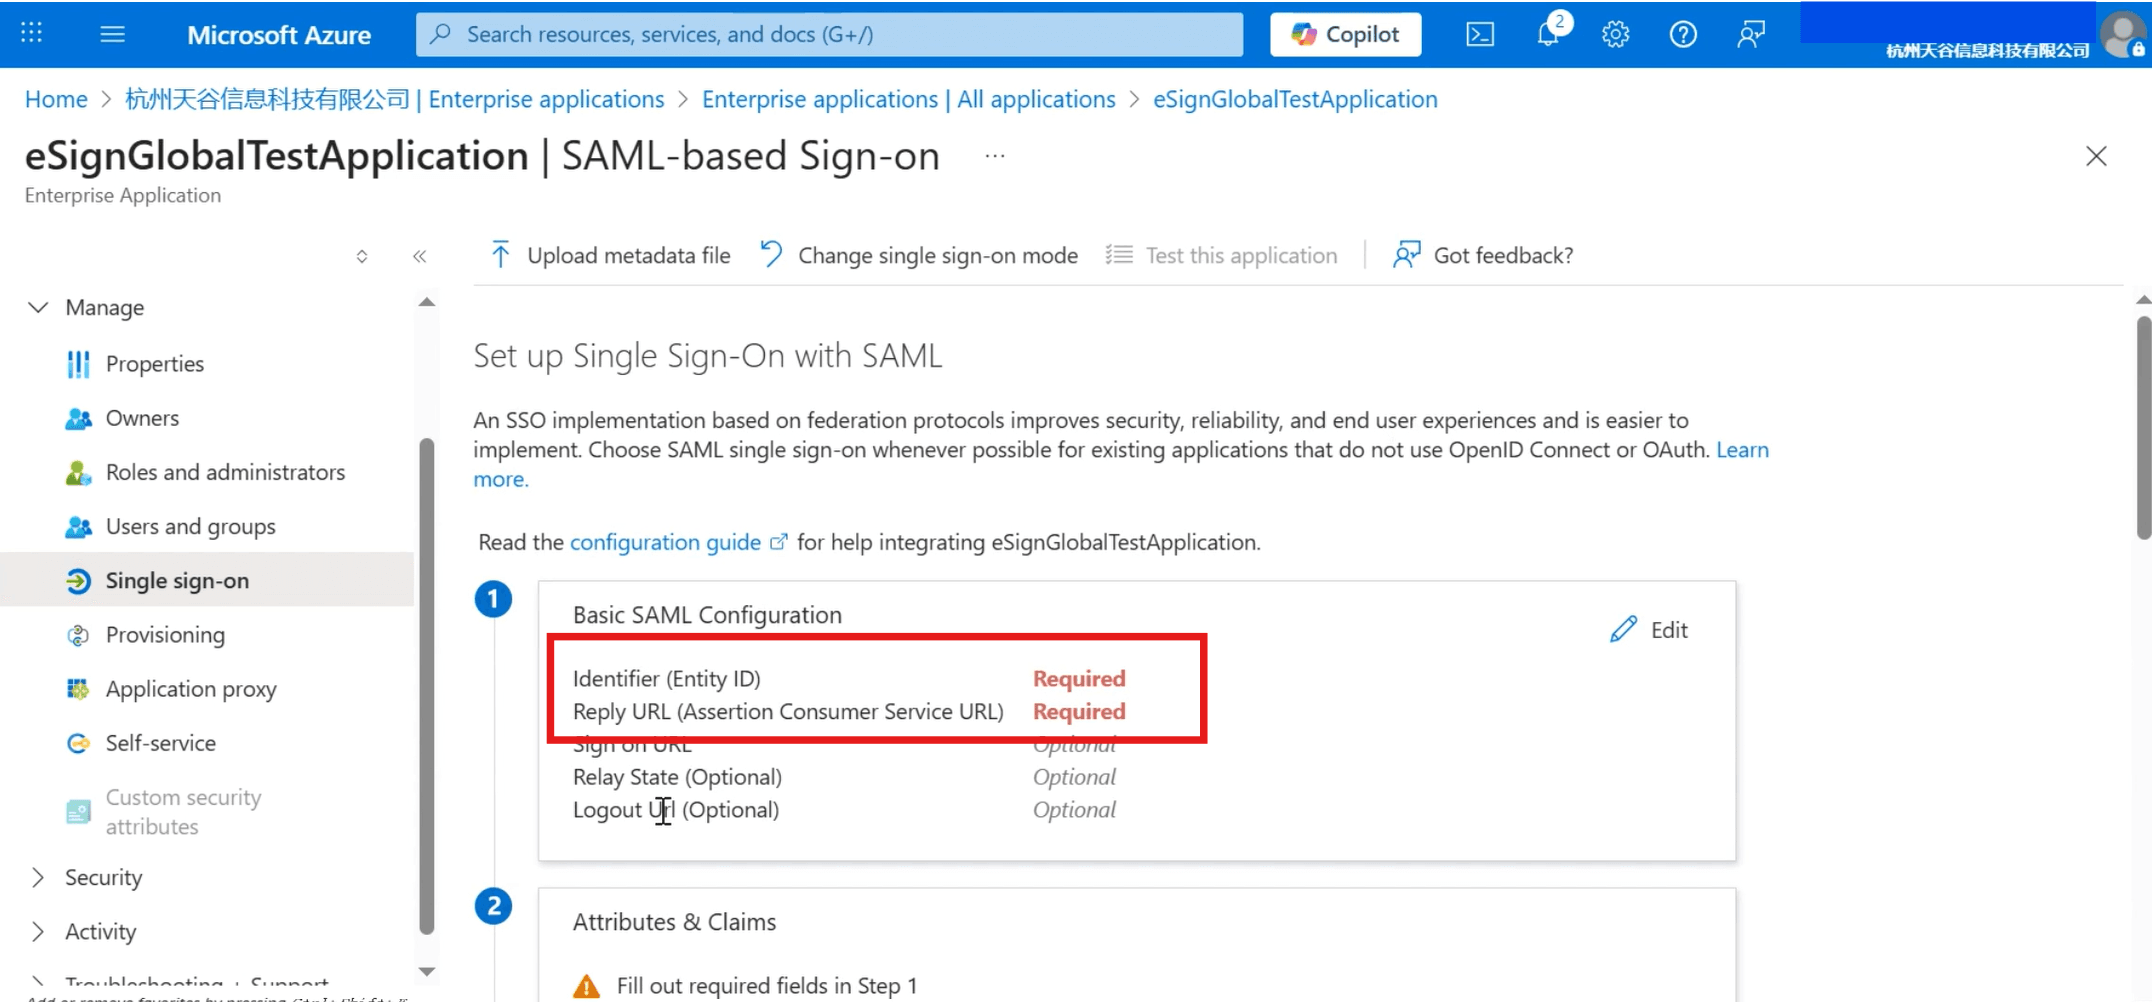
- Click the menu bar on the left [Single sign-on] and select [SAML] as the single sign-on method.

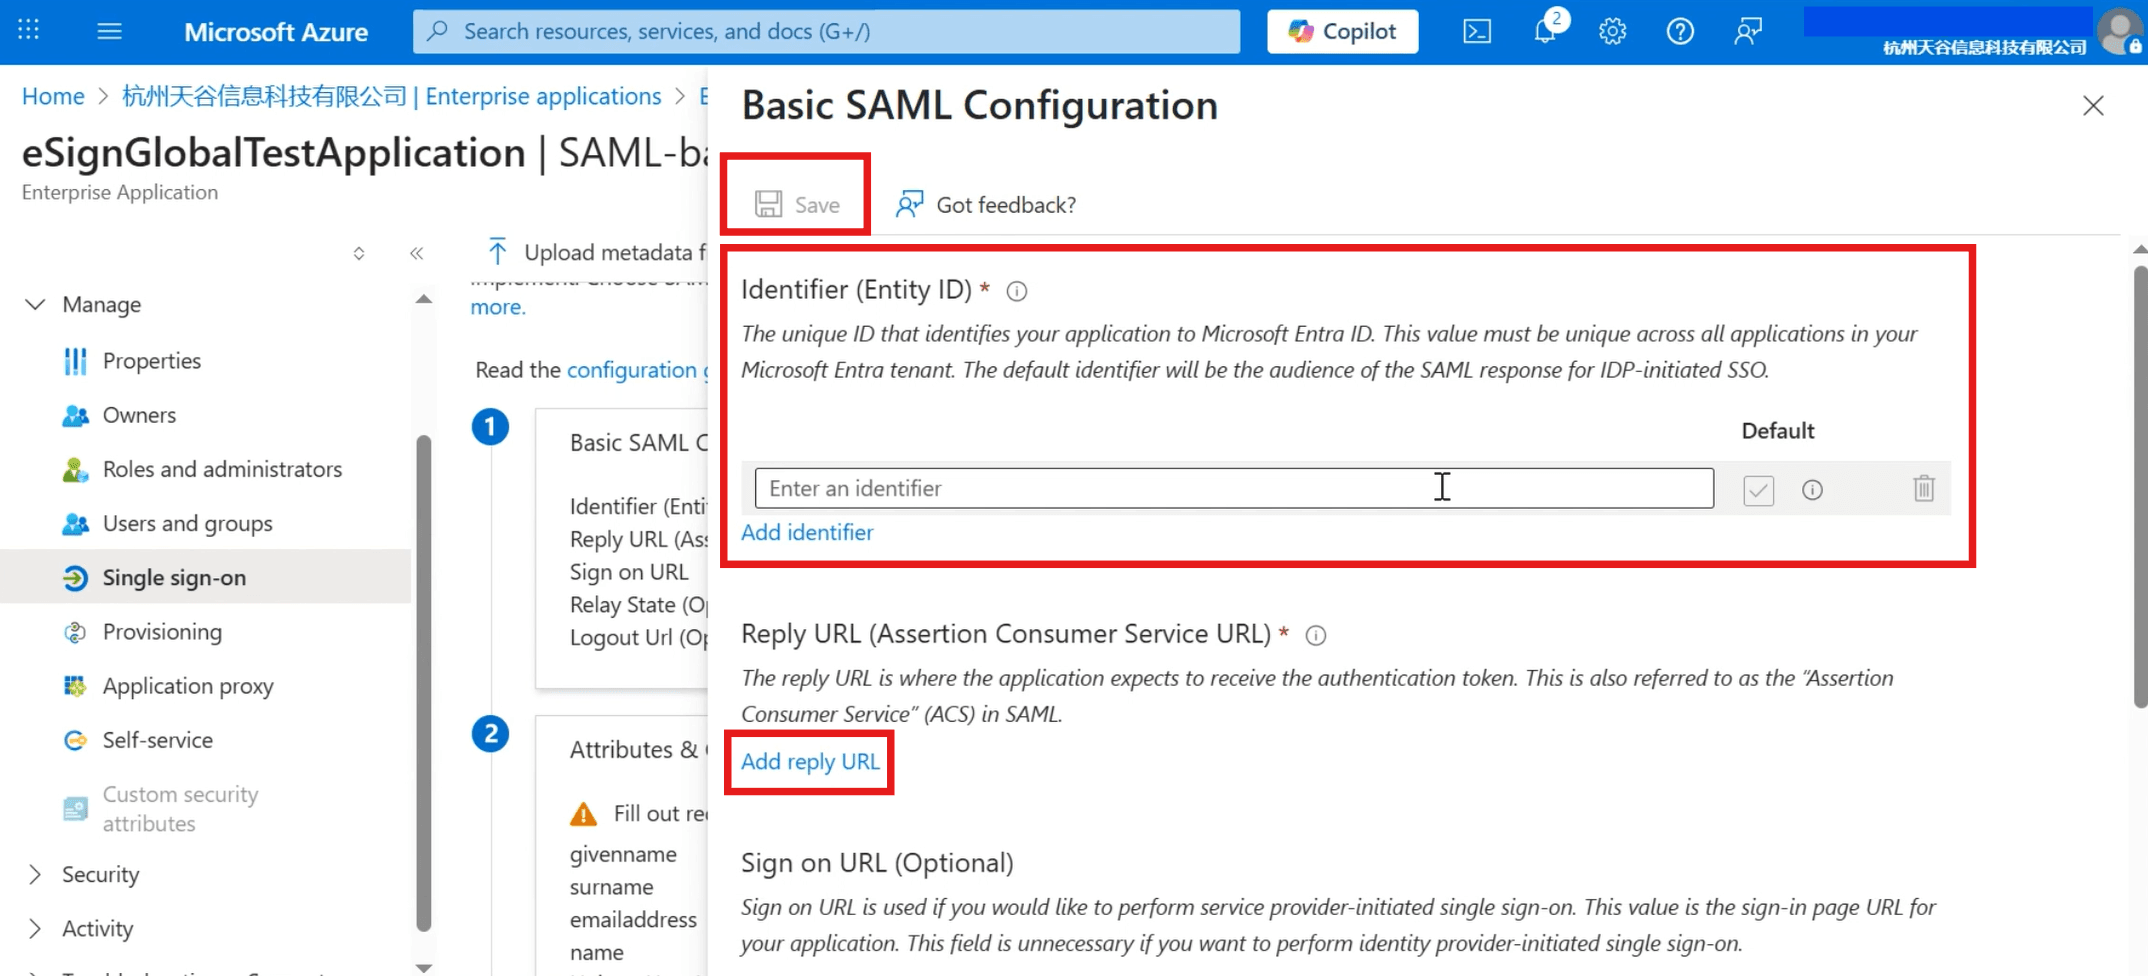
- To set up SAML single sign-on, you need to fill in the Identifier(Entity ID) and Reply URL(Assertion Consumer Service URL).
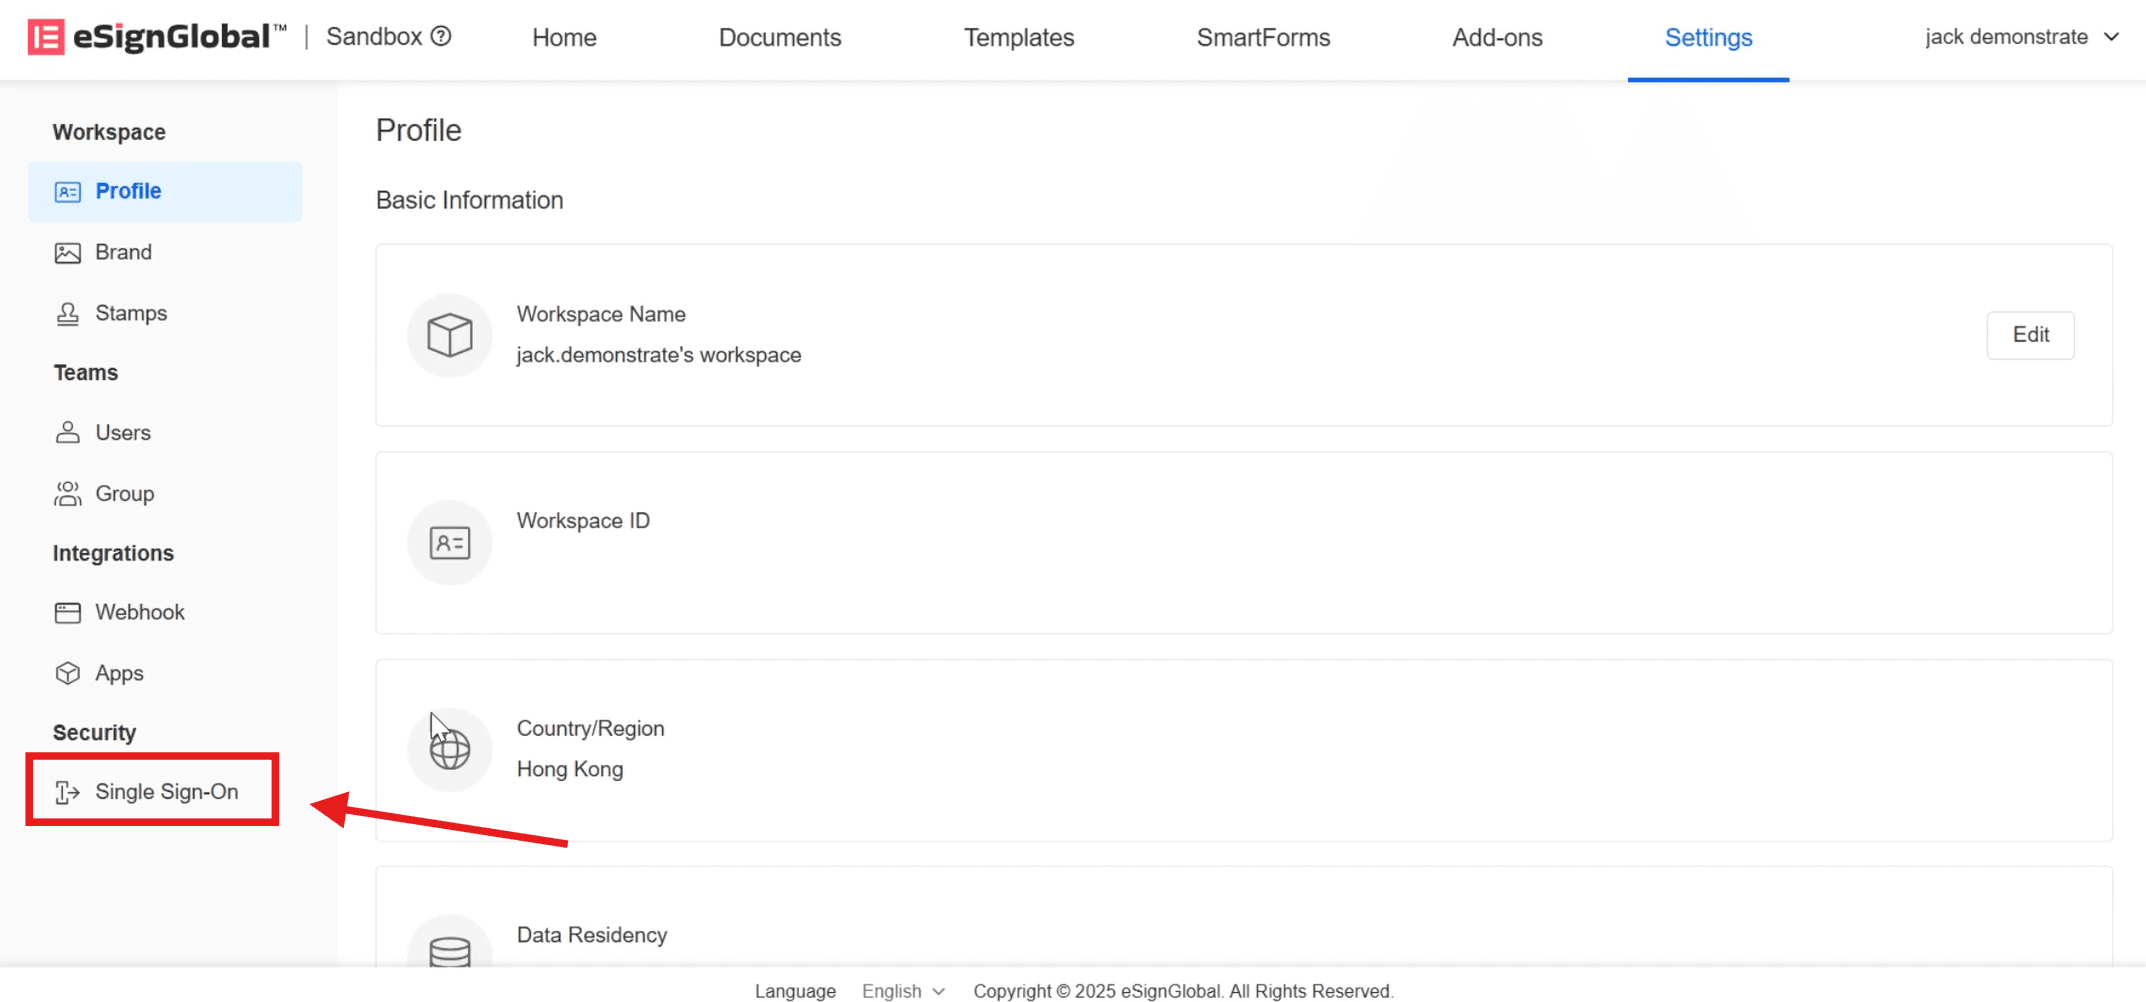
- Return to the eSignGlobal website, log in and install the [Single Sign-on with SAML2.0] add-on, and click [Settings] in the top menu bar.

- Click [Single Sign-On] in the [Security] directory on the left.
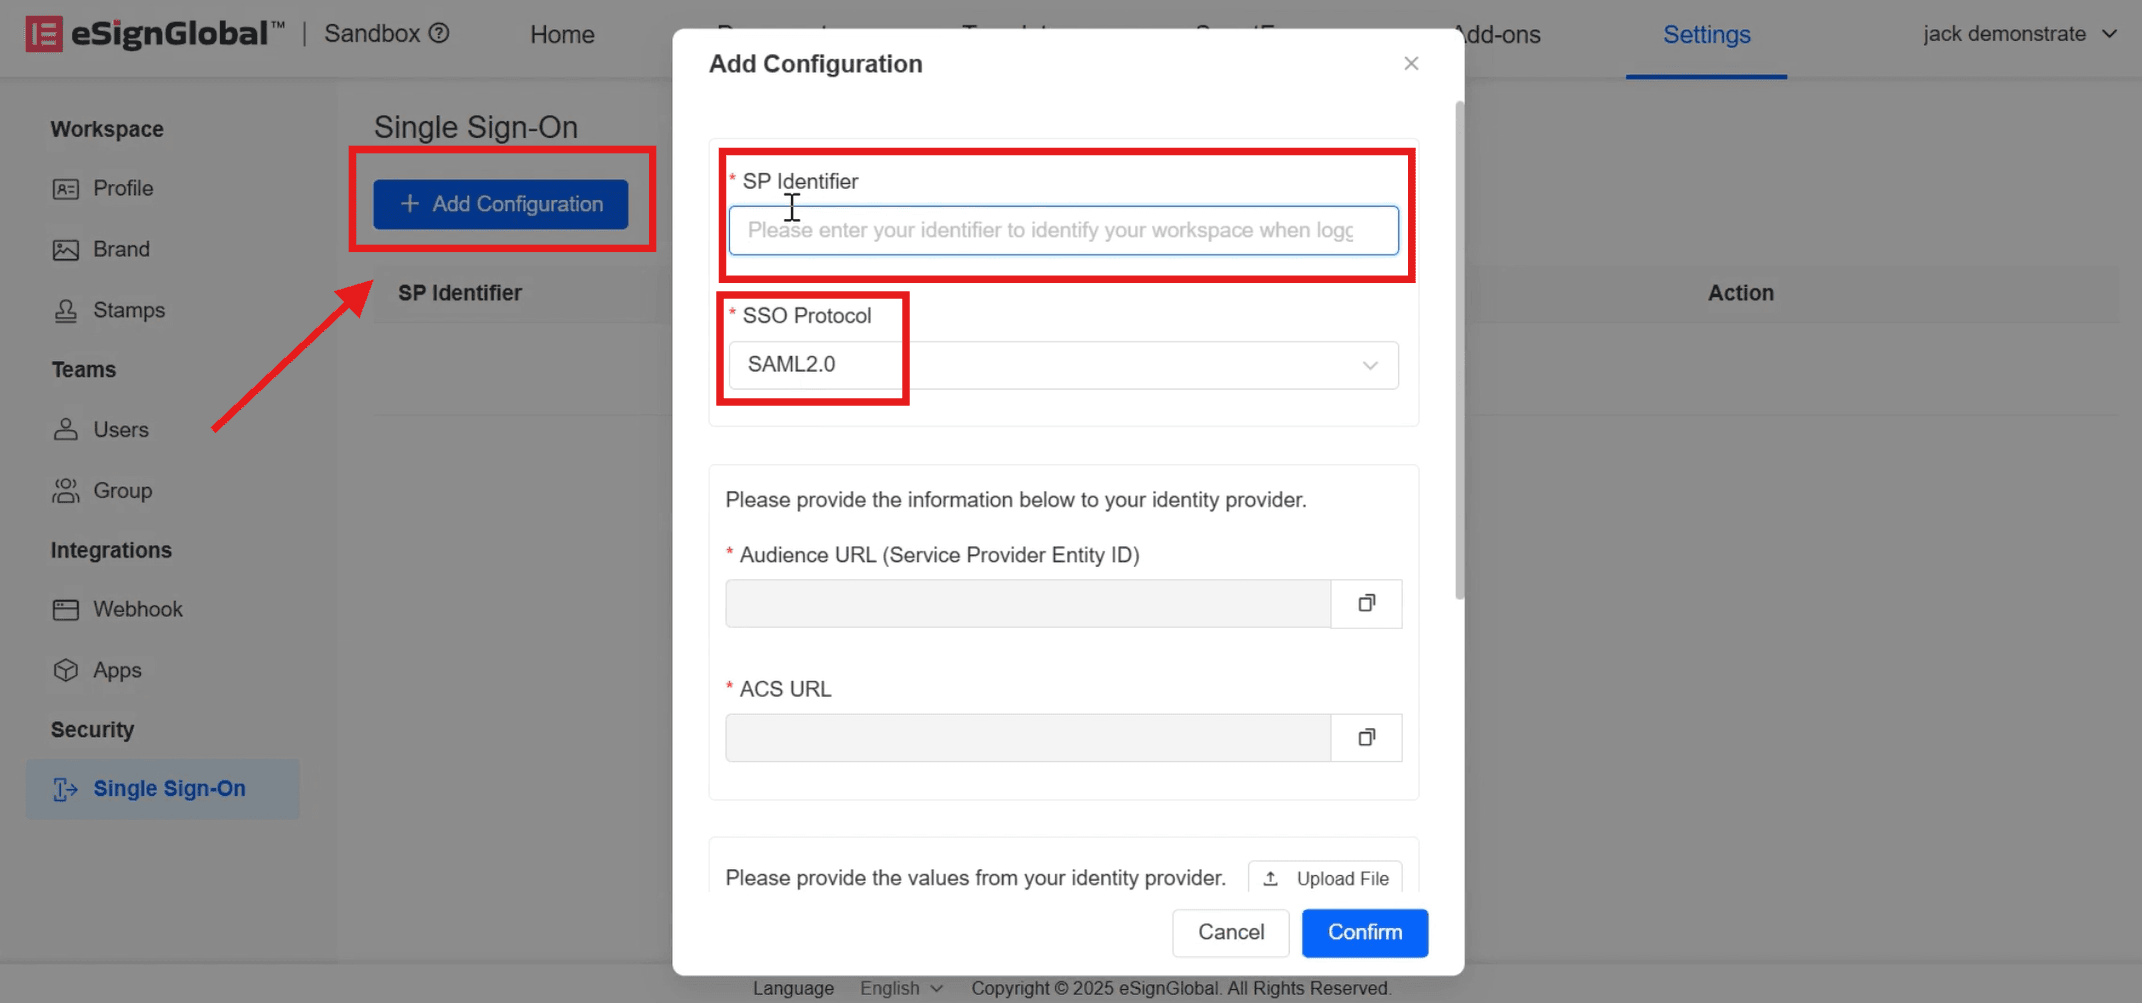
- Click [Add Configuration], enter [SP Identifier], and select [SSO Protocol] as SAML2.0.
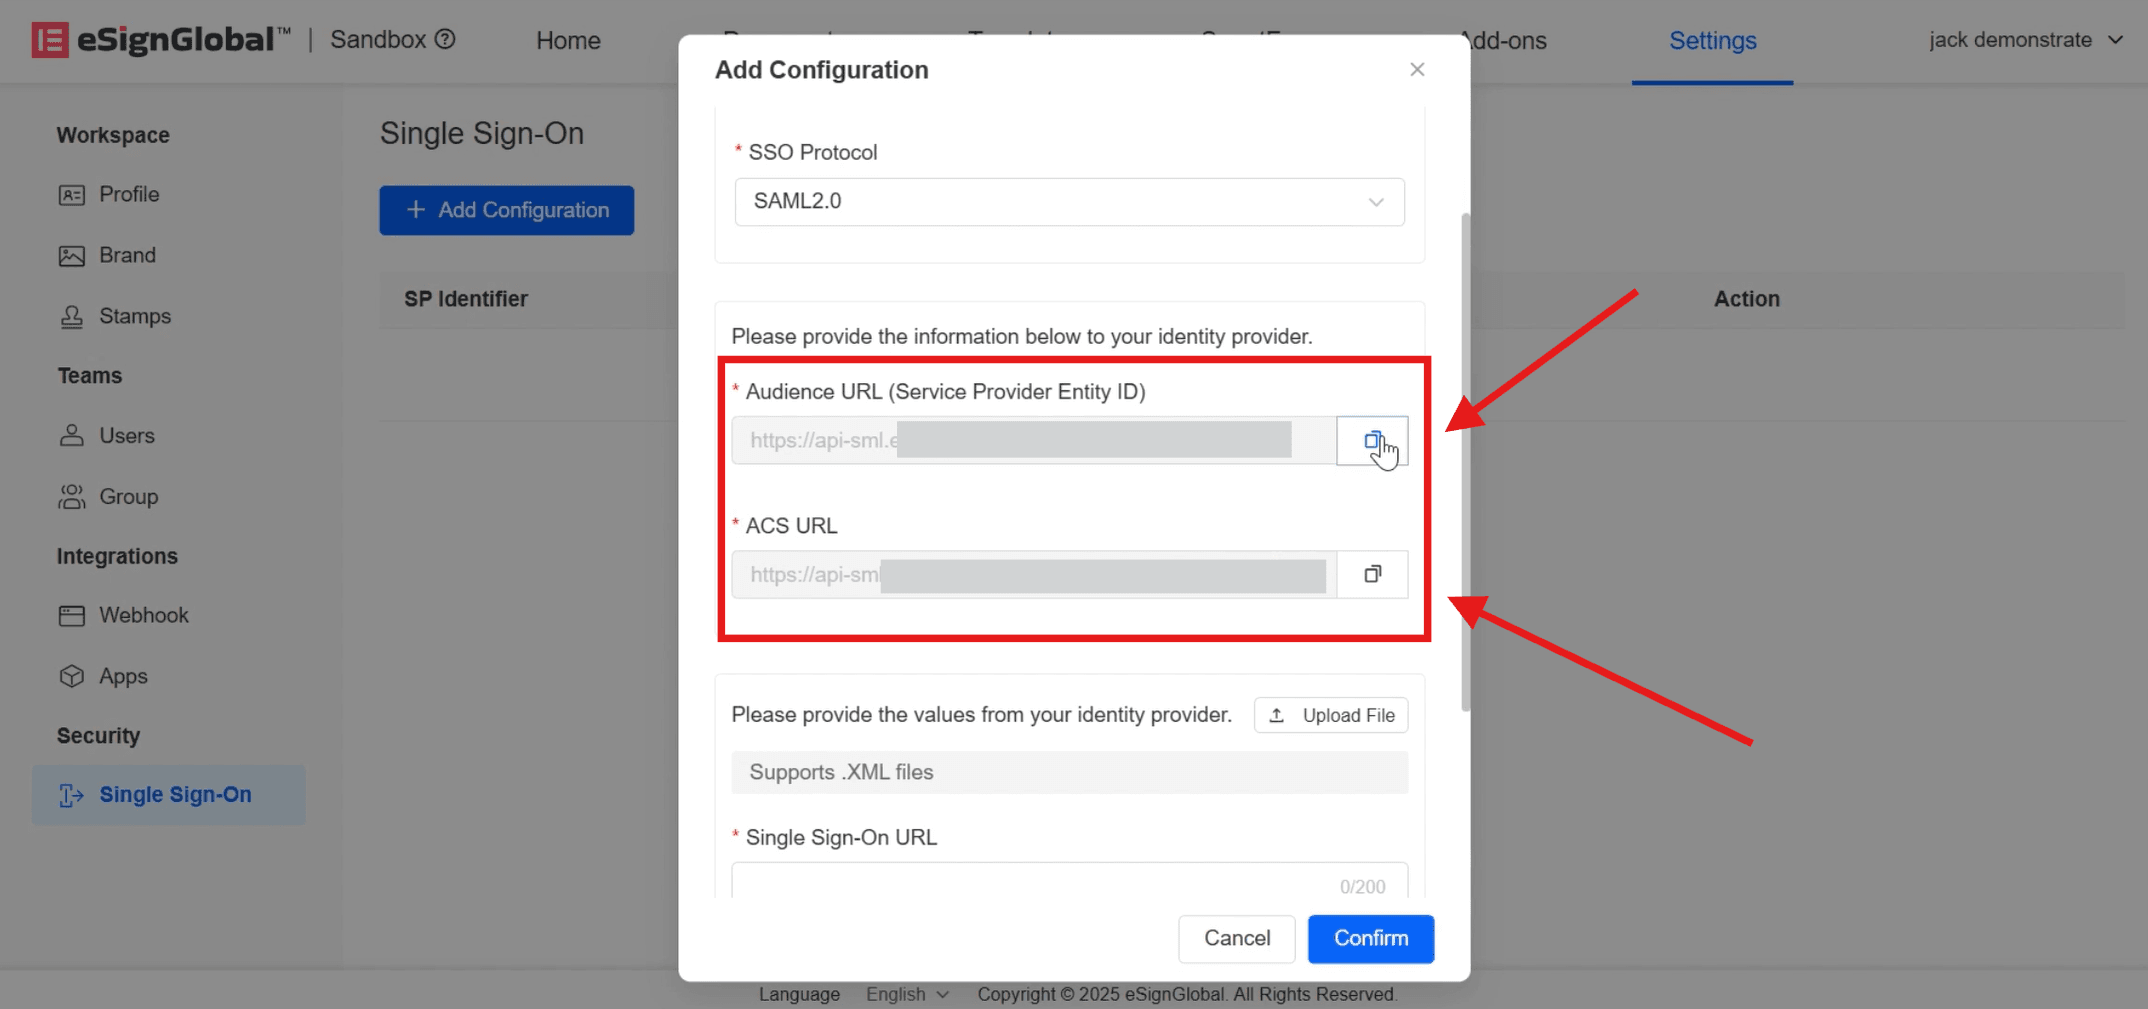
- After the input is completed, [Audience URL] (Service Provider Entity ID) and [ACS URL] will be automatically generated. Click on the right to copy them to the Microsoft Entra ID [SAML-based Sign-on] page.
- Back to the Microsoft Entra ID [SAML-based Sign-on] page and click [Edit].
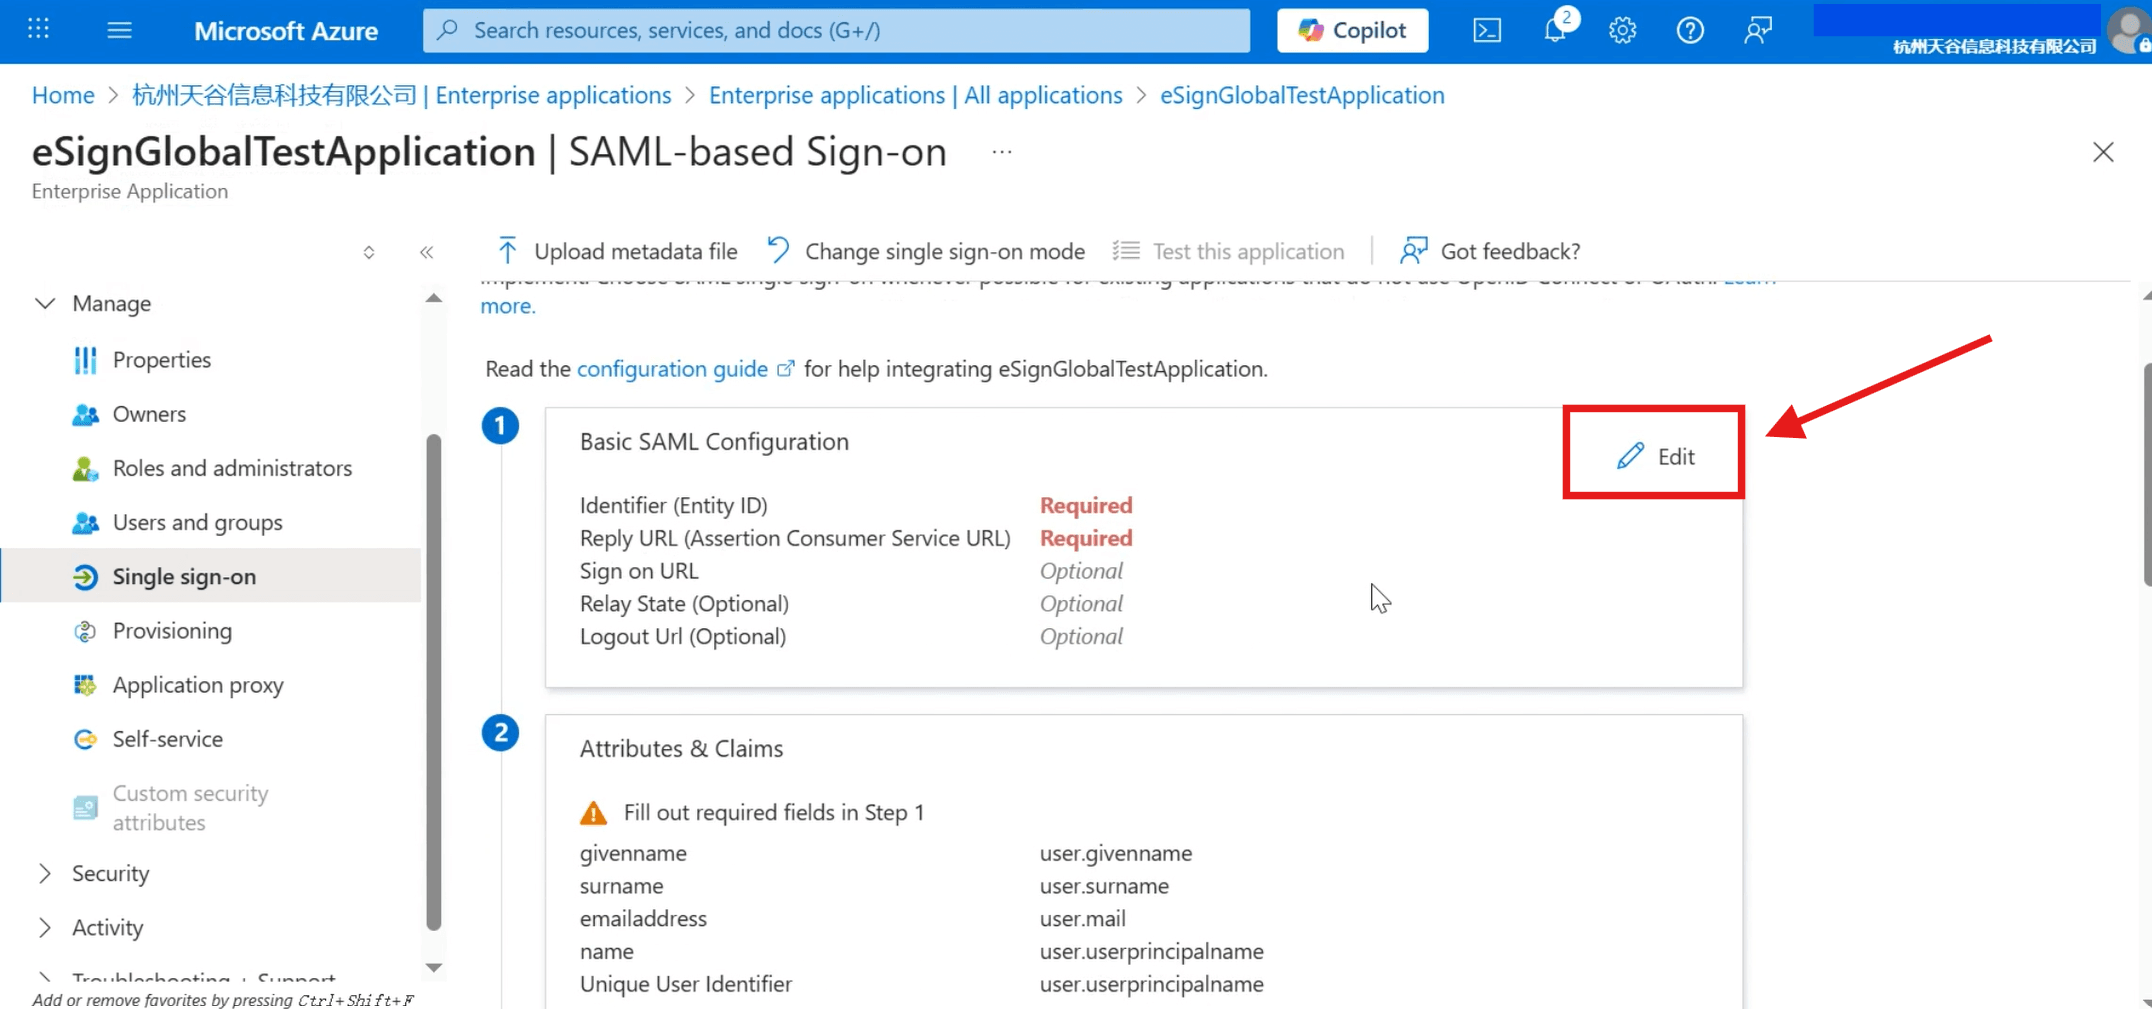
Fill in the copied [Audience URL] with [Identifier] (Entity ID); [ACS URL] fill in [Reply URL] (Assertion Consumer Service URL), and click [Save] above after completion.
Note:
- [Audience URL] (service provider Entity ID) in eSignGlobal corresponds to [identifier] (Entity ID) in Microsoft Entra ID;
- [ACS URL] in eSignGlobal corresponds to [reply URL] (assertion consumer service URL) in Microsoft Entra ID.
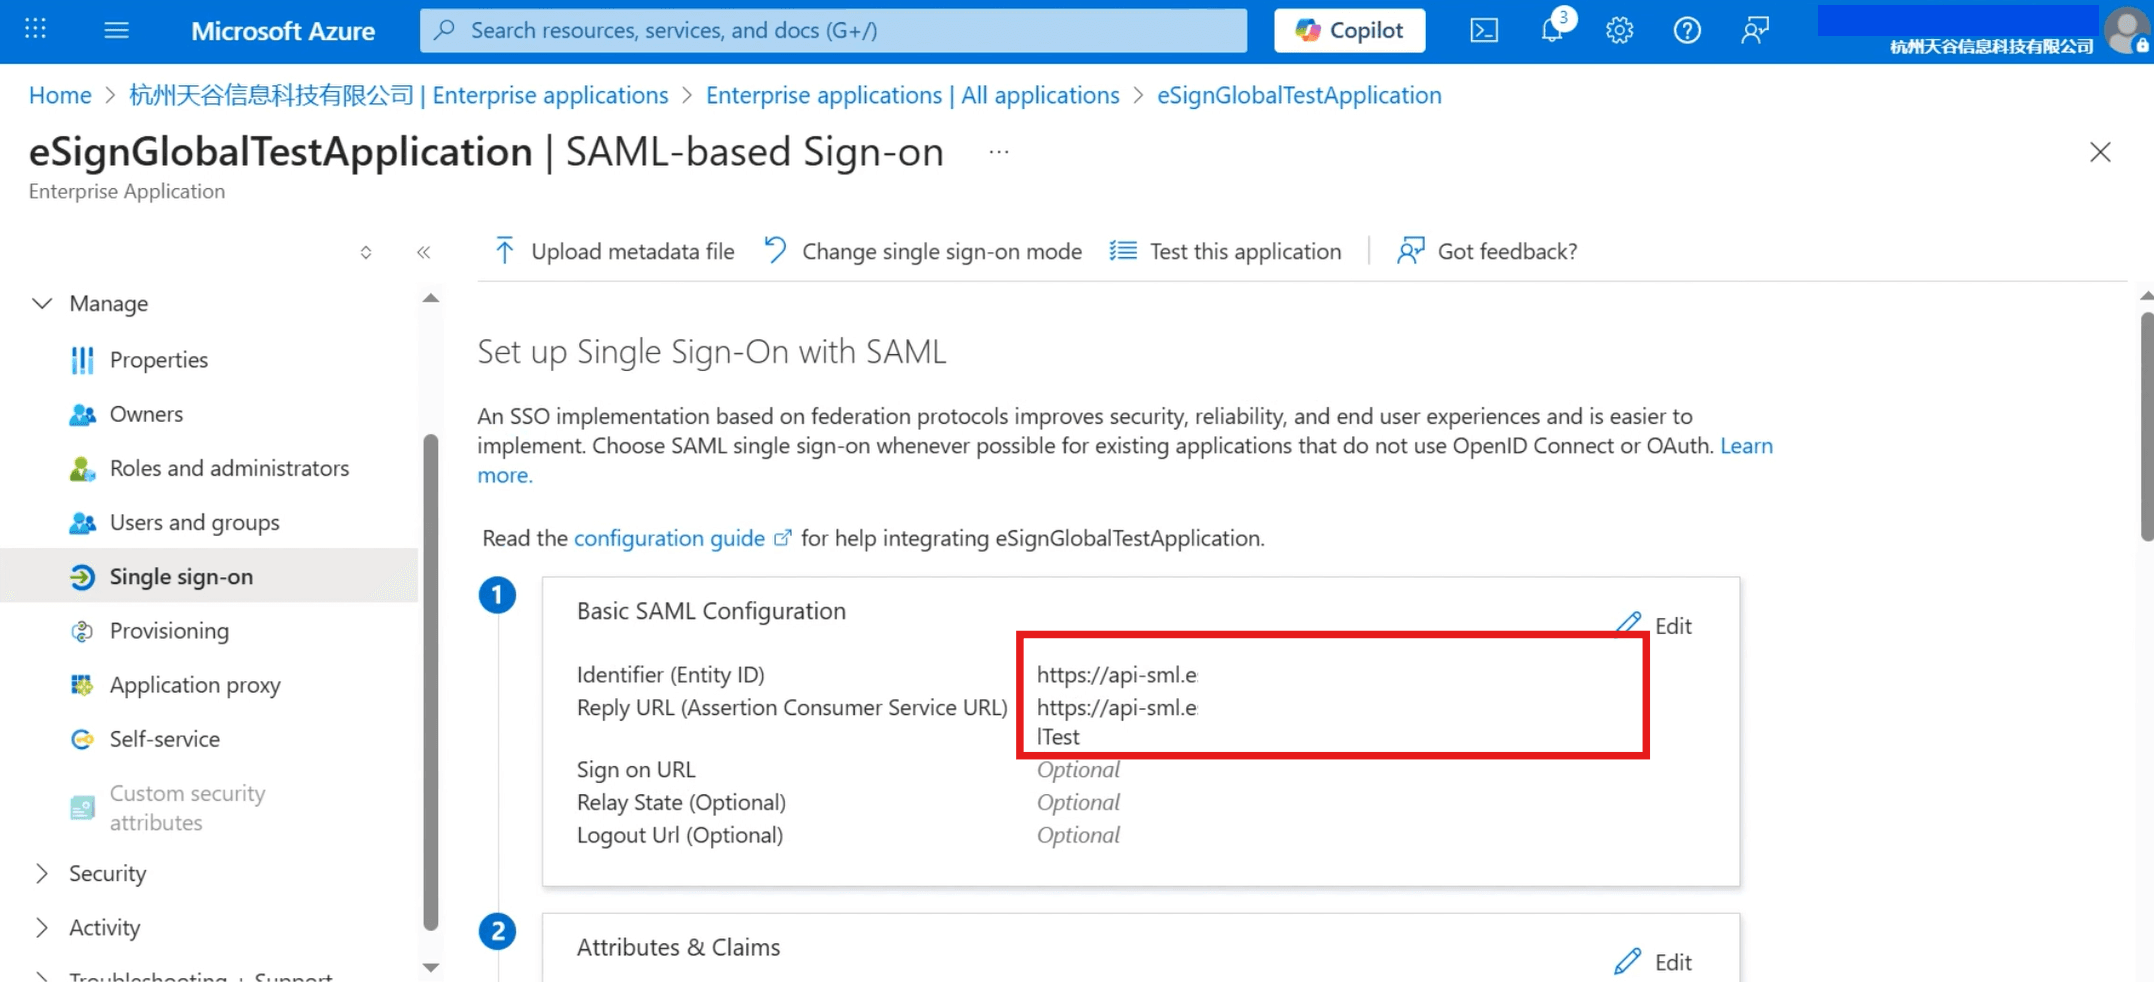
- After the save is successful, click close in the upper right corner, and the page will display the filled Identifier and Reply URL.
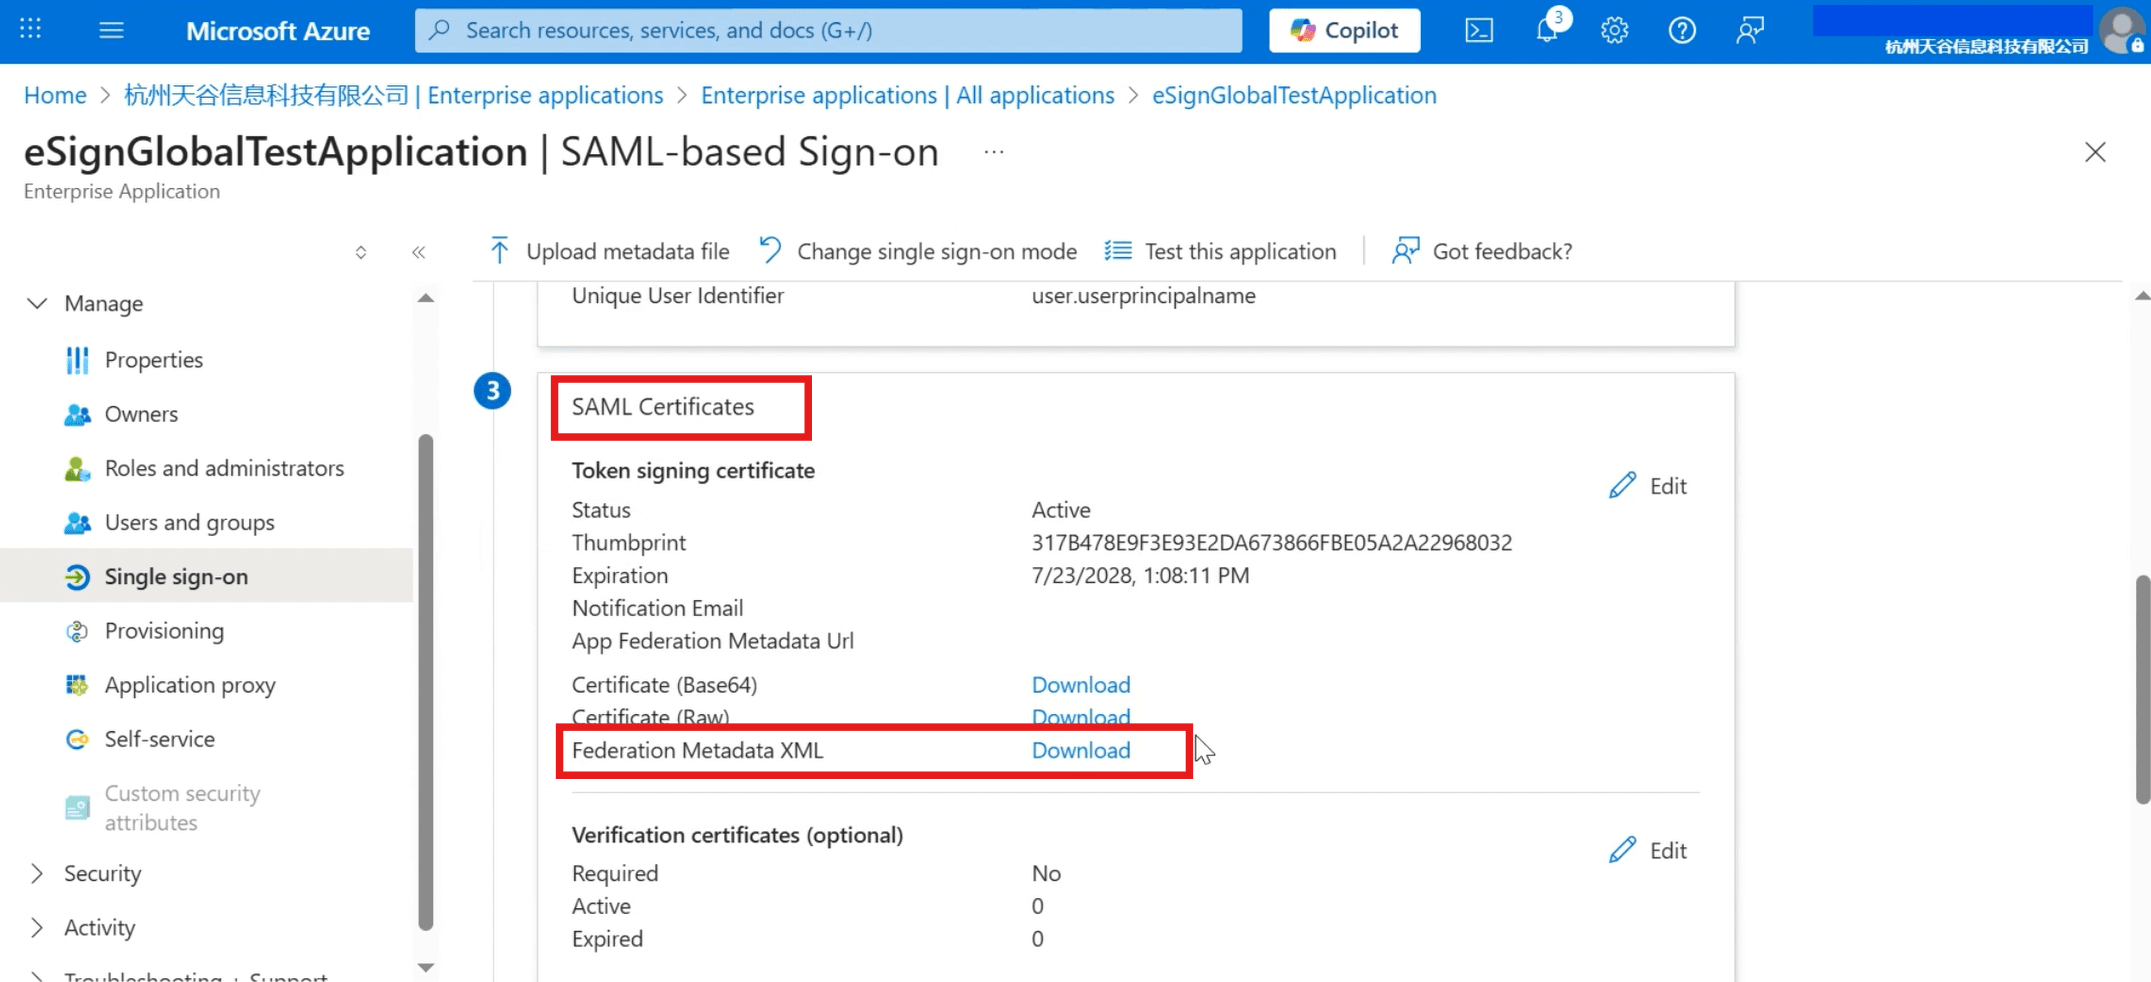
- Slide down the page to download the [Federation Metadata XML] file in [SAML Certificates].
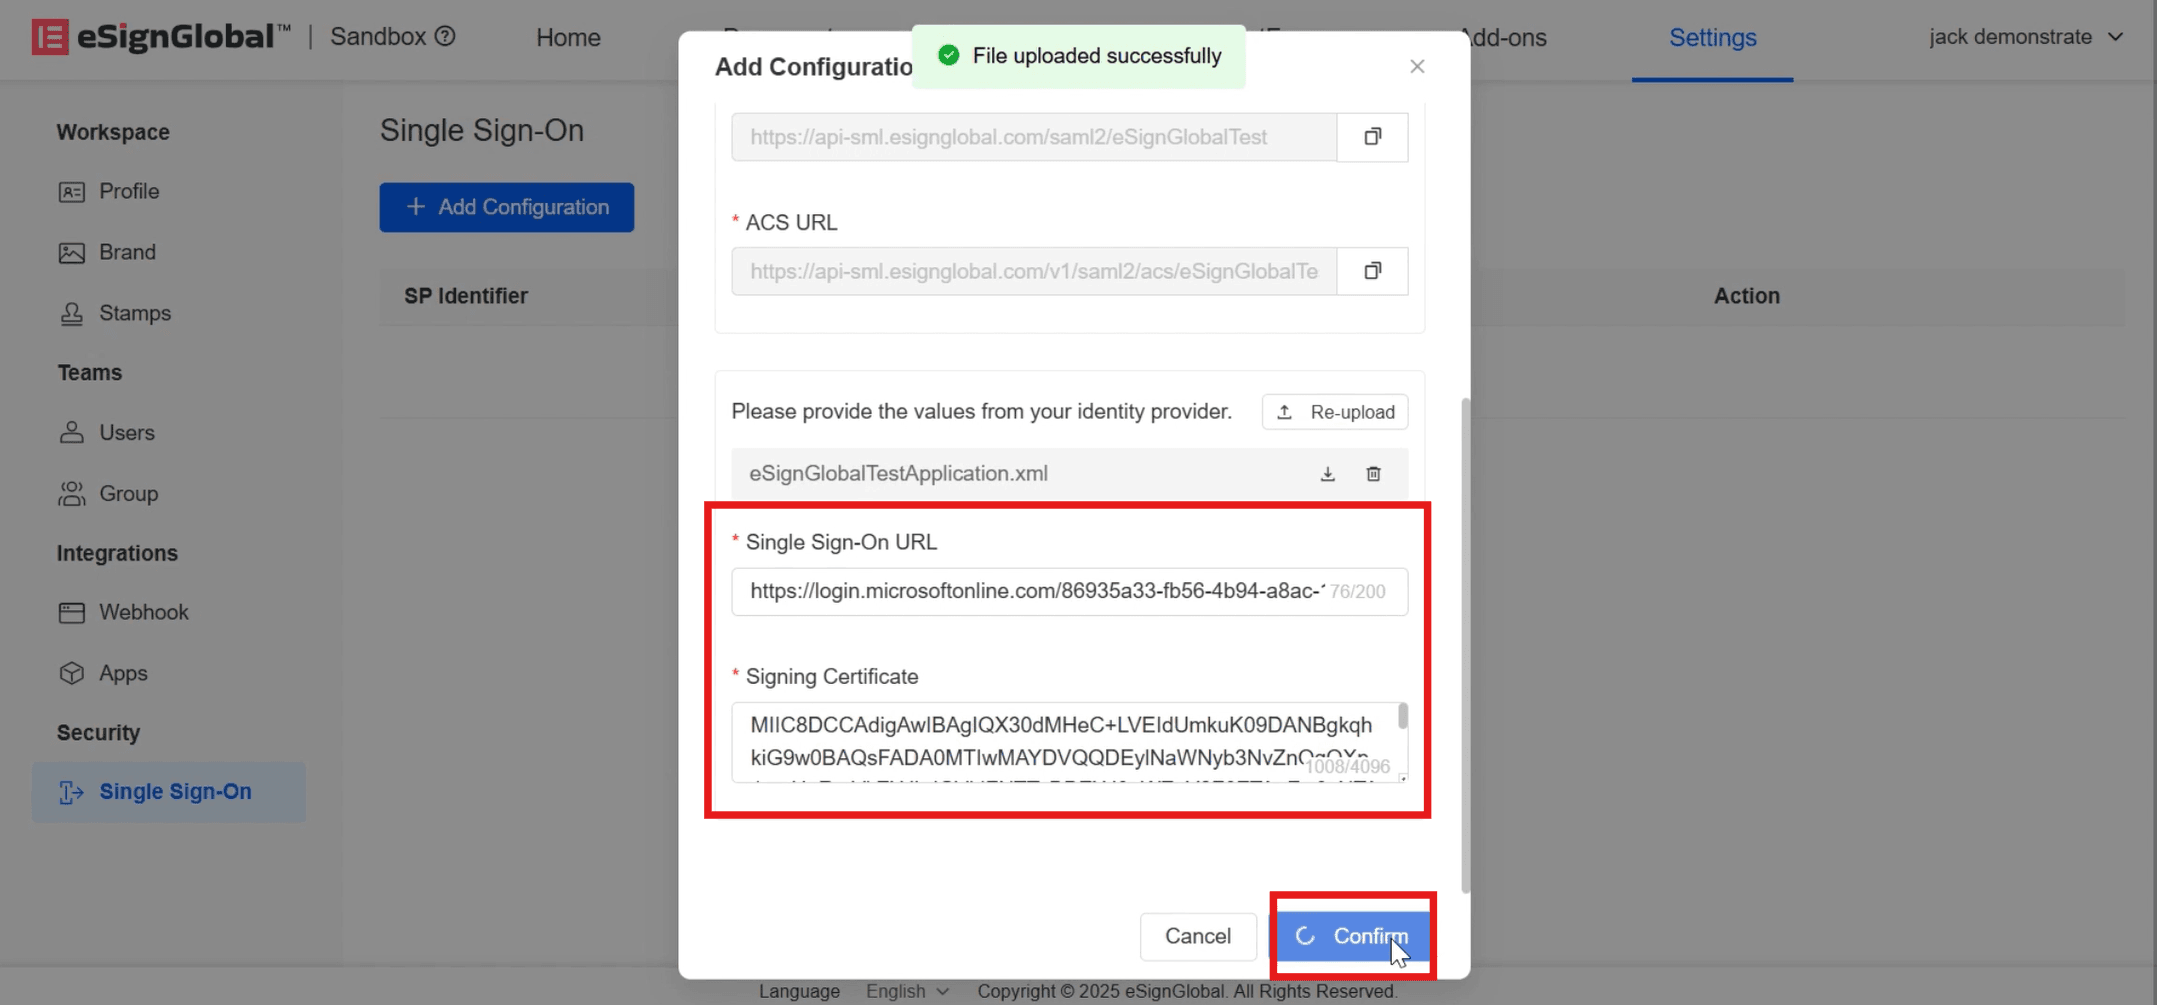
- Back to the eSignGlobal [Add Configuration] page and click to upload the downloaded XML file.
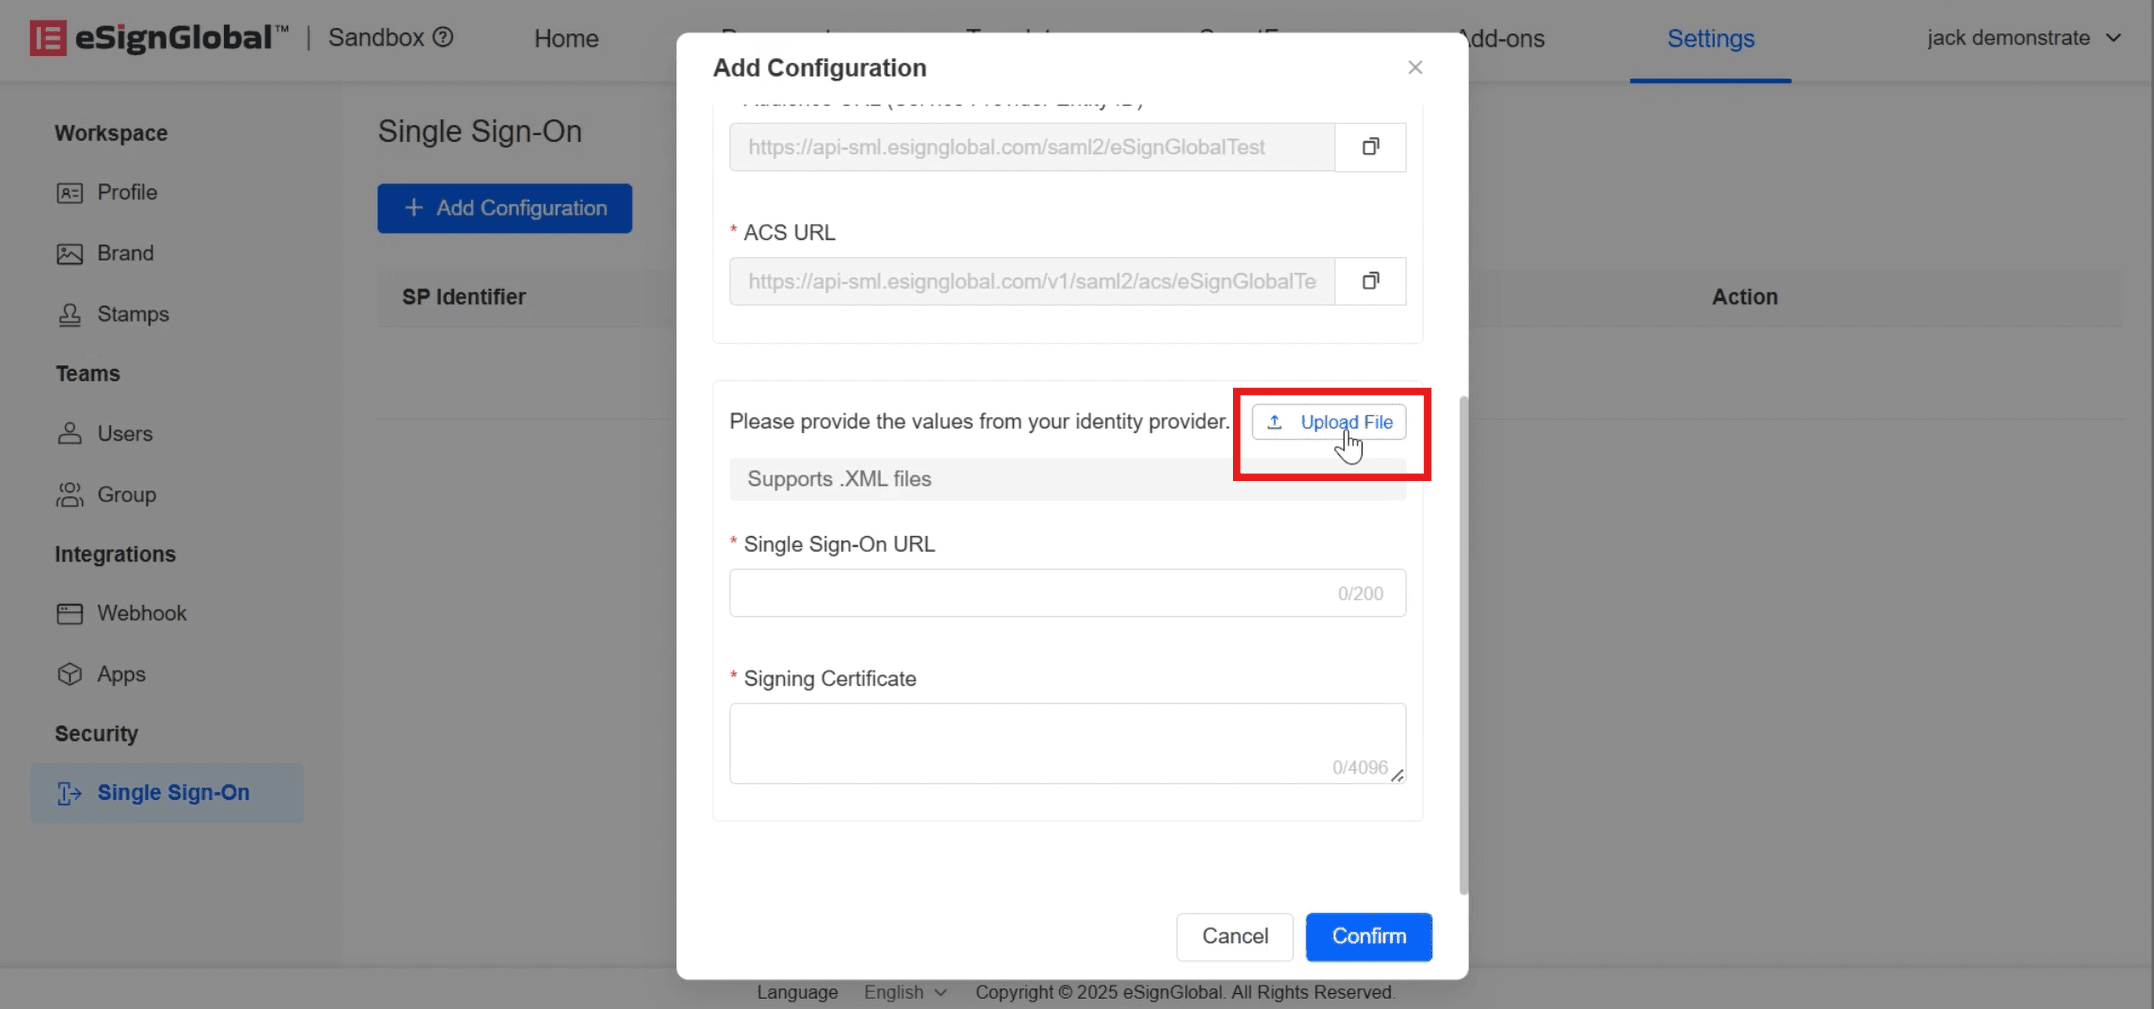
- After the upload is successful, the [Single Sign-on URL] and [Signing Certificate] will be automatically filled in, and click [Confirm].
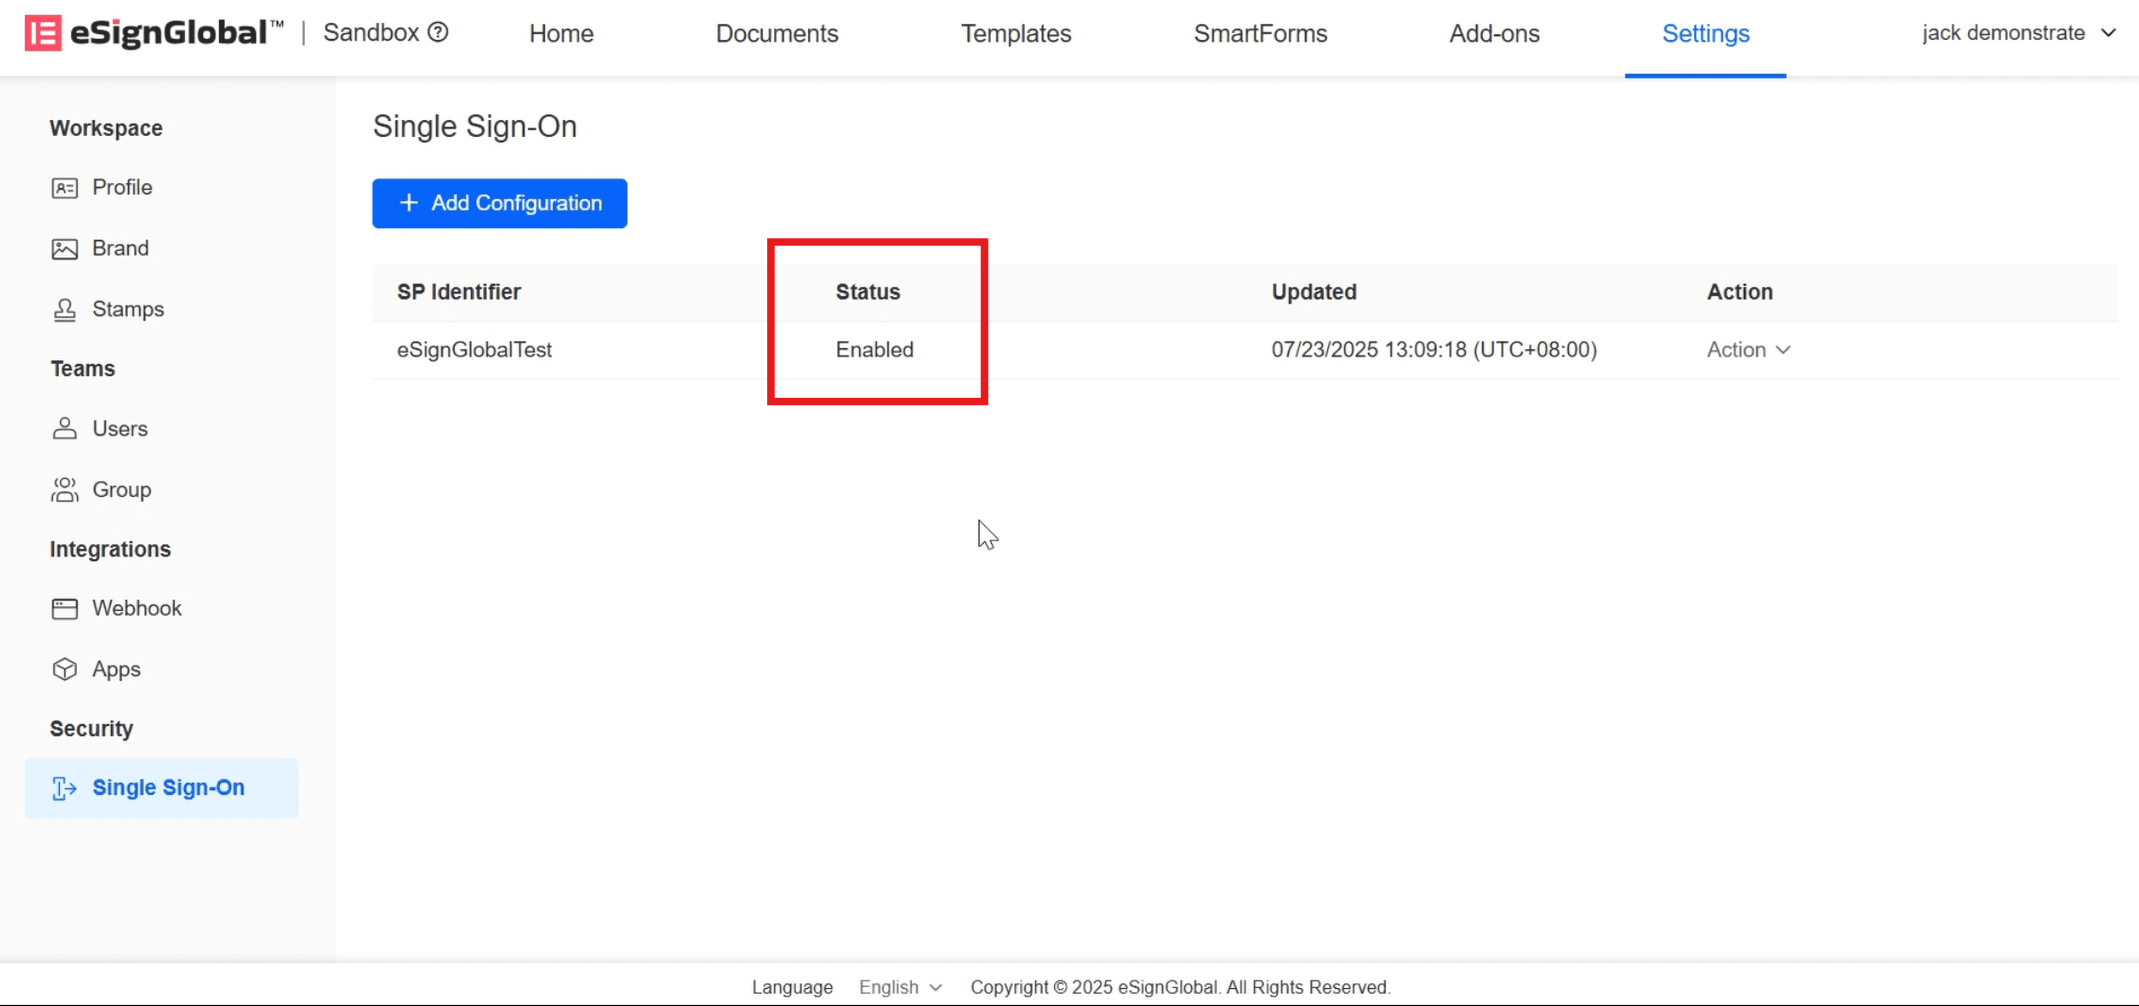
When the status displays [Enabled], it indicates that the SSO configuration is successful.
Verify SSO
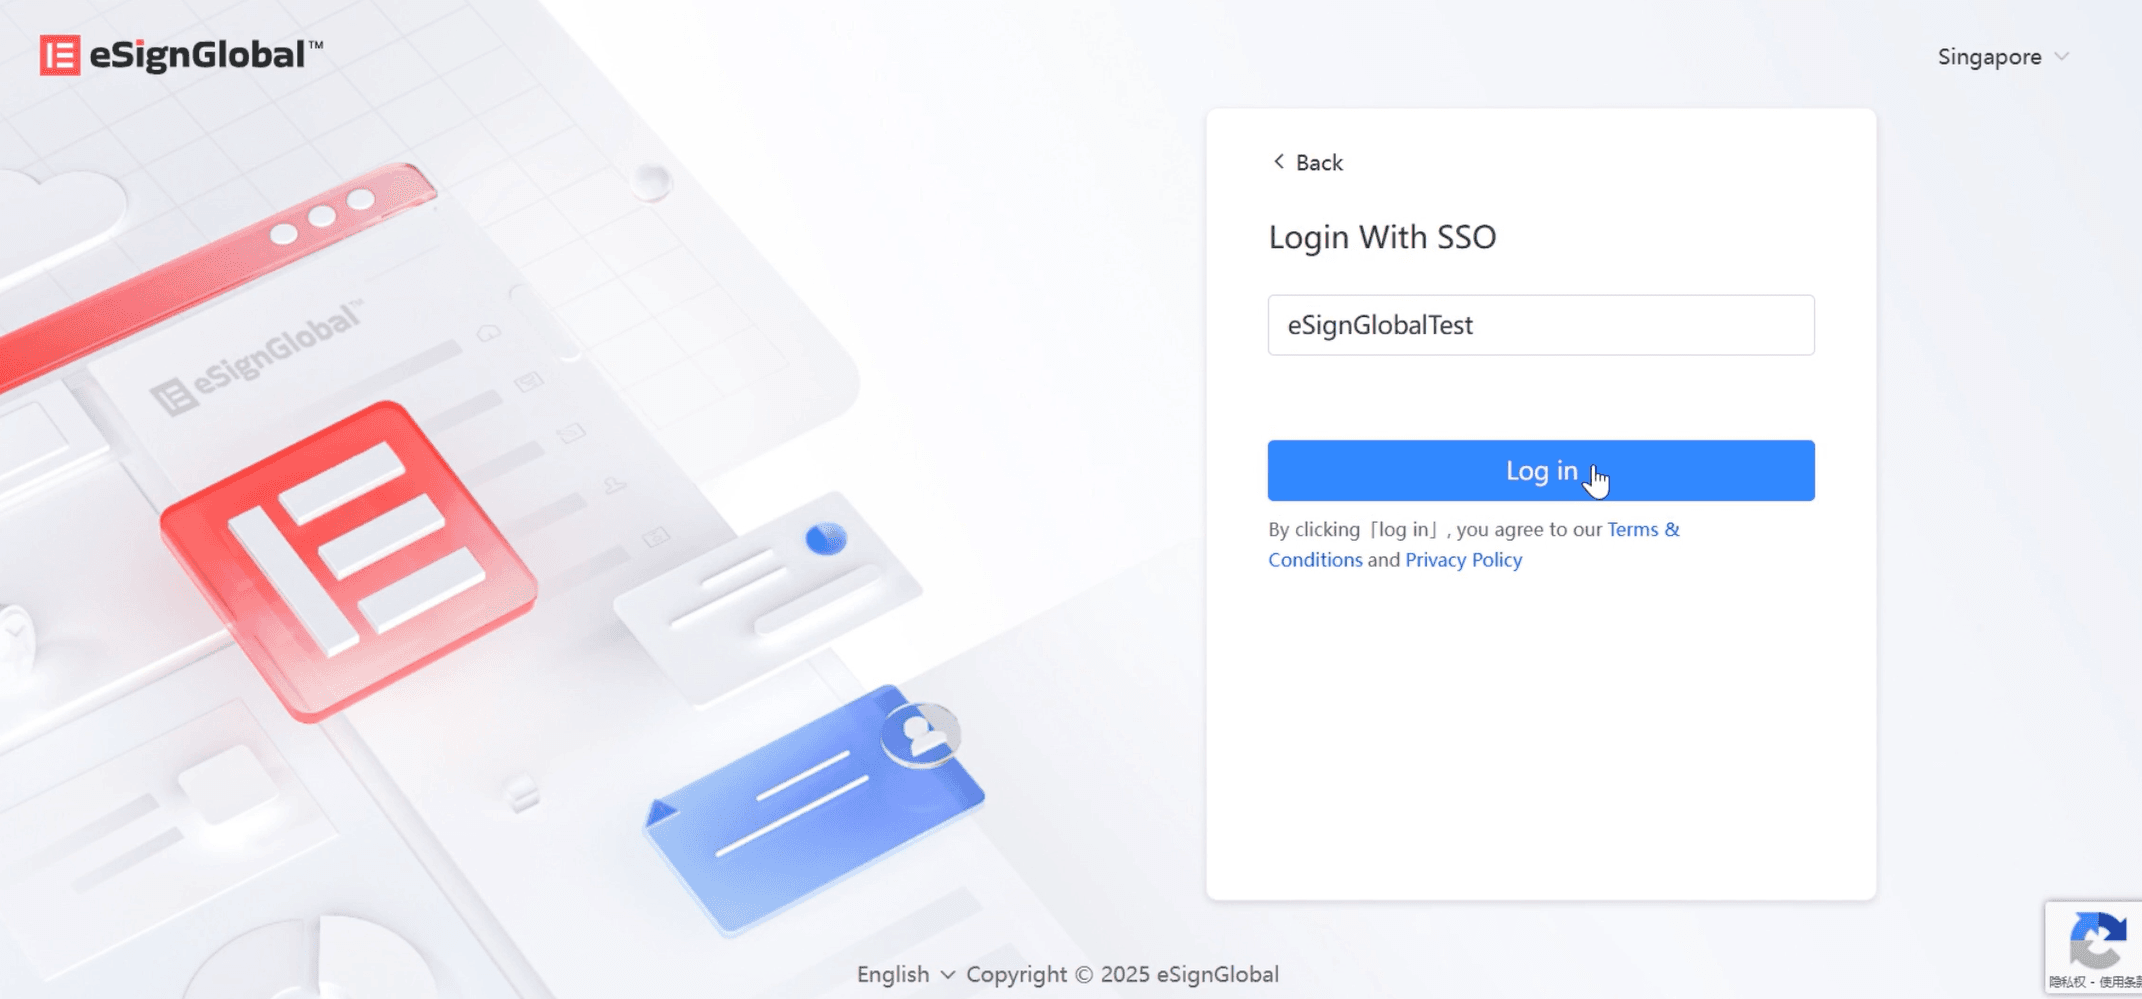
- On the eSignGlobal official website login page, choose SSO login.

- Enter the workspace identifier and click [Log in].
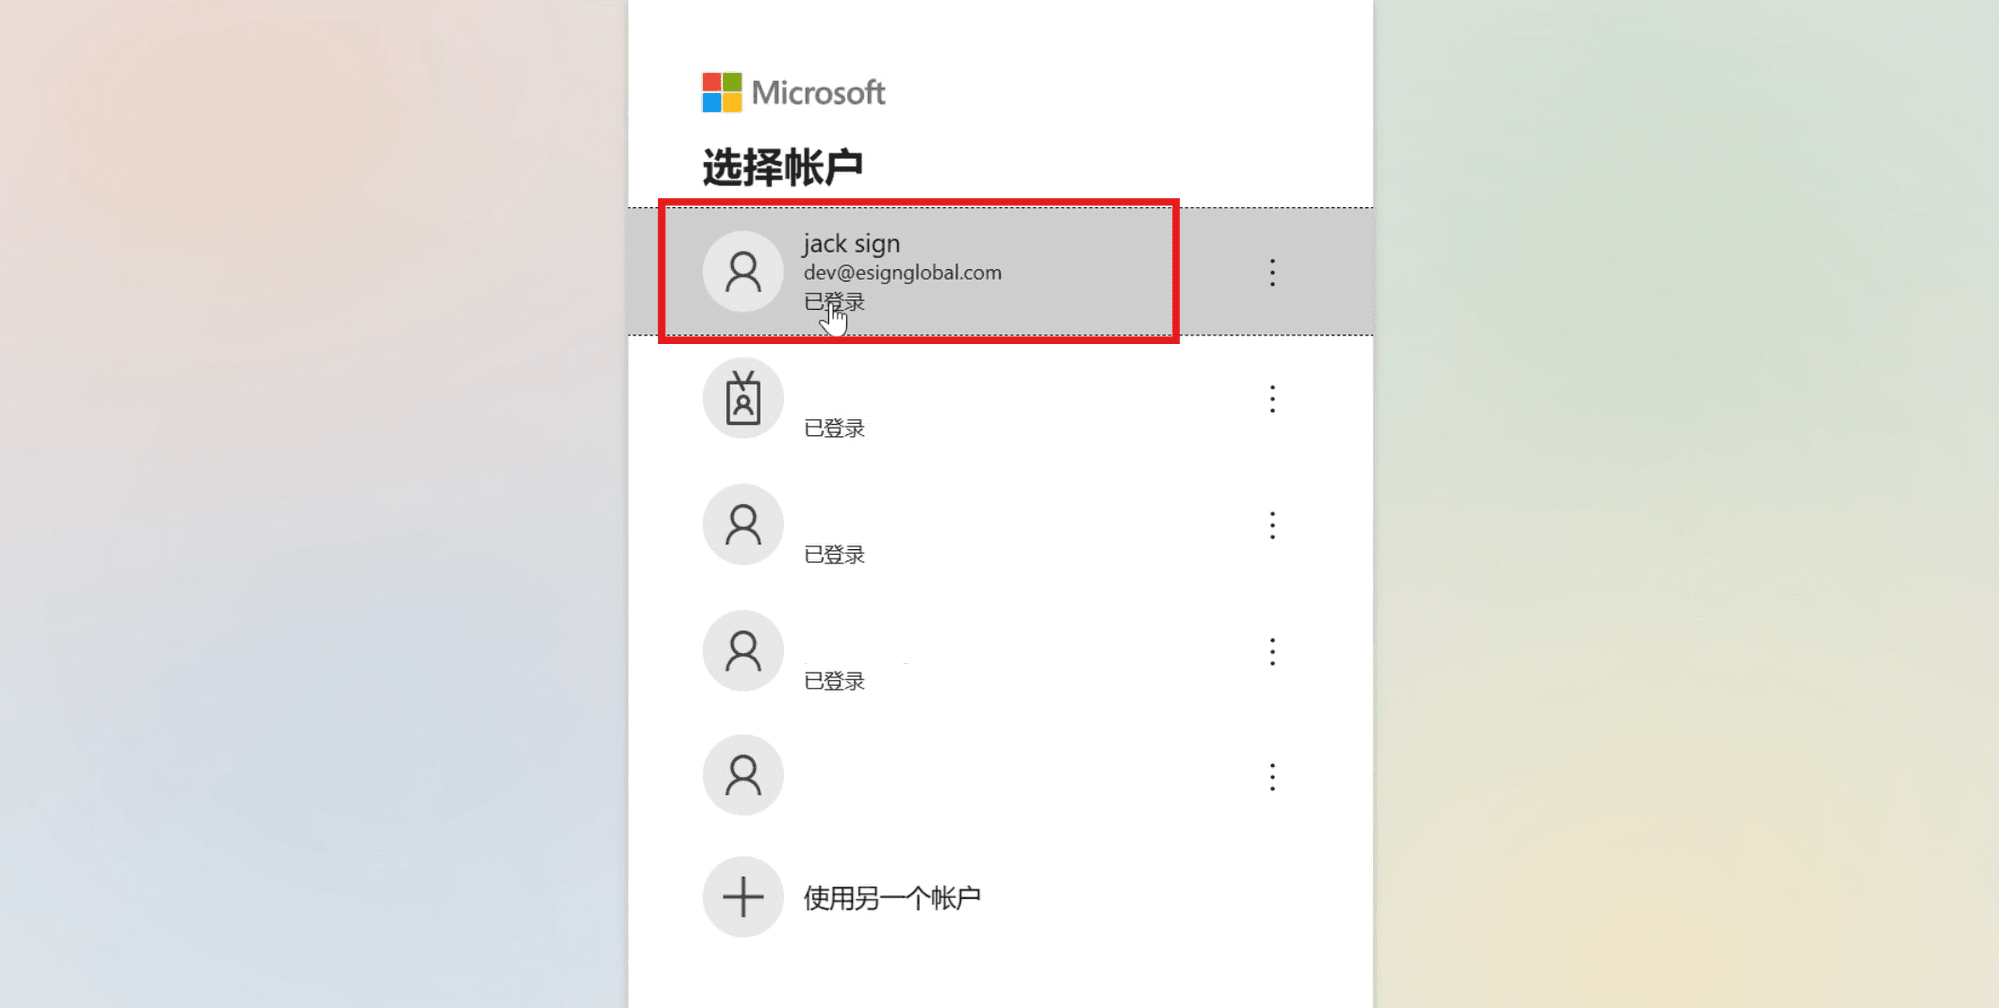
- The page will redirect to Microsoft login and select the corresponding Microsoft account.
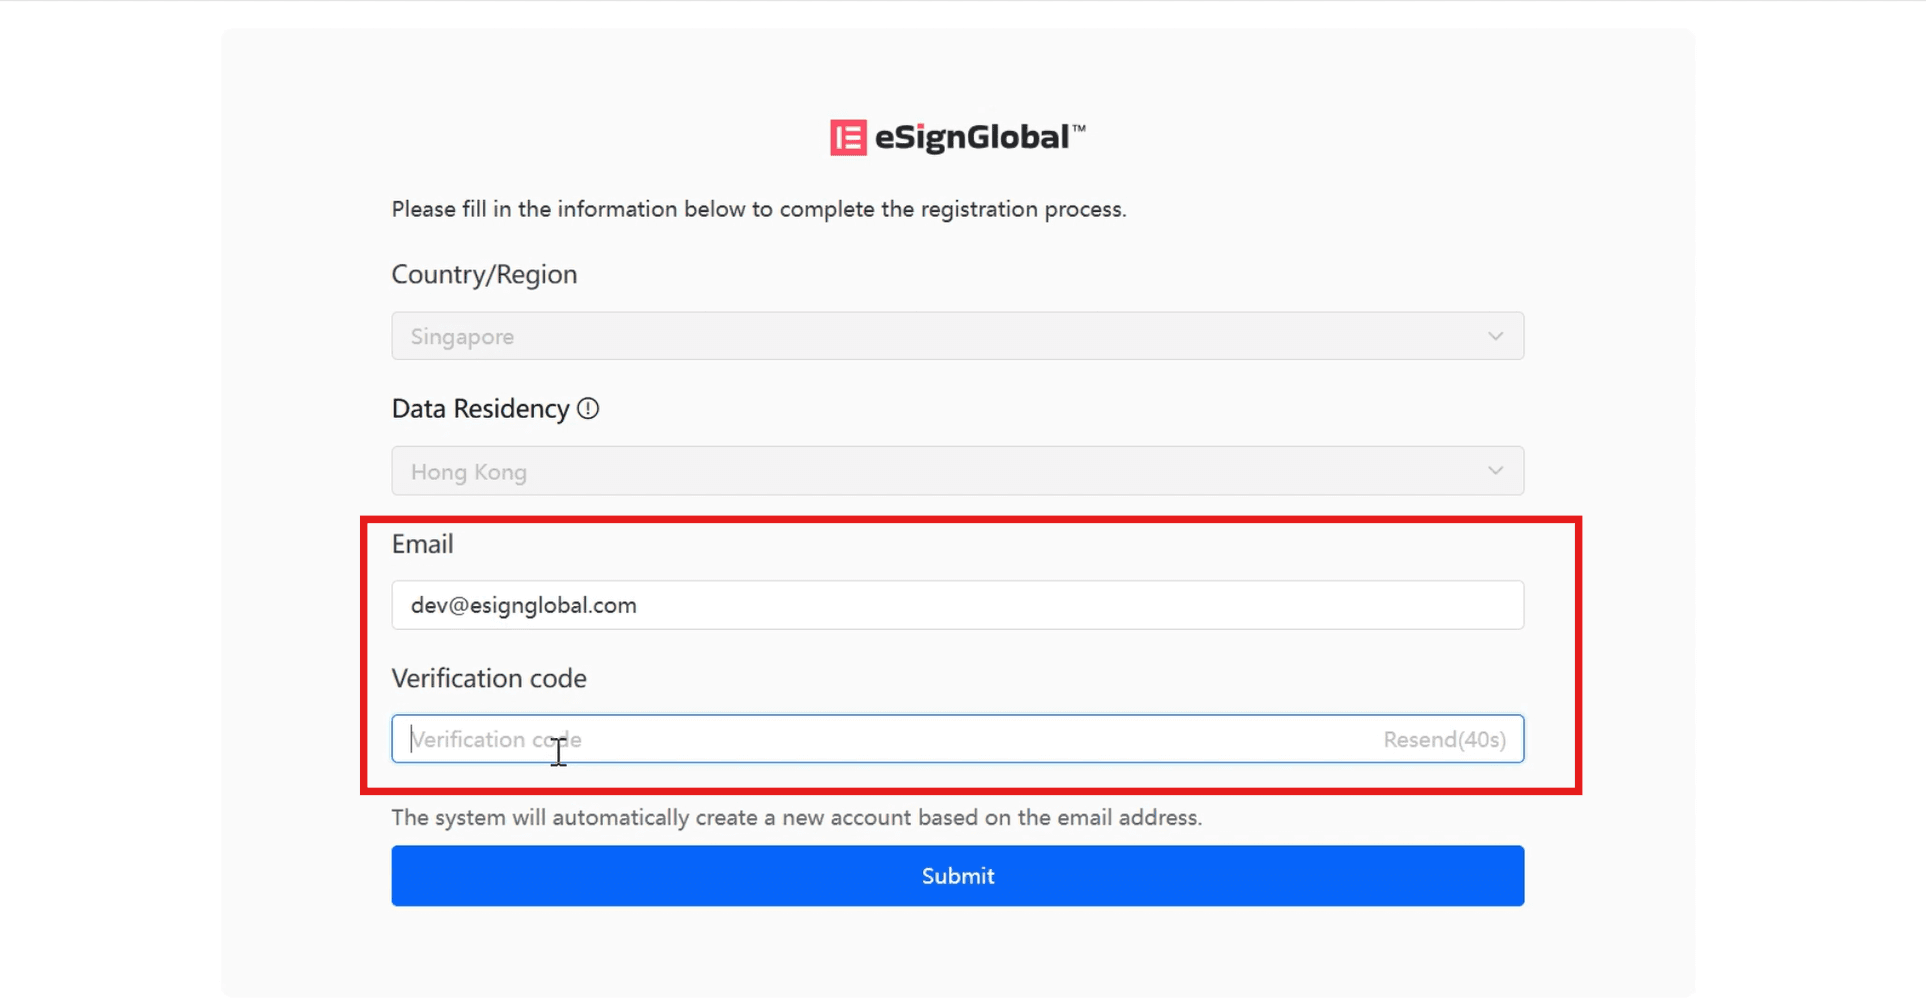
- Enter the email and the verification code sent to the email in the page, click [Submit], and log in to the eSignGlobal homepage.
Warning:
- The login email address through SSO cannot be used as the platform login account of eSignGlobal.


